Was this content helpful?
How could we make this article more helpful?
Setting Up
The 4-bay NAS is pre-installed with Windows Storage Server 2012 Workgroup and ready for network integration out of the box. Follow the installation steps below to get started.
Important info: You must connect a mouse, keyboard, and VGA monitor to the NAS for the initial setup.
Step 1 - Placement
Find a secure location to set the NAS. See Safety Guidelines for power requirements.
Step 2 – Cables

- Connect the Ethernet cables to your router.
- Connect the power cable to an outlet.
- Connect the mouse, keyboard, and VGA monitor cables
Use the second Ethernet connection for redundancy or performance. Make certain that the network router supports port aggregation when using both Ethernet ports.
Cable management: Careful management of cables is recommended for optimal operation. It prevents potential hazards and allows for easier maintenance.
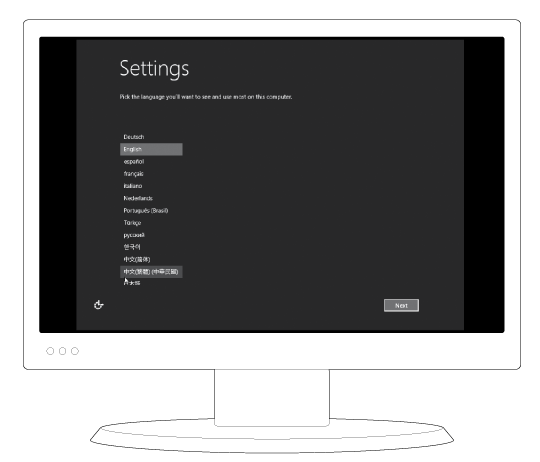
Step 3 - Power and on-screen instructions
- Power on the NAS.

- Follow the on-screen instructions to select the language and create the administrator's password.
You can now manage the 4-bay NAS via Remote Desktop from a computer on the same network. On first login, use the password you just created.
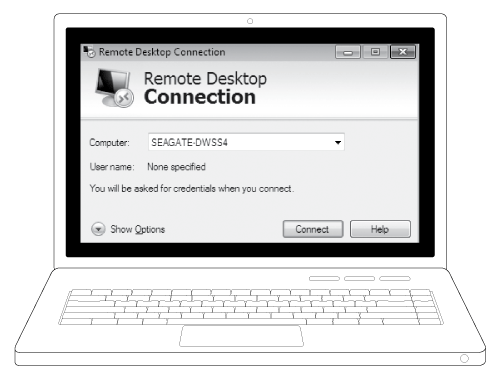
Note on mouse, keyboard, and VGA monitor: The mouse, keyboard, and monitor can be disconnected from the NAS when using Remote Desktop.