Once upon a time, moving games wasn’t really a thing. In the past, console gamers obsessed over memory cards, which were fragile little plastic lifelines that could erase hundreds of hours of progress if they went missing. On a PC, life was simpler, too: grab the disc, click install and in a few minutes, you were off raiding dungeons or fragging strangers online. Nobody thought much about hard drive space because games were measured in megabytes, not entire portions of your hard drive or SSD.
Fast-forward to today’s era of digital-only gaming, and the landscape feels downright punishing. Modern AAA titles regularly bloat past 100GB, with day-one patches ballooning the numbers even higher. Redownloading a game isn’t just inconvenient; it’s a multi-hour (or multi-day) commitment, depending on your internet speed. Meanwhile, the drives in your gaming PC are always under siege, filling up faster than you can say “shader cache.”
And here’s the kicker: you can’t just drag and drop a Steam game from one drive to another like a photo album or a Word document. Do that, and you’re basically begging for corrupted installs, endless file verification loops and the dreaded missing executable error. It’s the kind of digital pain that makes you question why you ever thought 500GB was plenty of space when you built your rig.
The good news? Steam actually gives you a way out. Buried in its menus is a surprisingly painless process to move your games safely from one drive to another with no reinstalls, no wasted bandwidth and no heartbreak. If you’re running out of room — or just upgraded to a shiny new SSD — we’ll explain how to do it the right way.
How to move Steam games to a new drive the right way
To move Steam games to a new drive, open Steam > Settings > Storage, add your new drive as a library folder, right-click the game in your library, select Manage > Move Install Folder and choose the new location. Steam will handle the transfer safely with no reinstalls or errors ... just your games ready to play on the new drive.
This is the short answer. Let’s look deeper into how you should move your Steam games to a new drive.
Step #1: Back up your saves and check available drive space
As with any activity that involves moving, modifying or otherwise manipulating save files and sensitive data, be sure you have a backup and it’s current.
You don’t need a full copy of the game itself, but you’ll want copies of local saves and other unique data — i.e., the stuff you can’t just download again from Steam if something goes wrong.
Ideally, the backup will be on a third location, separate from the source and destination drives.
Steam does technically have cloud save functionality — and that can meet this need — but it’s also surprisingly easy to accidentally sync the wrong save data and effectively erase the backup.
So, just like with other sensitive data, best practice involves having multiple redundancies in more than one place.
External gaming storage can be an excellent choice for this, especially if you need something more portable.
Move games using Steam’s built-in folder tool
Before you migrate games from one drive to another, Steam needs a recognized destination to move them to. This can be done by setting up a new destination drive on the Storage tab in the Settings menu.
Click the dropdown for the desired drive and click the plus to add a drive. Then continue per the instructions below. You can also set this new drive to be the default for future installations.
- First, open the Steam app on the device in question.
- Click Steam in the top left and then Settings from the dropdown menu. This will open a separate Steam window.
- Click Storage.
- Select the source drive (i.e., the drive where the game is currently located). This will show a complete list of Steam games — and their respective file folders — currently installed on that drive.
- Check the box for each game you’d like to move.
- Click Move in the bottom right. Doing so will result in a pop-up prompting you to choose a destination drive (i.e., where you want to move the game).
- Choose the correct drive and click Move.
Once you’ve done that, the process will begin on its own, with completion time depending on the game size, how fast your SSDs are and a few other nominal factors.
Verify game files after migration
After migrating your steam library, you’ll want to verify game files before continuing:
- Restart your computer, then launch Steam.
- Access the game’s storage options on Steam — either by clicking the gear icon on the game page in the library or by right clicking the game name in the library.
- Navigate as follows: Properties > Installed Files > Verify integrity of game files.
This will run a process to confirm the game can run properly or if the installation needs to be repaired before launching.
Fixing problems when moving Steam games
Common errors and missing files
When moving Steam games, you may run into a few common issues:
- File/folder is in use errors: This is usually caused when Steam or the game is still running in the background. Close lingering processes in Task Manager or restart Steam (and your PC, if needed).
- Game Not Found or missing files: This happens if Steam can’t find the game where it expects. Verify game files or confirm the full folder was copied over to the new location.
- Incorrect folder configuration: If Steam still doesn’t recognize the game, reconfigure your library folders or manually update the game install location in Steam.
In most cases, these errors don’t require a full redownload. A quick verification or folder re-scan usually solves the problem.
Check game integrity or reinstall Steam
Steam has a built-in tool for checking game folders and making sure everything is where it needs to be. Usually, this won’t return any errors and will give you a green light.
Sometimes, it may prompt you to repair the installation, but that doesn’t usually require as much time as reinstalling the whole game.
In either case, this is much faster than deleting the game entirely and reinstalling it to the new drive. And, in the event of a worst-case scenario, you’ll be doing the latter anyway and starting fresh, so the added time in comparison will be nominal.
Where to get more Steam support
If you want more expert advice, be sure to directly consult the Steam Support page about migrating saves, along with other how-to pages linked from there.
You can also find a fair amount of wisdom on community forum threads, as well as a few instructional videos on places like YouTube.
Remember: We didn’t get into PC gaming because we wanted a tinker-free experience. We did it because we can’t help but ‘tool around under the hood.’ And even when we make mistakes, odds are, it’s already well-trodden territory.
Bottom line: You’re in good company, so don’t hesitate to look for the answers that benefited others.
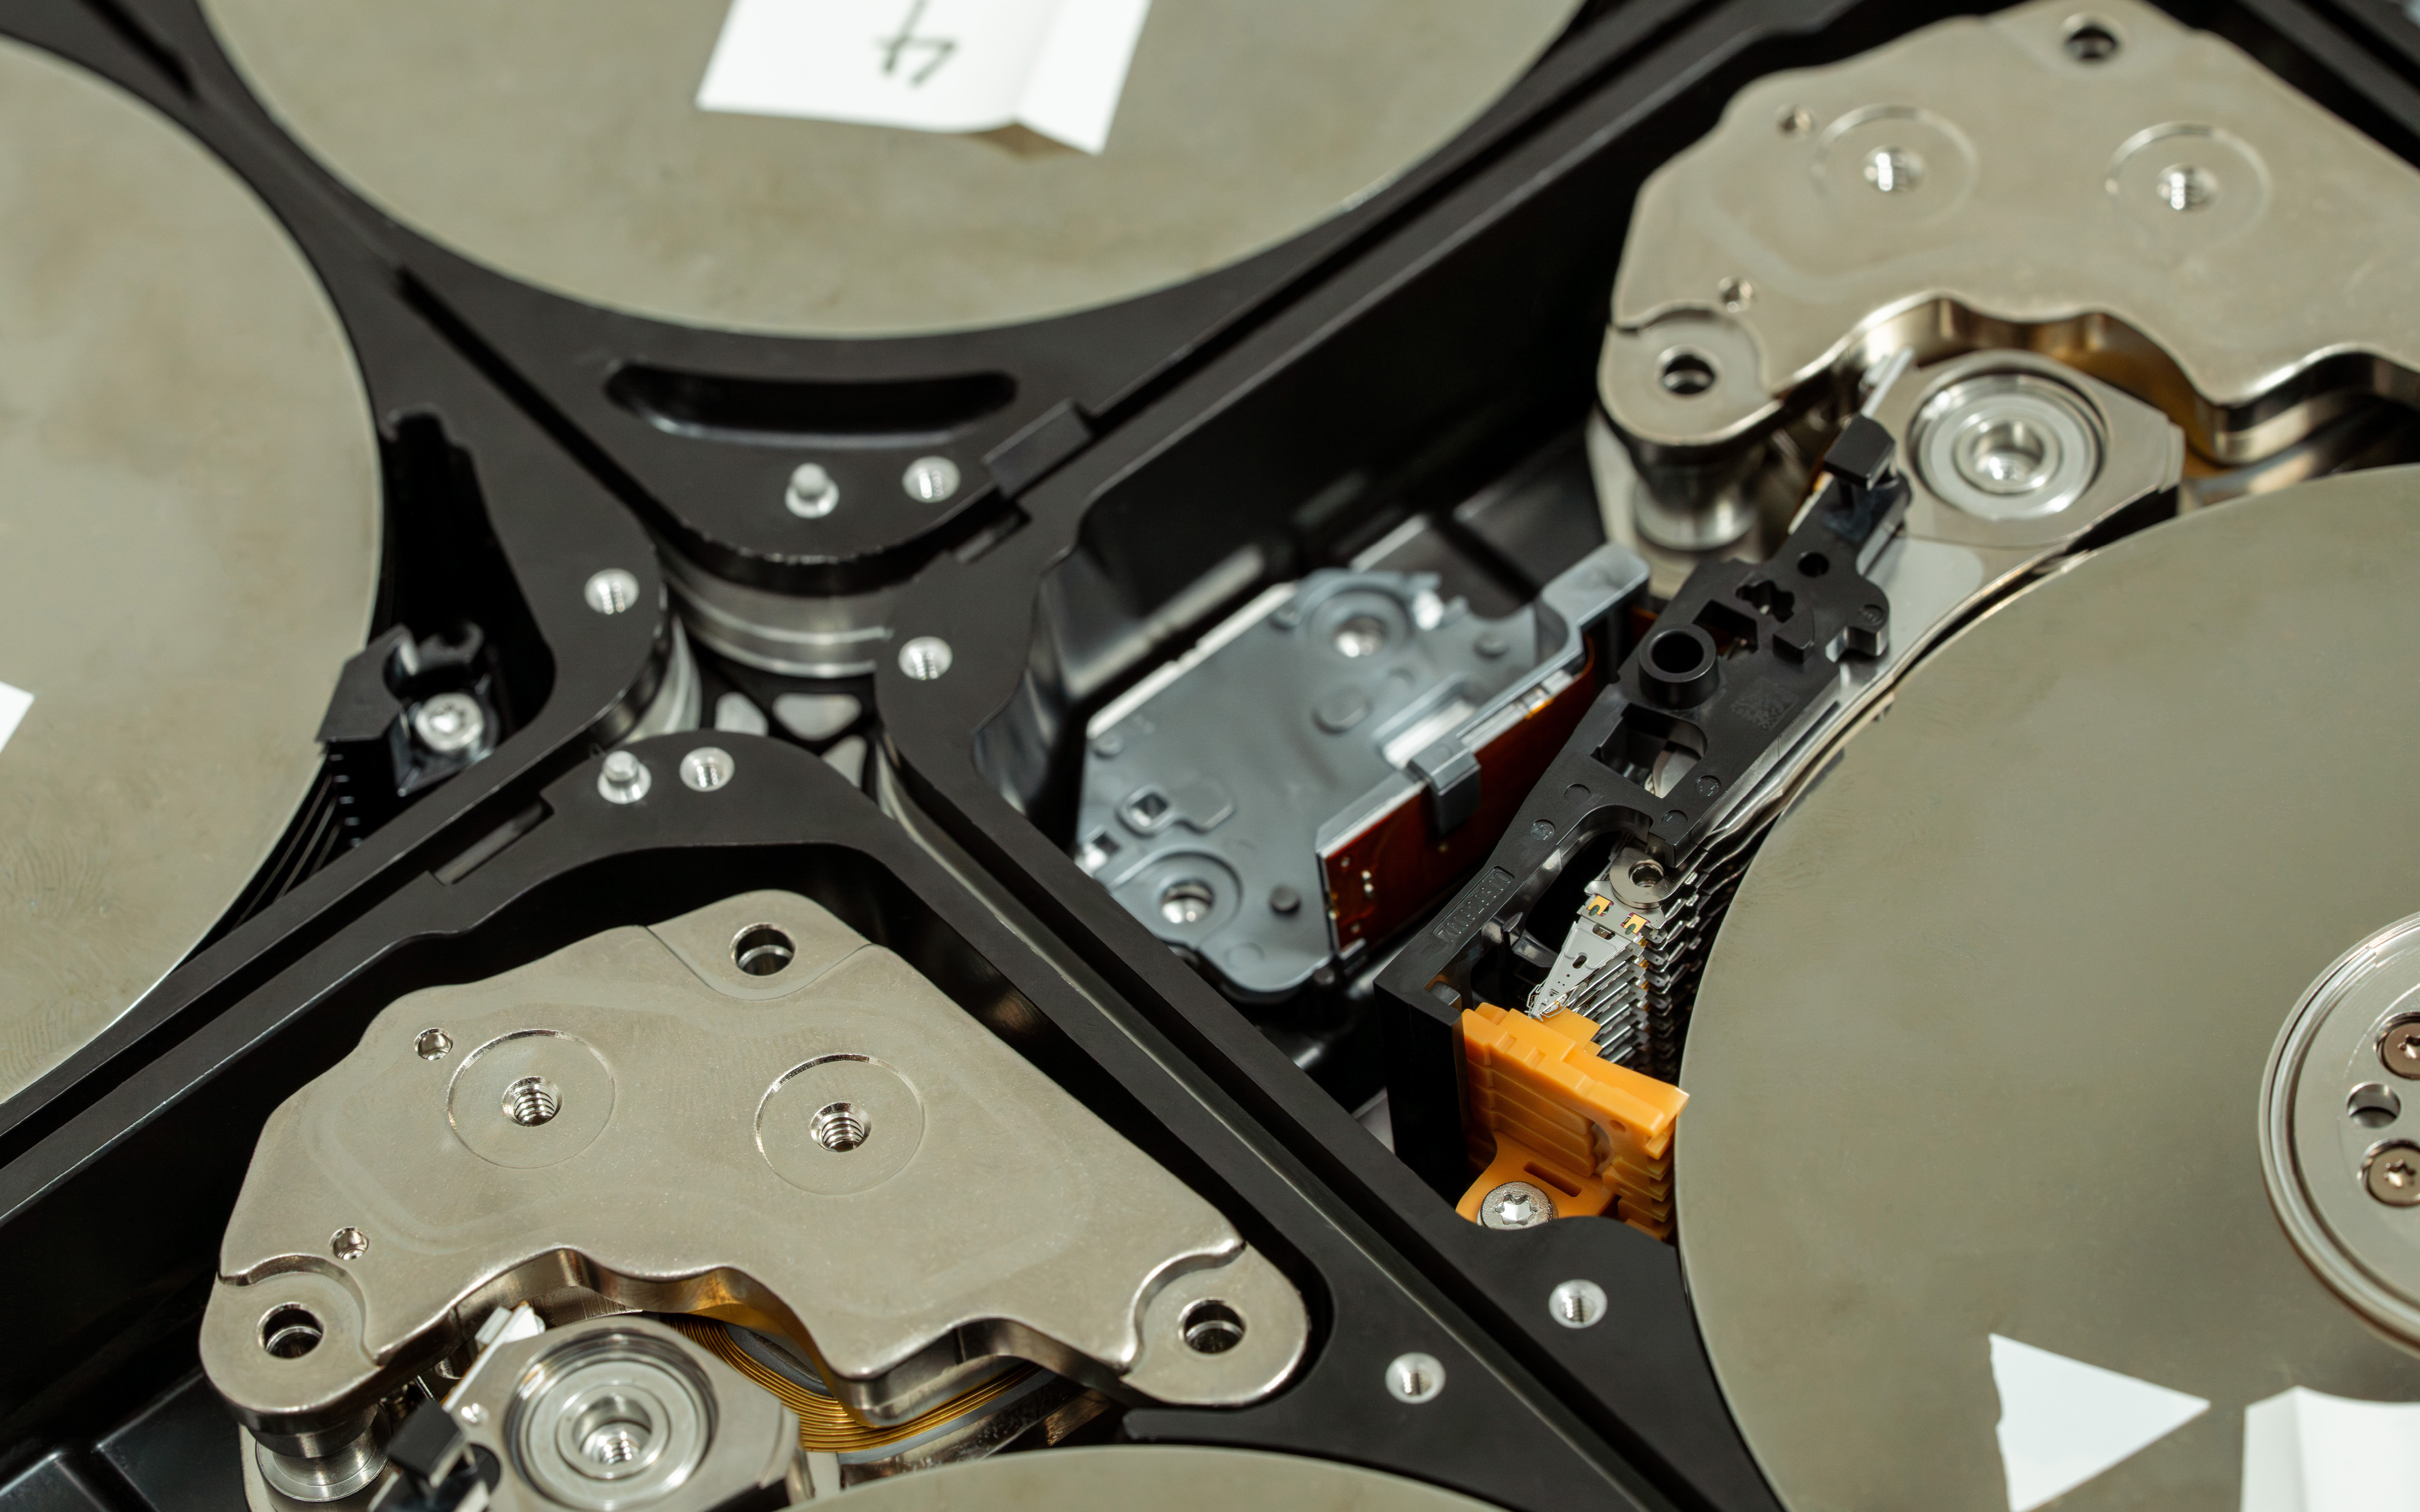
Maintain drives for lasting performance
As storage experts ourselves, we usually advise scheduling periodic checks on drive health, cleaning up old data and balancing library sizes across multiple drives.
Nothing lasts forever, and declining drive performance can be an unwelcome surprise if you’re not careful. Regular maintenance can help prevent unexpected storage disasters and avoid unnecessary headaches and frustration.
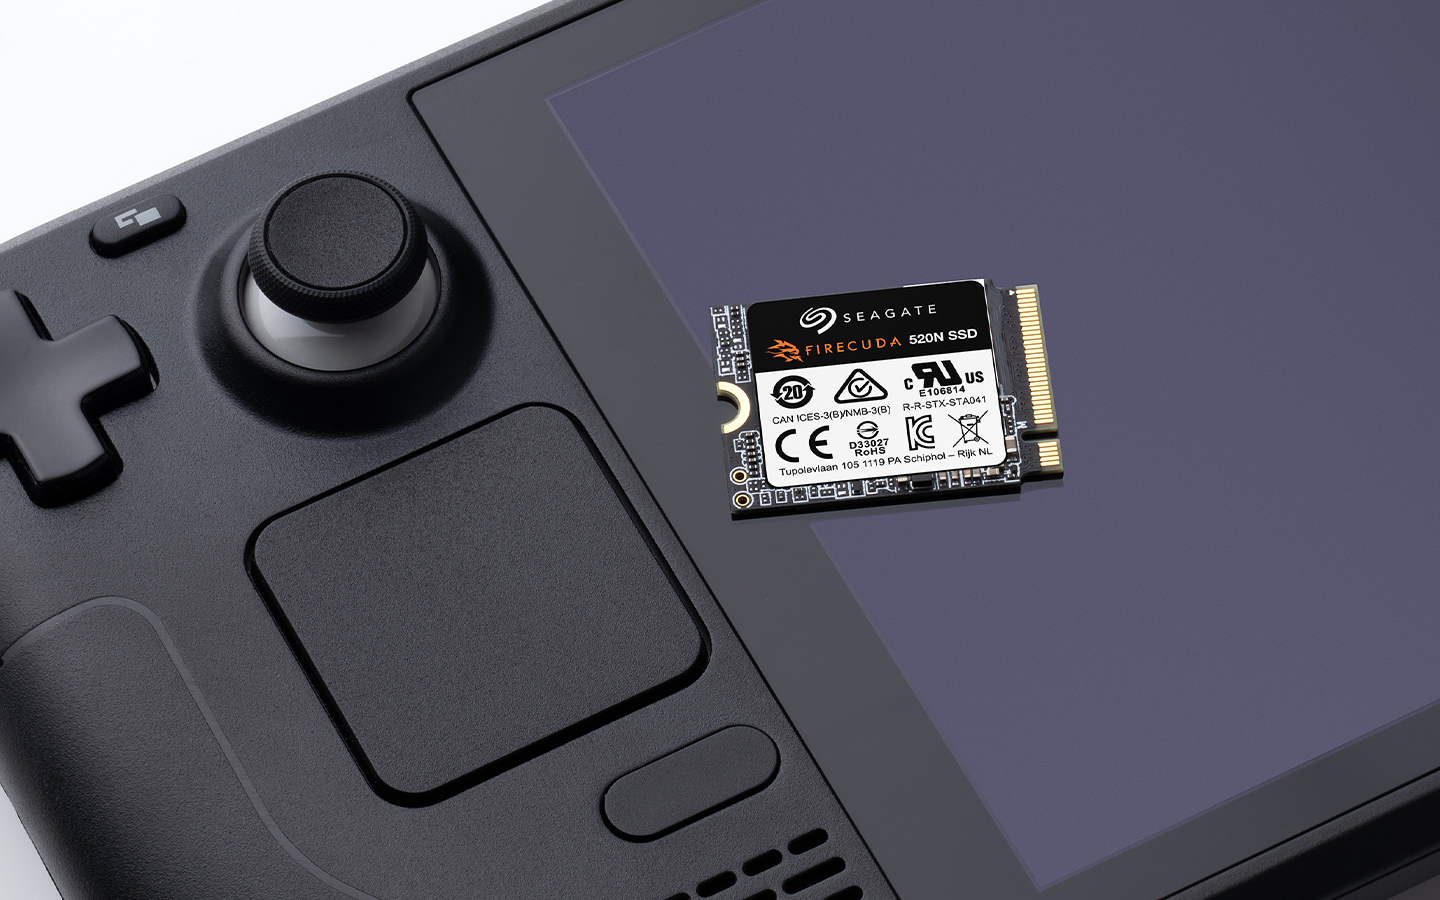
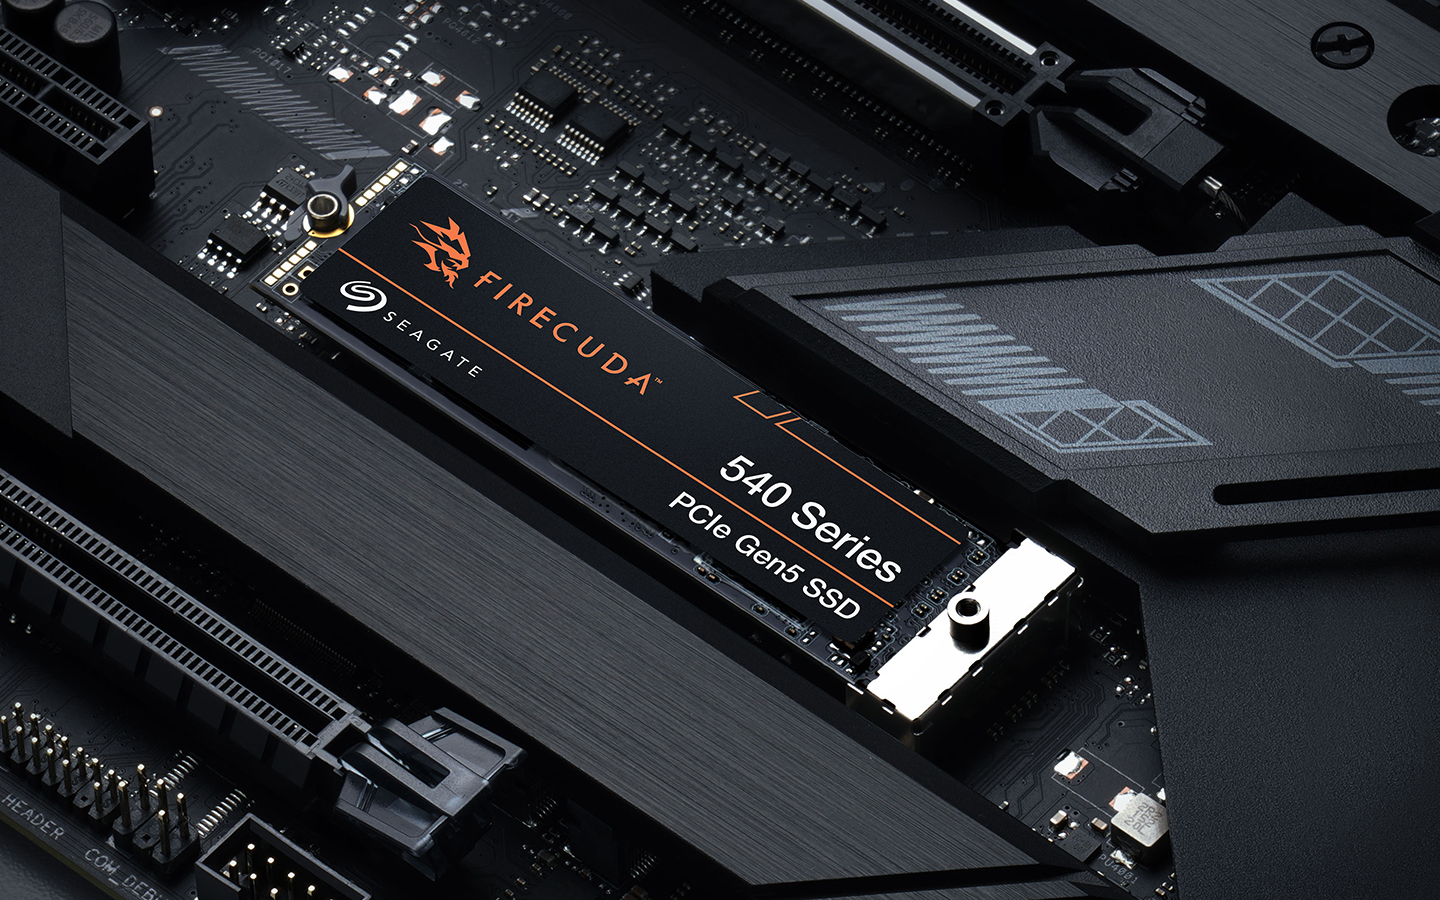
Boost performance with Seagate gaming drives
Hard drives and SSDs for Steam games
If you’re already thinking about storage for gaming media, it might be worthwhile to consider optimizing how your storage is used and organized, and to plan for future demands and usage.
One of the easiest ways to maintain steady performance is by having the right amount of storage, so there’s no need to constantly reinstall games.
Using a larger capacity hard drive like the FireCuda® gaming hard drive can allow for an archive section in your gaming library, freeing up your SSD for games that are currently in use.
Hard drives offer better affordability for larger storage limits, while SSDs provide faster performance at a slightly higher cost. Using them in tandem allows you to get the best of both worlds without ballooning the budget.
How Seagate drives improve gaming performance
Stable performance and faster read/write speeds are critical for any gamer looking for a smooth, reliable experience playing modern games. Seagate premium hard drives and SSDs can help you make the most of your gaming rig and favorite games.
Reduce the need for constant reinstallations, remove worries of drive longevity and dependability, and just enjoy more gaming with less stress and fewer loading screens.
Confident game migration with Seagate support
Moving your Steam games around shouldn’t be intimidating or anxiety-inducing. You should have full control over your PC and how it operates, including how and where your games are stored.
Hopefully, the instructions we’ve provided here have helped you feel more confident in doing just that.
If you’re in the market for new storage hardware, take a look at the products offered by Seagate — especially the FireCuda lines, which were designed specifically with gamers in mind. These drives are reliable, high-performance solutions for both the hard drive and SSD needs of gamers of all types.
And with robust customer support and warranty services, you can enjoy peace of mind knowing you have access to expert assistance, if you ever need help or have questions.


-v4.png/_jcr_content/renditions/4-3-small-416x312.png)