Products
Knowledge Base
Support Downloads
Articles
suggested searches
Account
Introducing Mozaic 3+, our breakthrough hard drive platform, delivering unprecedented areal densities of 3TB/disk and beyond.
... with lightning-fast storage. Now $79.99 for a limited time only.

Achieve maximum storage capacity with the industry’s most efficient, sustainable, and proven hard drive.

Data is currency. Cost should not be a barrier to storing more of it.
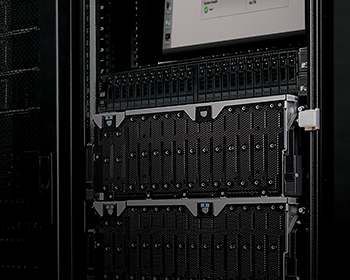
Securely control your data with an affordable, efficient private cloud built on hyperscale architecture.

Safeguard business continuity with modern data protection and industry leading cost per terabyte (TB).
Streamline digital content management workflows and efficiently store data-intensive media.

A tightly integrated portfolio, engineered for hyperscale storage efficiency and frictionless data mobility.
Culminating in a breakthrough collection of nanoscale technologies, Mozaic 3+™ is a hard drive platform that incorporates Seagate’s unique implementation of HAMR to deliver mass-capacity storage at unprecedented areal densities of 3TB per disk and beyond, enabling data center efficiency like never before.
Discover how we use a precision-engineered laser to enable HAMR in a fraction of a second.
This highly tailored servo-processor chip is the operational heart of Mozaic-enabled hard drives.
We built the industry's smallest, most sensitive magnetic field sensor to facilitate higher data densities than ever before.
To combat magnetic instability, we designed a superlattice structure to enable high-fidelity data inscription.
“Build a frictionless future for your data with the world’s leader in storage.”
Global Employees
Storage Innovation
FY23 Revenue

Learn how Seagate’s areal density enhancements produce TCO savings.

Put more of your business data to work, from edge to cloud.
Future-proofing data management for mass storage, migration, and movement.

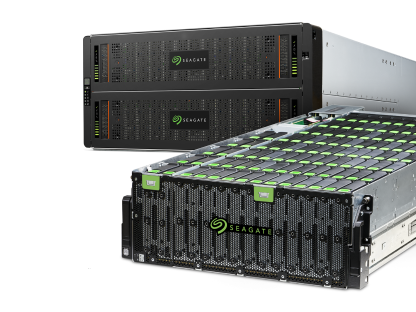
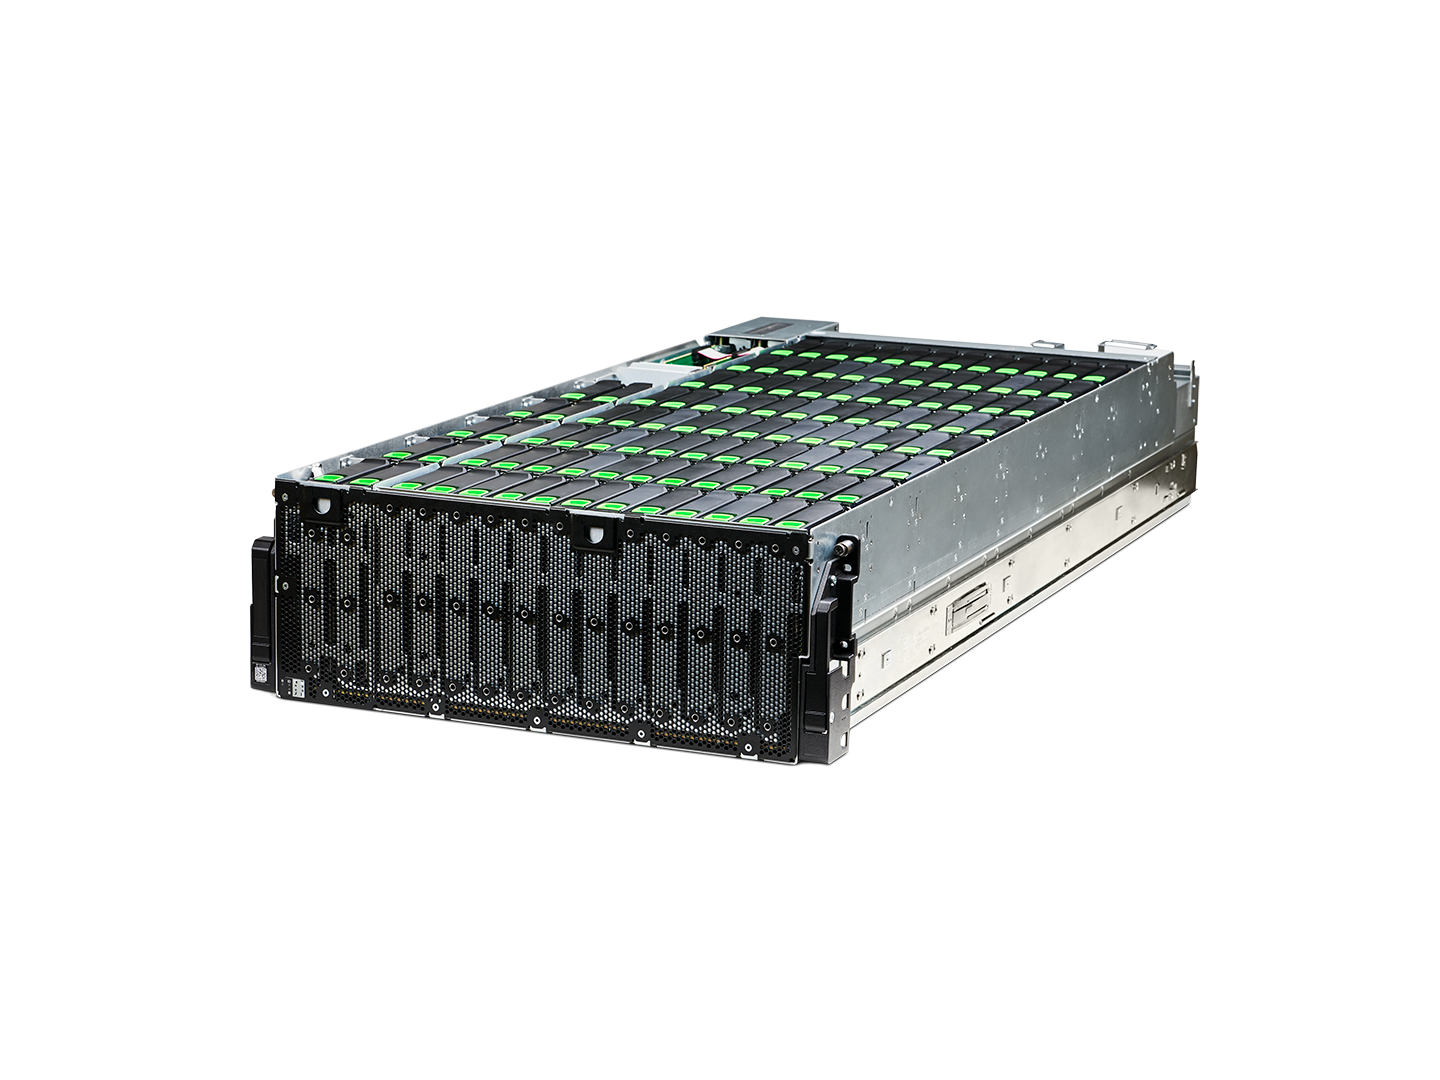
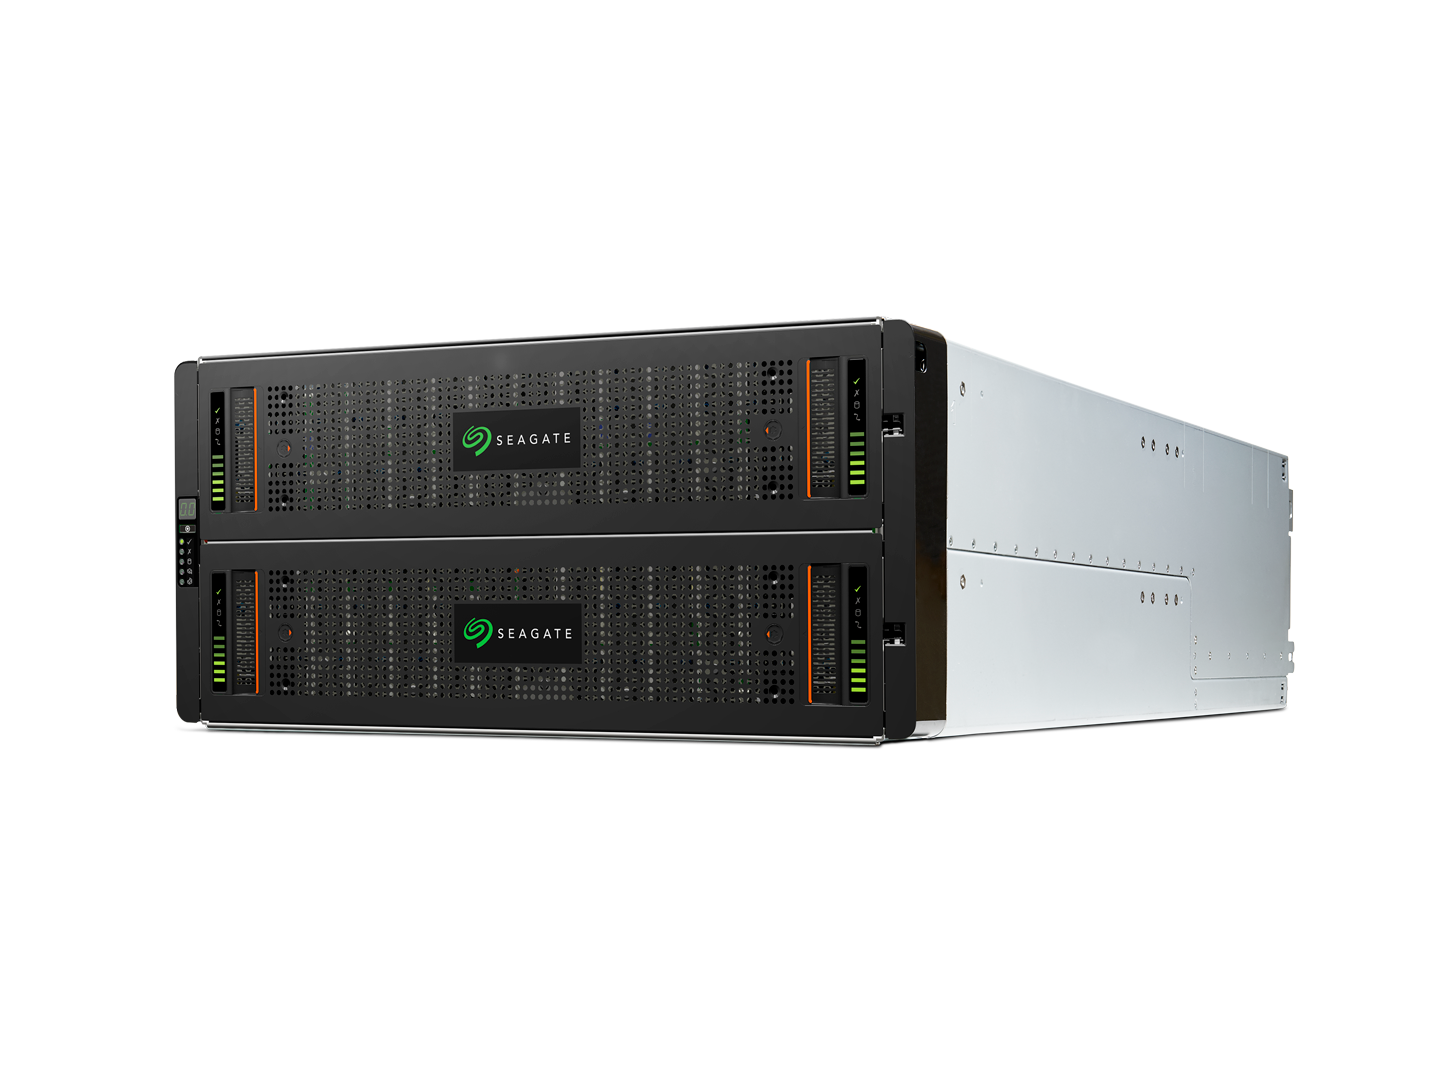
Find out how Exos CORVAULT systems meet today’s storage challenges.
The figure shown in the bytes shipped counter is an approximation based on Seagate’s quarterly average runrate of exabytes shipped.
Exos CORVAULT receives overall customer rating of 5 out of 5 on Gartner® Peer Insights™ as of May 2023. Distribution based on 5 ratings.
Gartner and Peer Insights™ are trademarks of Gartner, Inc. and/or its affiliates. All rights reserved. Gartner Peer Insights content consists of the opinions of individual end users based on their own experiences, and should not be construed as statements of fact, nor do they represent the views of Gartner or its affiliates. Gartner does not endorse any vendor, product or service depicted in this content nor makes any warranties, expressed or implied, with respect to this content, about its accuracy or completeness, including any warranties of merchantability or fitness for a particular purpose.