Note: When this article refers to a Wireless Device it is referring to a Seagate Wireless Plus or a Seagate Wireless.
Please follow this procedure to transfer iTunes content to the Wireless Device in Windows:
- Connect to your Wireless Device via wi-fi.
Optionally, you may connect the Wireless Device to your computer directly via USB for faster speeds. - Launch iTunes.
- In the upper left corner, click on the dropdown menu that usually displays as Apps by default.
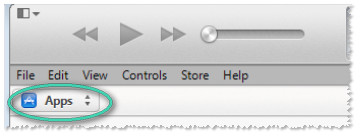
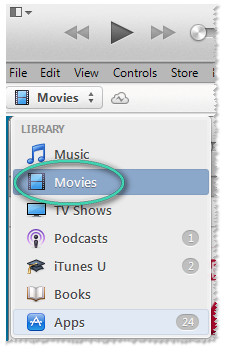
- Click and select the type of file you would like to transfer to your Wireless Device. In this example, we are choosing to transfer movies.
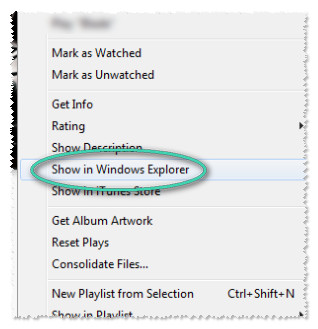
- Right-click on the album or video you would like to transfer and select Show in Windows Explorer.
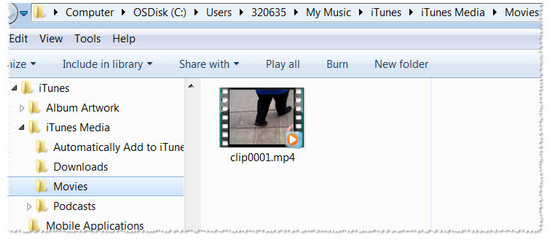
Your video file will display in Windows/File Explorer or (My) Computer.
- Open another (My) Computer or Windows/File Explorer window and select your Seagate Wireless Drive.
- If you connected wirelessly, look under Network in the left sidebar. It displays by default as WIRELESS-PLS123, where 123 represents the last 3 digits of the serial number of the Wireless Plus.
If you have changed the host name of your Seagate Wireless Plus, the new host name will display. - If you connected the drive with the USB cable, then it will show up under your list of disk drives, as usual.
- Double-click on the Seagate Wireless Plus drive. If you are prompted to enter login credentials, enter your username and password.
If you have not yet set a password, type the following:
Username: admin
Password: admin
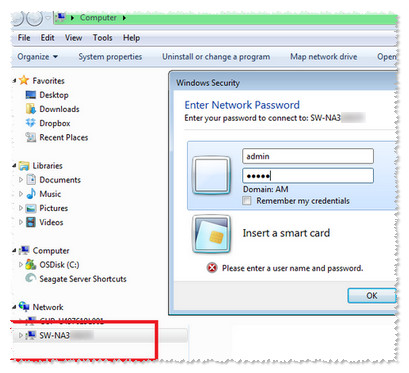
- Click OK.
If you connected wirelessly, the Public folder displays.

- Double-click on Public and enter in your credentials again (if prompted).
- Resize each of the two open windows if necessary so that both are visible, neither covering the other.
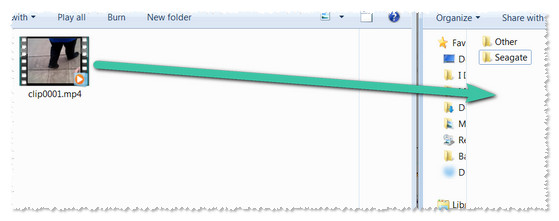
- Click and drag the file(s) you chose from the iTunes folder to the Wireless Plus folder of your choice, or place the file directly into the Public folder.
- Disconnect from your Wireless Plus in the following manner:
If you are connected via wi-fi, connect to your home network in your network settings.
If your Wireless Plus is directly connected to your computer, safely remove the Wireless Plus.


