


The following instructions assume that an iSCSI Target / Device has been setup on the BlackArmor NAS in advance. See Document ID: 219631 for instructions on doing so, then return to this article and continue.
- Open the vSphere Client and log in.
- Choose the Configuration tab.
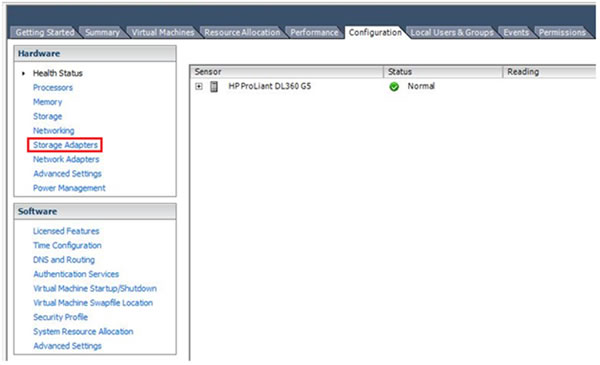
- Select Storage Adapters under Hardware on the left side.
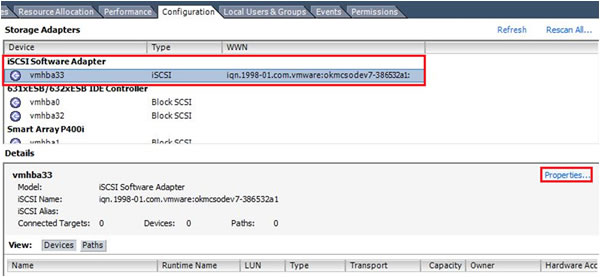
- Locate the iSCSI Software Adapter. Highlight it and click Properties...
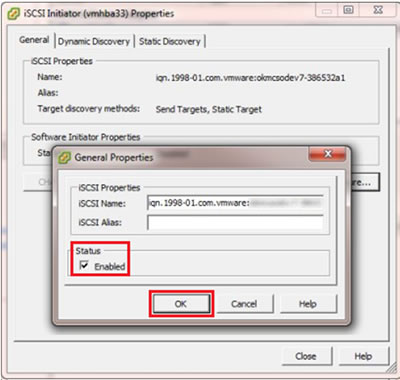
- Click the Configure button.

- Under Status, check the box next to Enable and click the OK button.
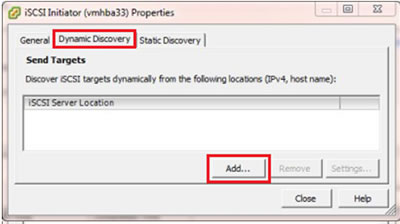
- In the Initiator Properties box click the Dynamic Discovery tab and click the Add... button.
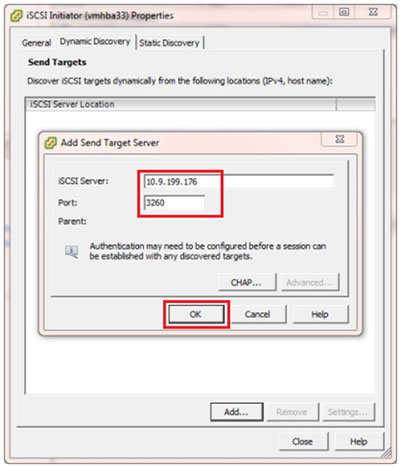
- Enter the NAS IP address. Verify the Port matches the port in the iSCSI Manager page in the NAS setup and click the OK button.
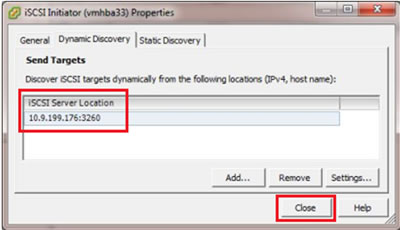
- The iSCSI Server Location will populate. Click the Close button.
- An Alert box will open prompting to re-scan. Click the Yes button.
The Target will display as connected.

- Click Storage on the left, then click Add Storage...

- Select the Storage Type and click the Next button.

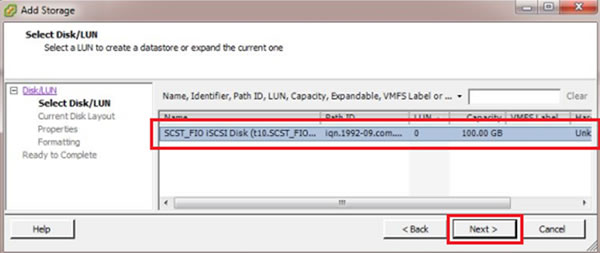
- Highlight the iSCSI Disk shown and click the Next button.
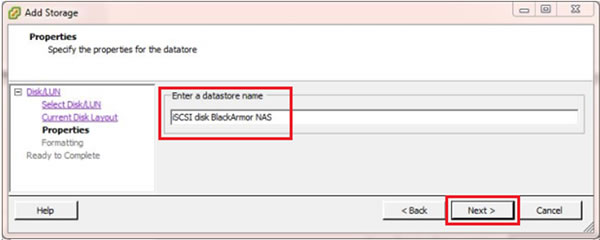
- Enter a datastore name and click the Next button.
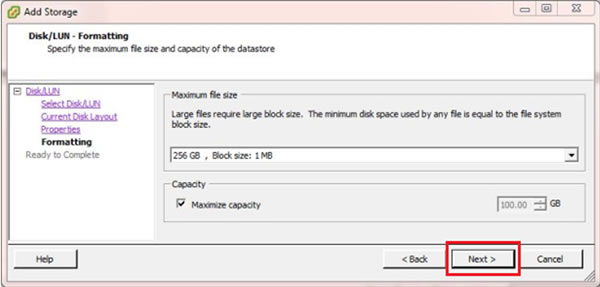
- Choose the Maximum file size from the drop down and the Capacity as needed. �For help, see the VMware Help documentation. Click the Next button.
- Review the Disk layout and click the Finish button.

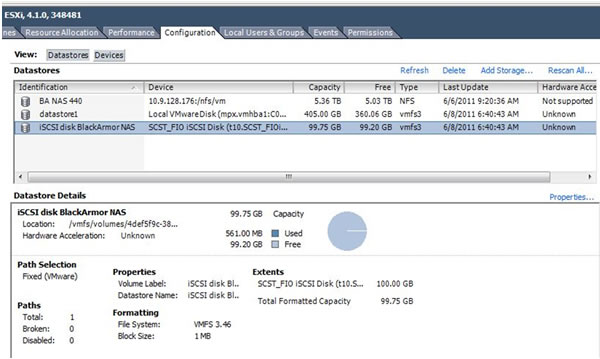
- The iSCSI disk will now show as a Datastore.
- A new virtual machine can now be created on the iSCSI drive.
See VMware help documentation if needed.