Was this content helpful?
How could we make this article more helpful?
Connect Lyve Mobile Array
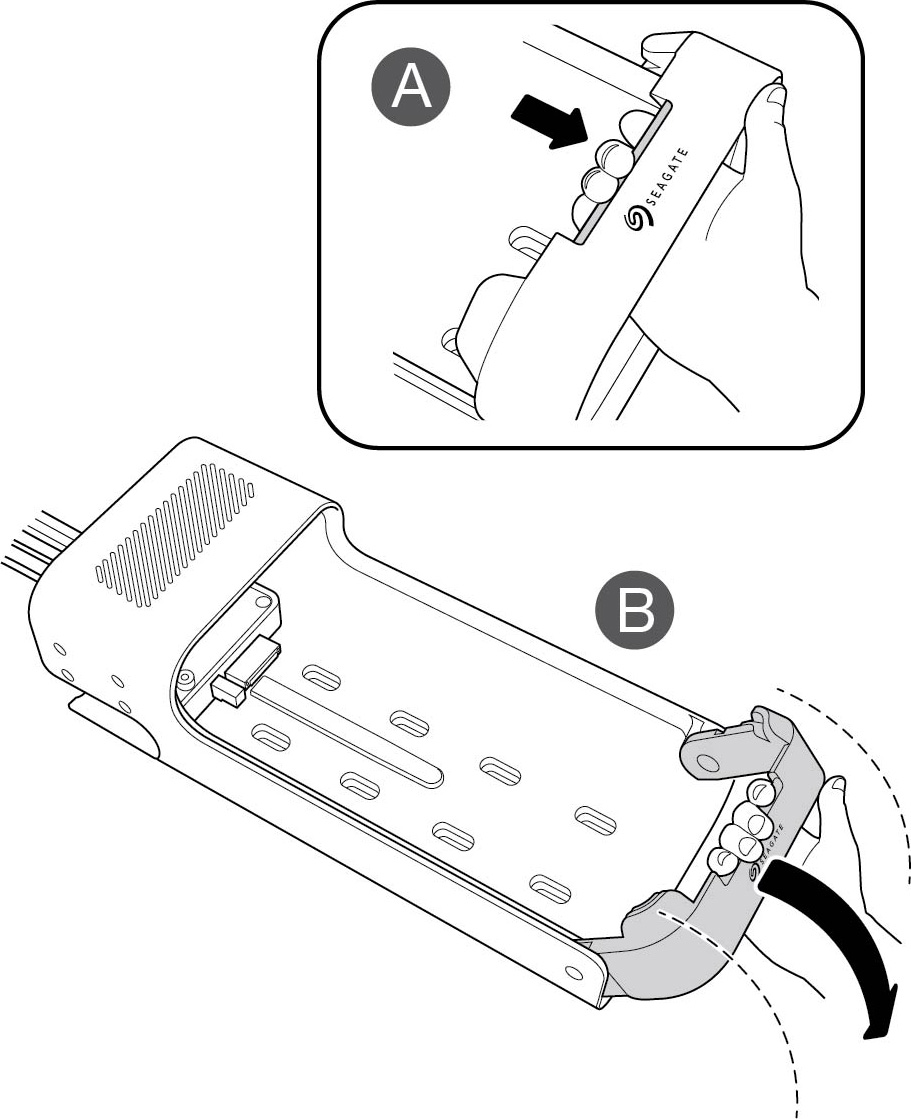
Step 1 - Release handle
Press the green release button and pull the handle down.
Step 2 - Insert device
Insert Lyve Mobile Array with ports facing PCIe Adapter. Slide Mobile Array toward the back of the mount. Apply firm pressure until Mobile Array is seated on PCIe Adapter.
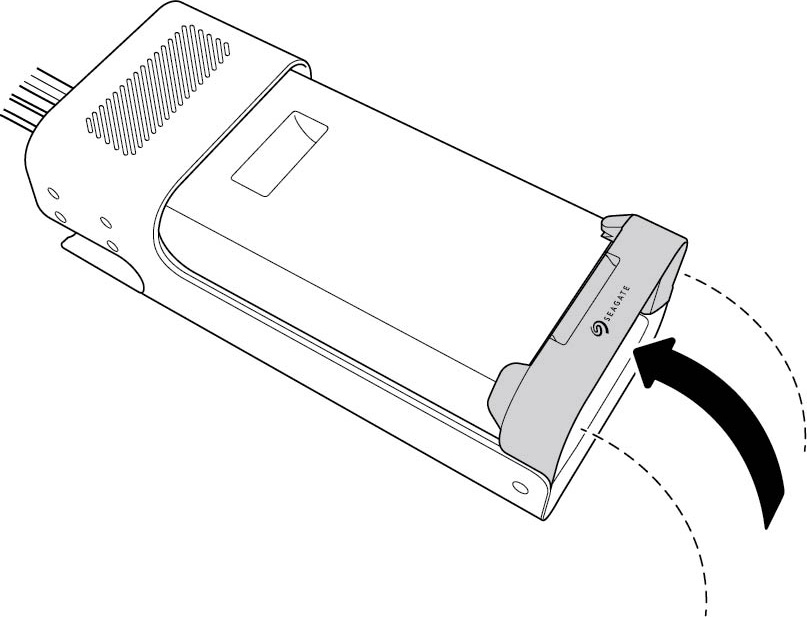
Step 3 - Lock device in place
Raise the handle and lock it in place.
Step 4 - Unlock the device
The LED on the device inserted in Lyve Mobile Mount blinks white during the boot process and turns solid orange. The solid orange LED colour indicates the device is ready to be unlocked.
Make sure the Lyve Client app is running on the host computer. The host computer will automatically unlock the device if it connected to it in the past and is still authorised for security. If the host computer has never unlocked the device, you will need to enter your Lyve Management Portal username and password in the Lyve Client app. See Setup Requirements.
Once Lyve Client has validated permissions for the device connected to the computer, the LED on the device turns solid green. The device is unlocked and ready for use.
Safely removing a device
Your computer must perform filing and housekeeping operations on your Lyve device before it is physically removed from Lyve Mobile Mount. To avoid corrupting or damaging files, always eject the device’s volumes from your computer before physically removing the device.
To avoid muscle strain or back injury, use proper lifting techniques when removing devices from Lyve Mobile Mount.