Was this content helpful?
How could we make this article more helpful?
Installation
Install FireCuda 530 SSD
- Before installing FireCuda 530 SSD, power down your computer and unplug any cables attached to it.
- Open the case or cabinet.
- If an existing SSD drive is installed in the M.2 PCIe slot you intend to use for FireCuda 530 SSD, you'll need to remove it.
- Power on your computer.
- Access the BIOS setup while the computer is booting. Ensure that a PCIe device is set in the BIOS boot sequence or boot priority list.
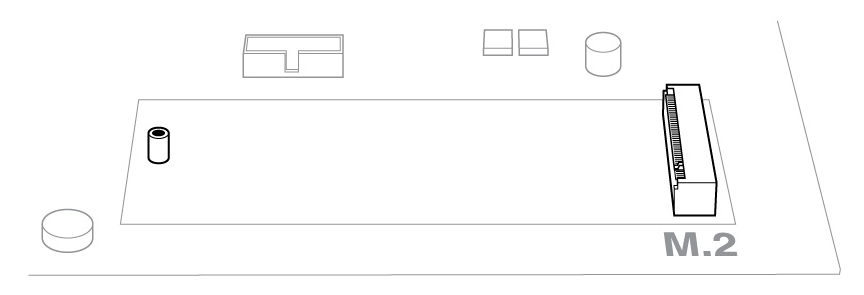
- Power down the computer and locate the M.2 PCIe slot on your motherboard.
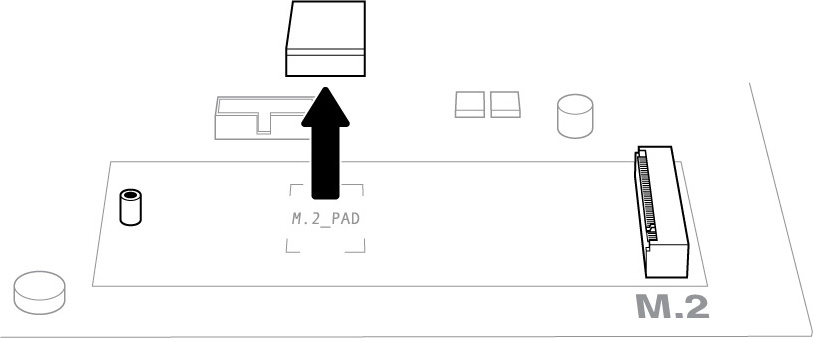
Note—Some motherboards have a pad installed in the M.2_PAD space by default. This pad can be removed to ensure a better fit for FireCuda SSD.
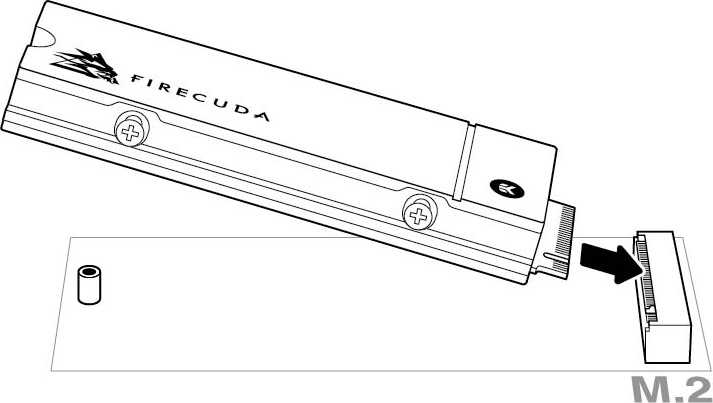
- Check to make sure that the notch on FireCuda SSD is correctly aligned with the divider in the slot. Gently push FireCuda SSD into the slot until it's firmly seated.
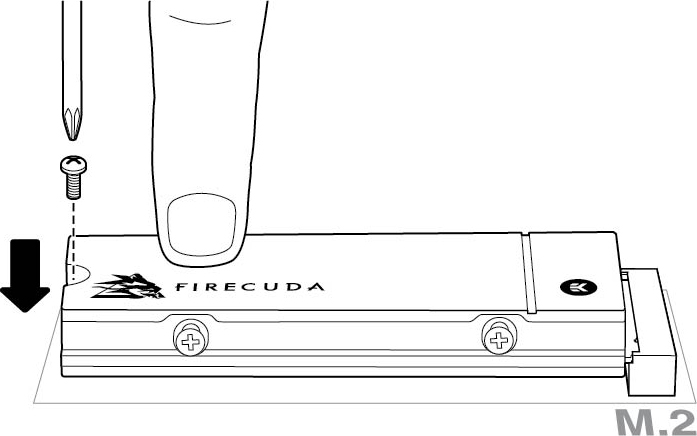
- Hold down FireCuda SSD while you fasten the mounting screw. Make sure the SSD is secured in place.
- Close the case or cabinet and reassemble your computer.
- Power on your computer.
- Install the computer operating system on FireCuda SSD if you want to use it as the primary drive.