Was this content helpful?
How could we make this article more helpful?
Replacing the Hard Drive
Before replacing the drive, ensure that the replacement drive is installed in a compatible 3.5-inch drive enclosure. FireCuda Forge supports only hard drives in 3.5-inch enclosures.
Replacing the device's hard drive or the installed SSD causes the existing FireCuda Forge volume to be recreated. Because FireCuda Forge combines the SSD and hard drive into a single storage volume, all data associated with the existing volume will be lost.
NTFS default format
FireCuda Forge automatically formats the volume as NTFS for Windows. The formatting occurs after the HDD is replaced and FireCuda Forge powers on for the first time.
Before you begin
- Back up all important data before replacing the hard drive in FireCuda Forge. Installing a new hard drive or SSD erases any existing data stored in the FireCuda Forge volume.
- Make certain FireCuda Forge is not connected to your PC.
- Electrostatic discharge (ESD) can damage the hard drive. Ground yourself before handling internal components.
- Handle the hard drive with its edges. Do not touch the connector pins.
Tools required
| Included |
|---|
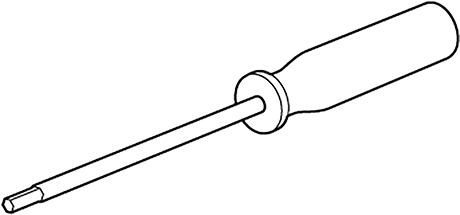 Hex screwdriver (2 mm) |
Remove cover
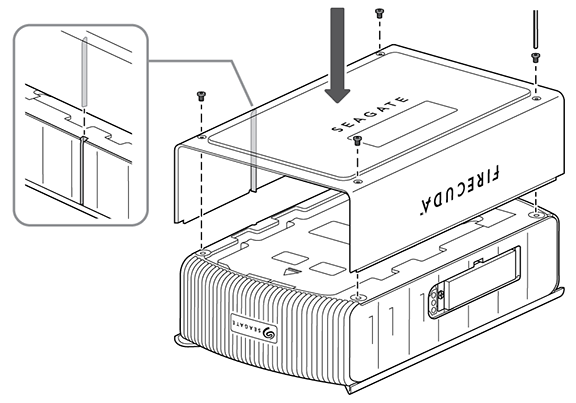
On a flat work surface, turn FireCuda Forge over to access the bottom of the device. Using the included 2 mm hex screwdriver, remove the four M3 screws (5 mm).

Lift off the cover.

Remove hard drive
Using the included 2 mm hex screwdriver, remove two M3 screws (20 mm) and two M3 screws (5 mm) fastening the hard drive.

Slide the hard drive cover plate forward.

Remove the cover plate.

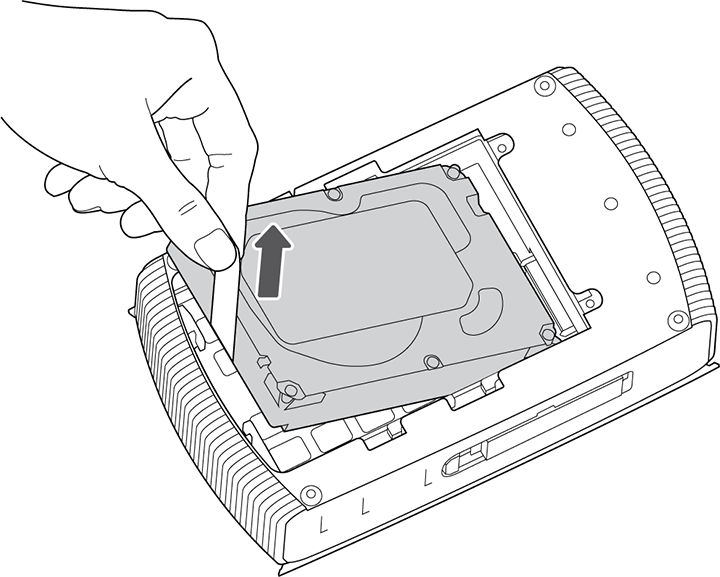
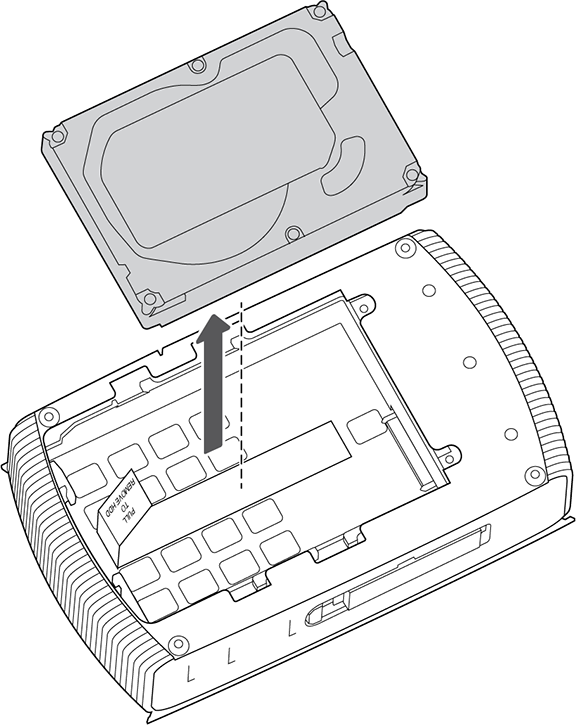
Pull the ribbon tab up and remove the hard drive.
Install replacement hard drive
Place the replacement drive in the empty bay.

Make certain that the replacement hard drive is placed with the label side up and the connector pins are aligned with the slot in FireCuda Forge.

Slide the drive back until the connector pins are seated securely in the slot.
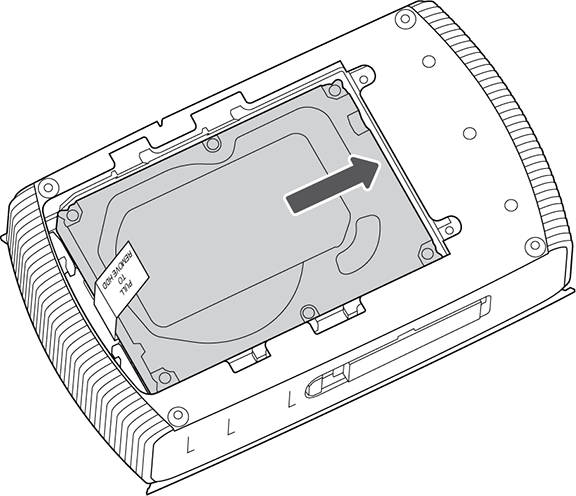
Place the hard drive cover plate back in the bay. Slide it back until the screw holes are visible through the cover plate.
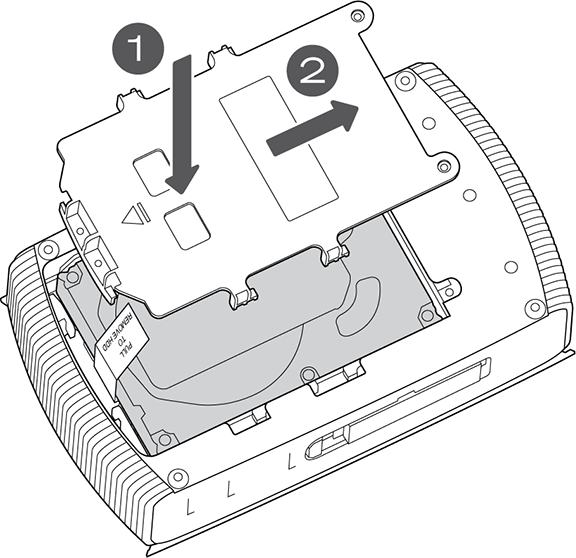
Secure cover plate with the two M3 screws (20 mm) and two M3 screws (5 mm).

Replace cover
Turn FireCuda Forge over to view the bottom of the device. Position the cover and secure it with the four M3 screws (5 mm).