
If you’re a Mac® user looking to expand your storage or back up important files, an external hard drive is a versatile and convenient solution. This guide will walk you through everything you need to know about setting up and using an external hard drive with your Mac, whether you’ve never used one before or simply need a refresher. From formatting the drive to transferring files and managing your data, we’ve got you covered with simple steps to make the most of your external storage.
See also: How to Use a Seagate External Hard Drive
How to Connect an External Hard Drive to a Mac
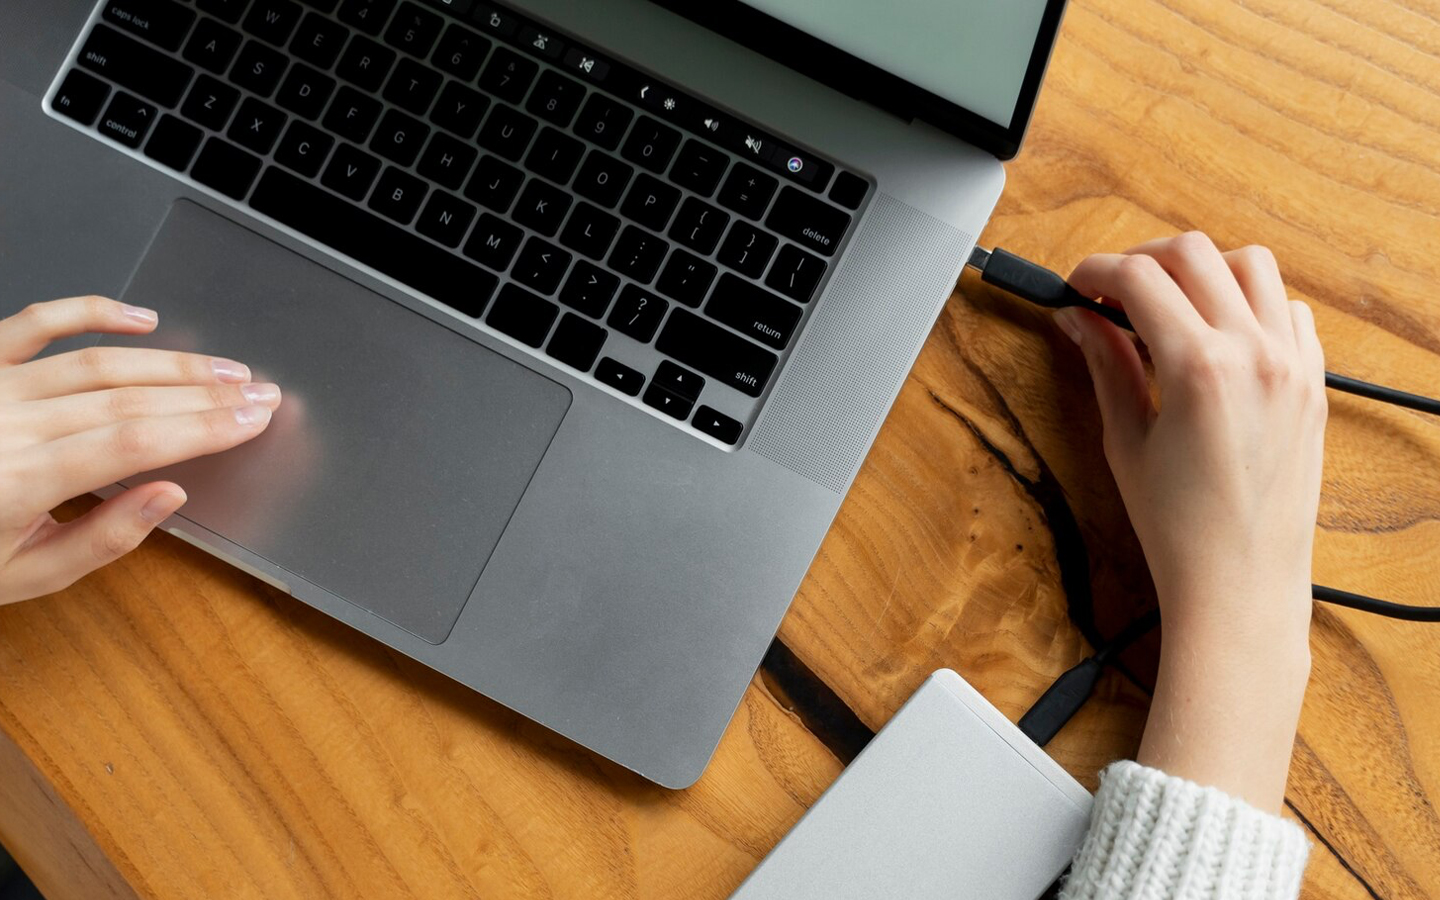
Follow these steps to connect an external hard drive to your Mac: First, plug the drive into your Mac using a compatible cable (usually USB-C, Thunderbolt, or USB-A, depending on your Mac’s ports). Once connected, the drive should appear on your desktop or in Finder under Locations. If it’s not visible, open Finder preferences and ensure External disks is checked under the General tab. If the drive is new or needs reformatting, you can do this using Disk Utility and selecting the desired format (usually ExFAT).
Ensuring Compatibility
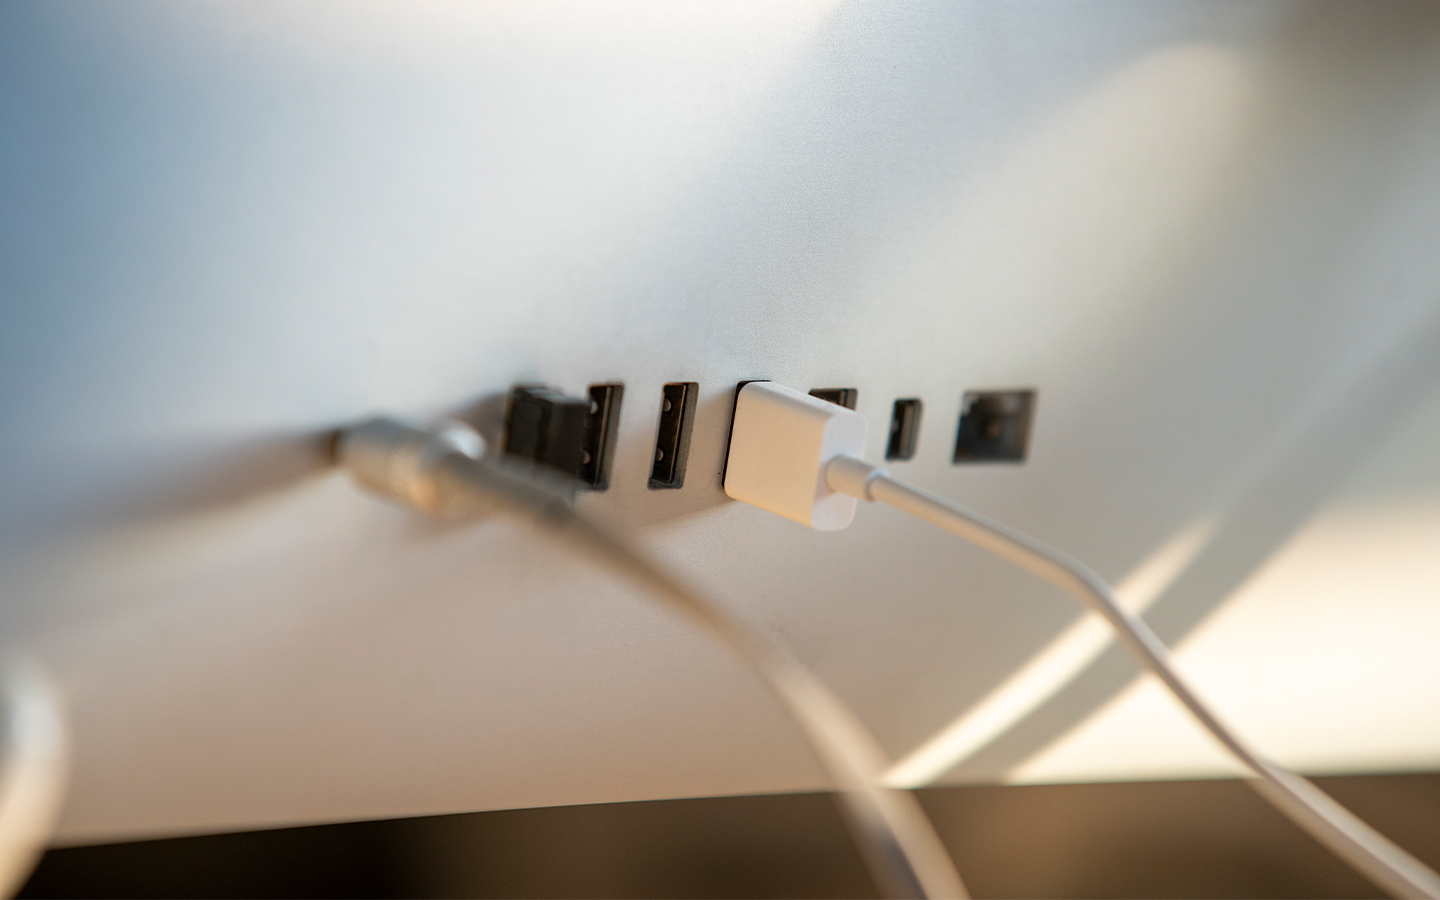
When selecting an external hard drive for your Mac, the connection type is crucial for compatibility and performance. Macs typically feature USB-C or Thunderbolt ports, so choose a drive that matches these connections. Many modern drives come with USB-C or Thunderbolt cables, promoting fast data transfer rates and seamless integration. If your external drive uses USB-A or another older standard, you’ll need an appropriate adapter to connect it to your Mac.
Connect Your External Hard Drive
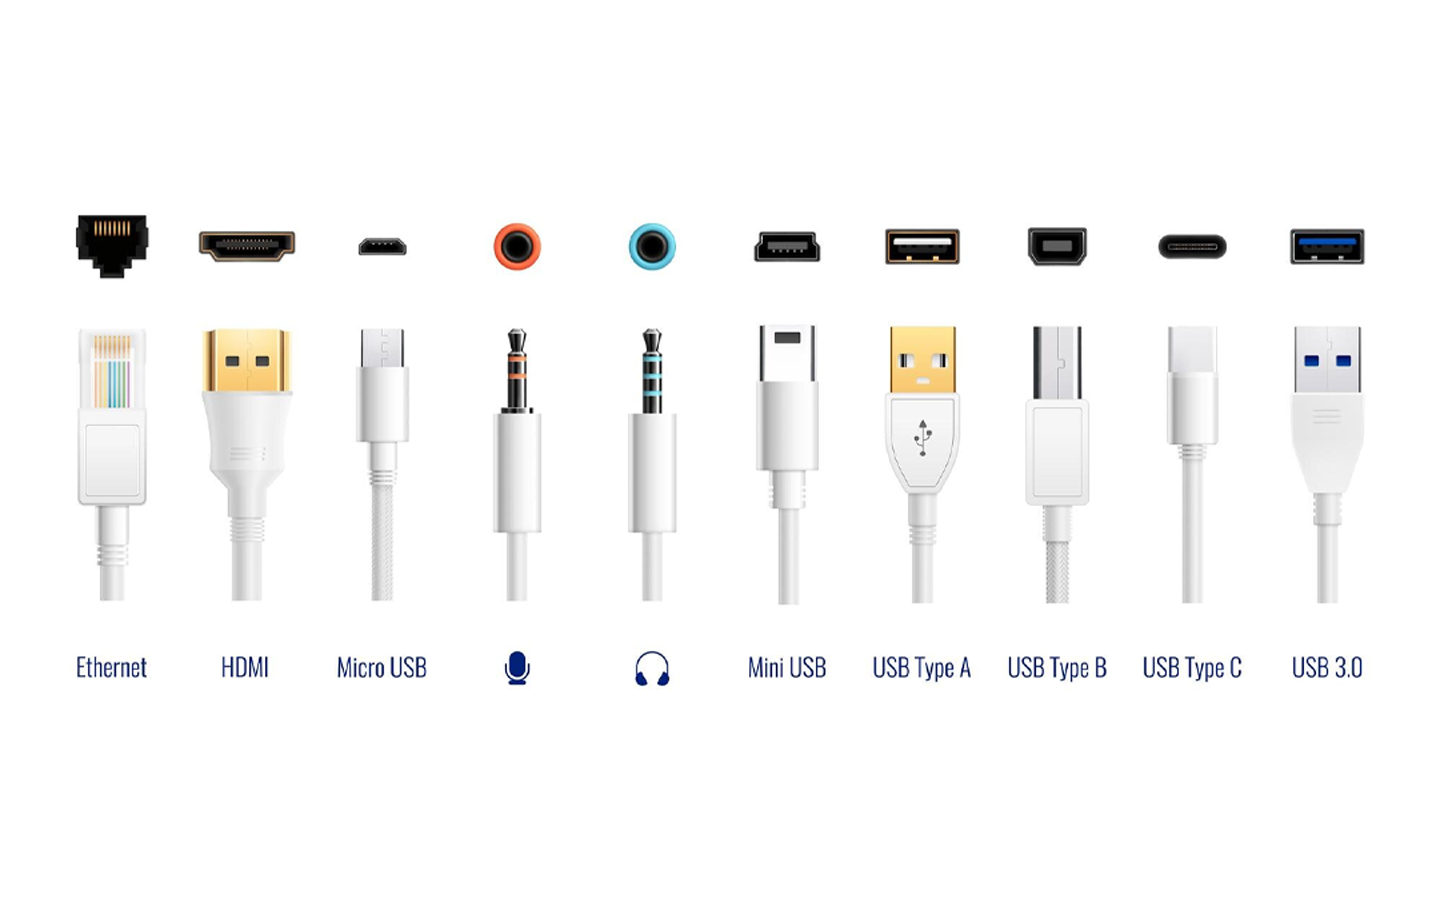
The type of port your Mac has will dictate how you connect your external hard drive. USB-C or Thunderbolt ports on most recent Macs allow you to connect directly to compatible external hard drives. If your external hard drive has a USB-A connector, you’ll need a USB-C to USB-A adapter to connect it to newer Macs.
After connecting, check that your Mac recognizes the drive. See if it appears in Finder or on the desktop under Devices. If not, check the connections or restart your Mac.
Some external hard drives require an external power source, so make sure it’s plugged in and turned on, if necessary.
Note: Most Mac external hard drives offered by Seagate don’t require an external power source.
Ensuring Proper File System
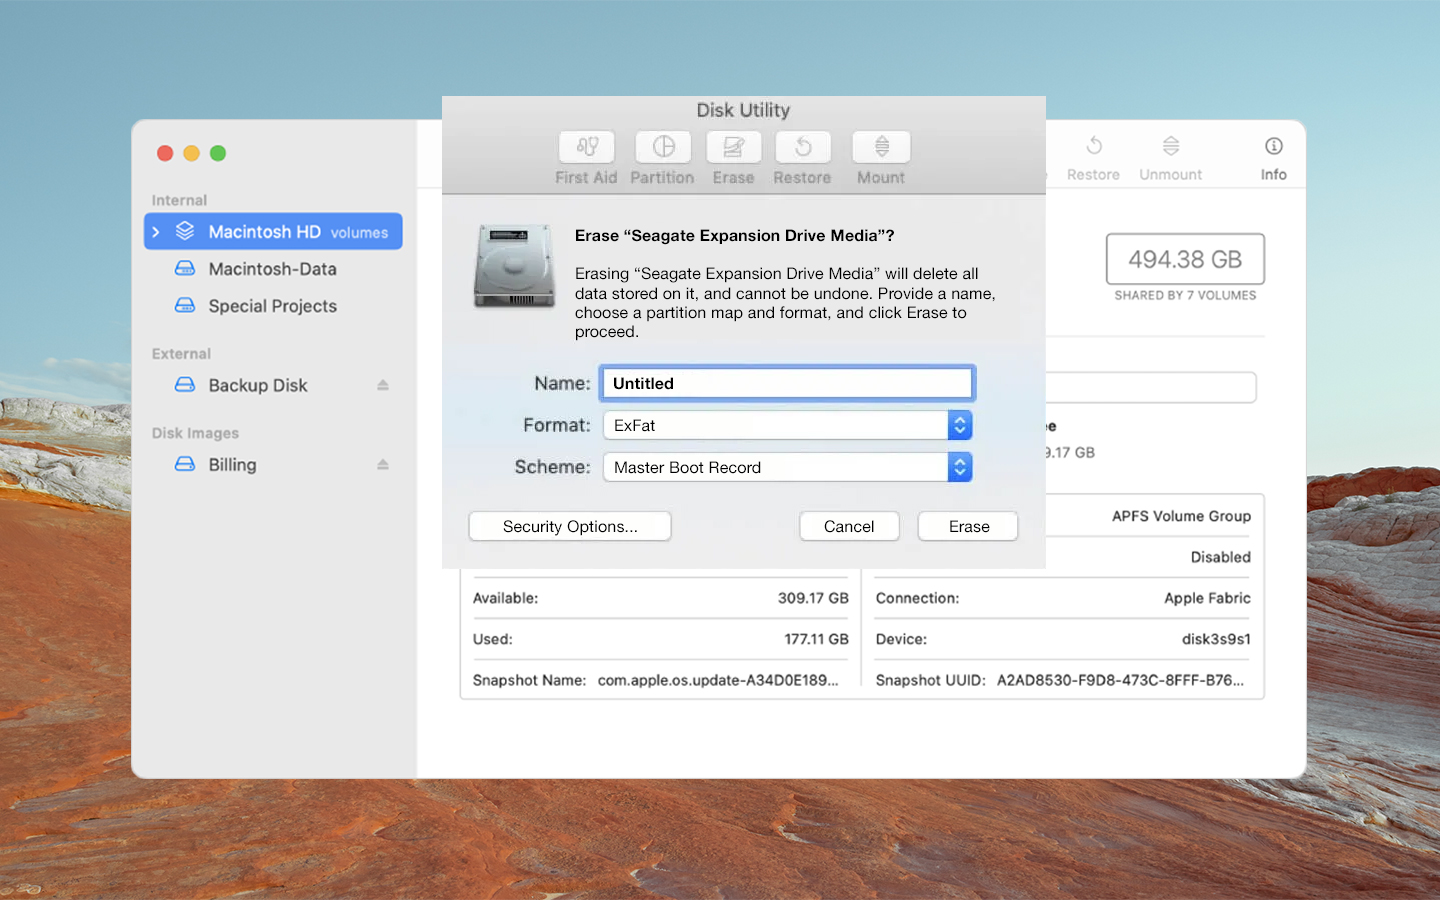
For your Mac to work seamlessly with your external hard drive, it must be formatted with a file system that macOS supports. Here’s what to do:
- Use the Disk Utility tool to check your external hard drive’s current file system. Compatible file systems include FAT32, exFAT, and APFS.
- If reformatting is needed, back up any important data, as this process will erase the drive contents.
- Use the Disk Utility tool to erase and reformat the drive, selecting the appropriate file system for your needs.
Note: ExFAT is the best option for compatibility between macOS and Windows. It supports large files and can be read and written by both Mac and Windows operating systems.
How to Use the (Now) Connected External Hard Drive
Now, let’s make the most of your newly connected hard drive.
How to Use the Drag and Drop File Transfer
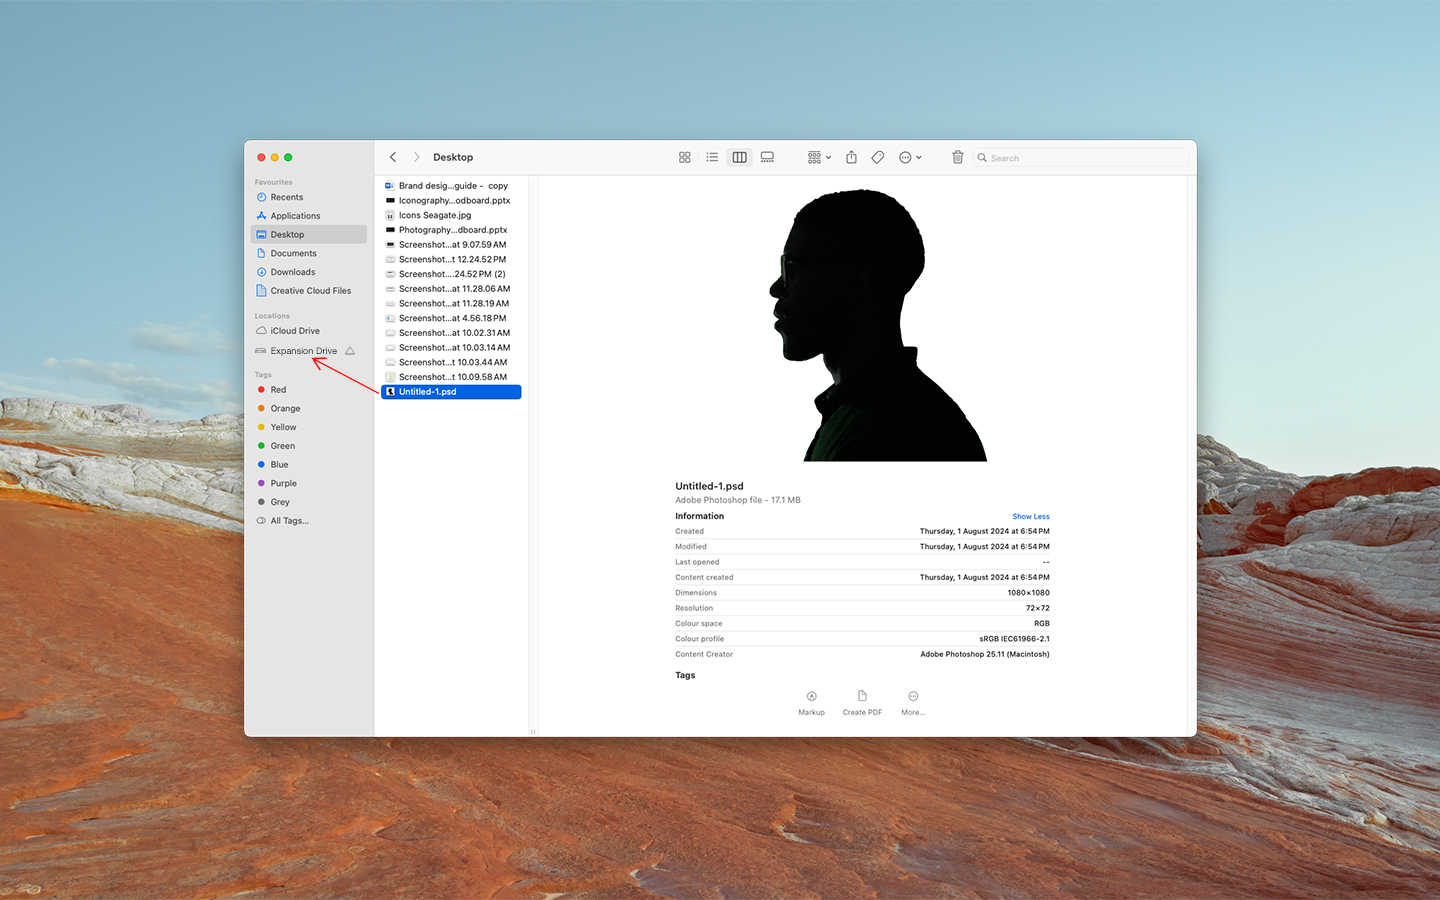
Dragging and dropping files from your computer to the external hard drive is an easy way to quickly transfer files between your Mac and the drive.
- Open Finder and navigate to the files you want to transfer.
- Click and hold the file or folder, then drag it to the external hard drive listed under Devices.
- Drop the file or folder onto the external hard drive for it to begin transferring.
How to Use the Finder for File Management
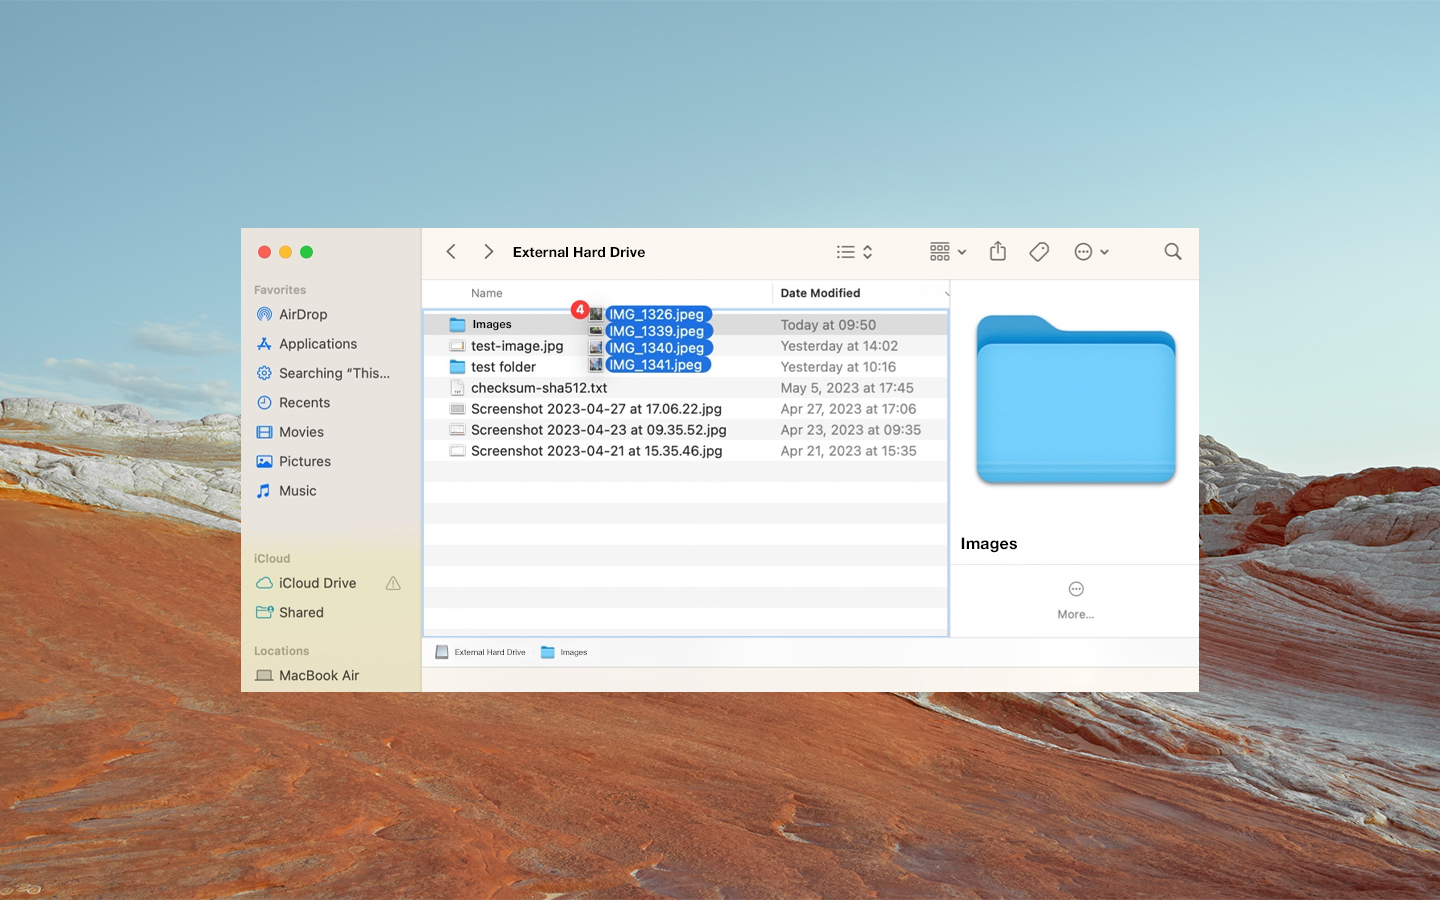
Finder is your go-to tool for managing files on your external hard drive. Finder built-in features let you easily view, organize, and move files.
- Open Finder and select your external hard drive from the sidebar under Devices.
- Browse through the contents of your drive and use the toolbar to create new folders, rename files, or move items between folders.
- Use the Finder search function to quickly locate specific files on your external hard drive.
How to Create Folders and Organize Files
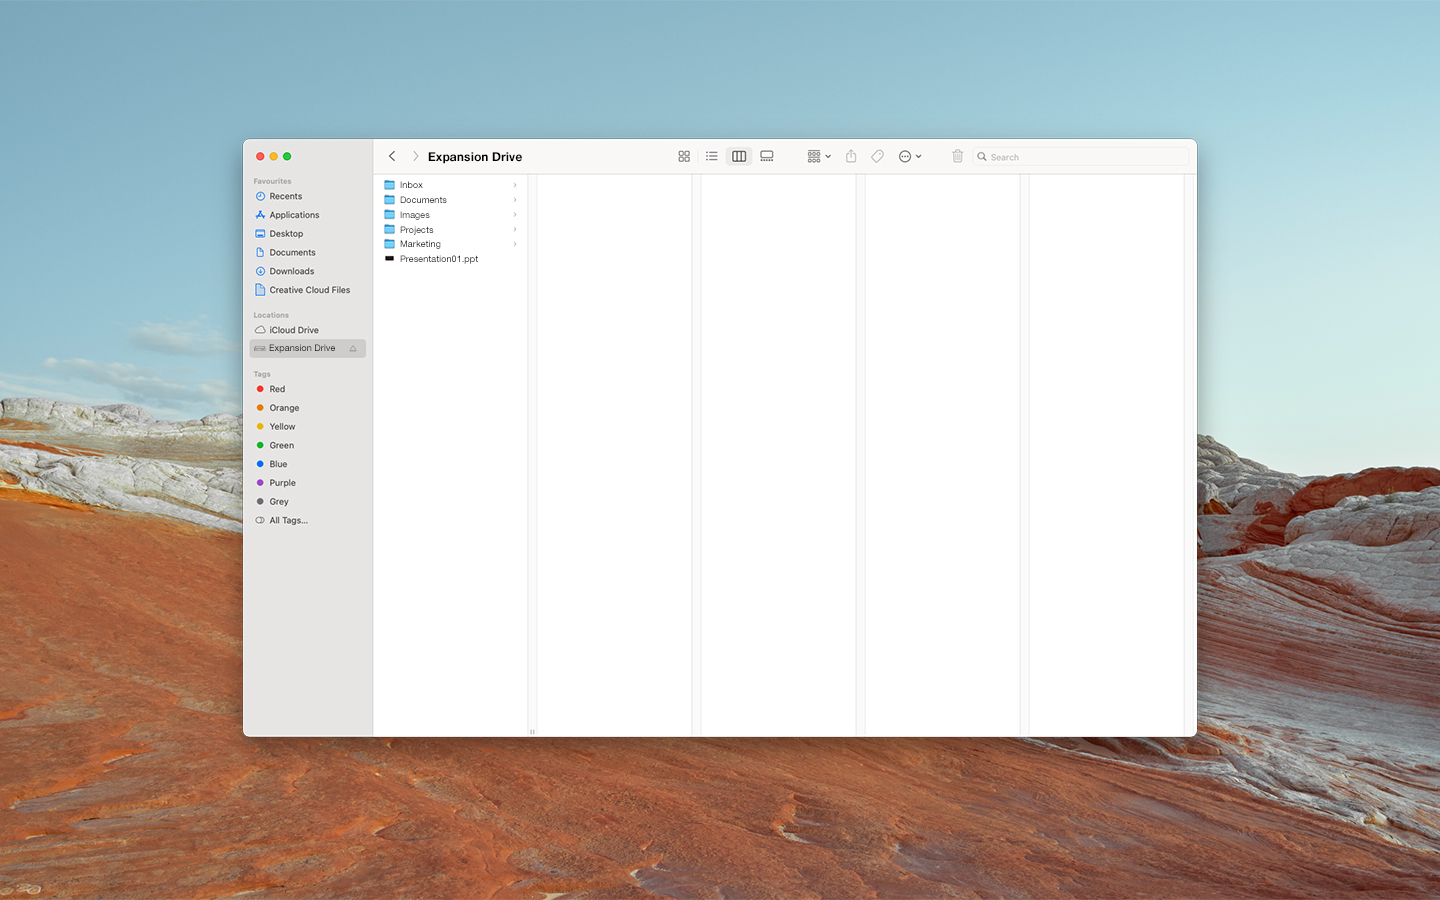
Keeping your files organized on your external hard drive can save you time and help prevent data loss. Here’s how to create folders and keep your files in order.
- In Finder, navigate to your external hard drive.
- Right-click or control-click on an empty space and select New Folder.
- Name the folder and drag files into it to keep similar items together.
- Consider creating a clear folder structure with subfolders for different file types, projects, or dates.
Setting Up Time Machine to Back Up Files
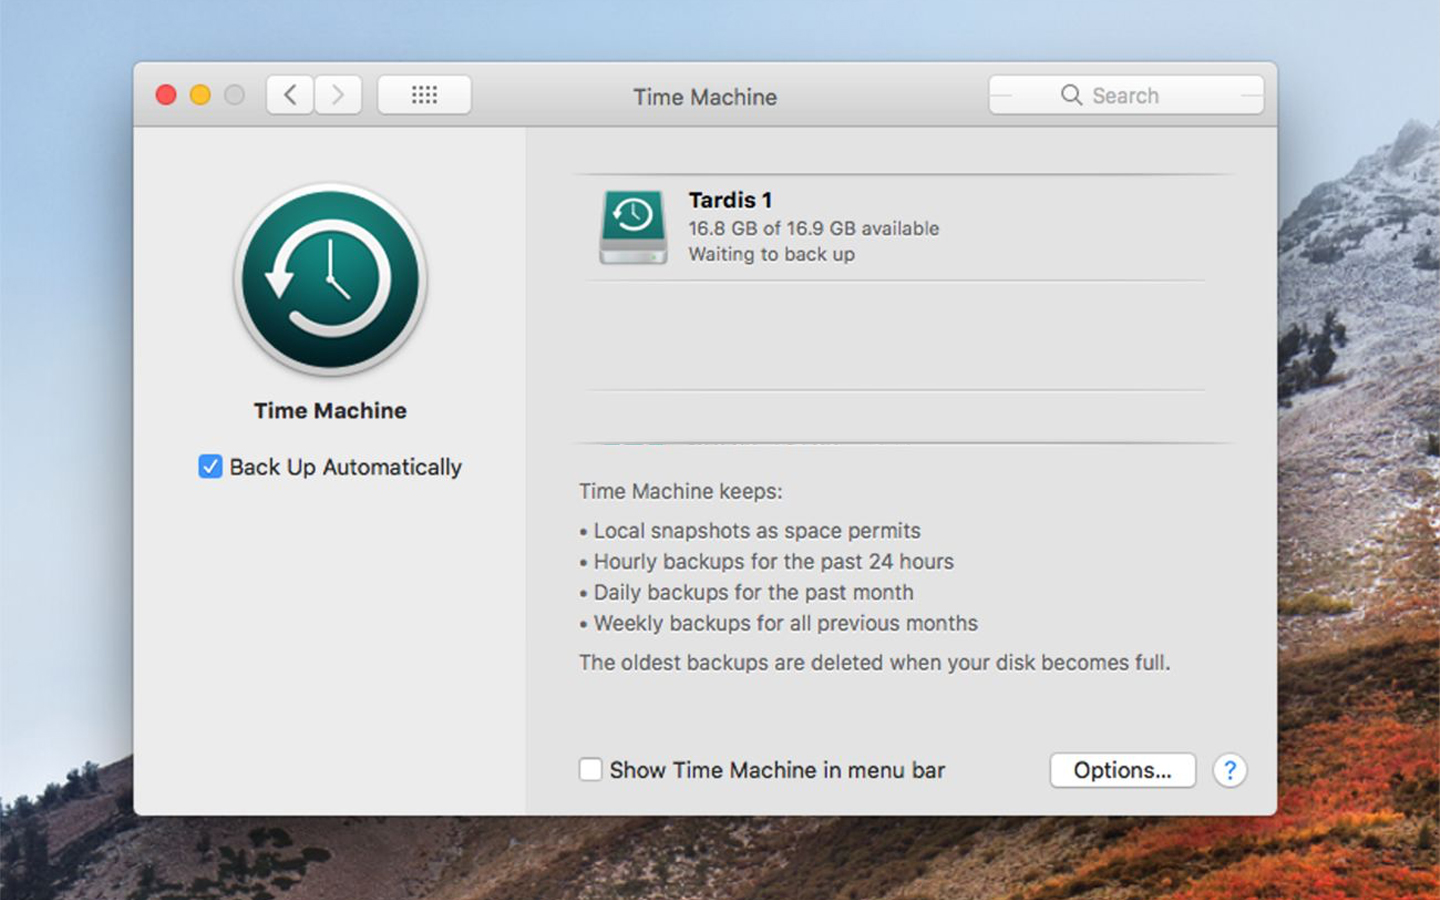
Time Machine is a built-in macOS feature that allows you to back up your entire system to an external hard drive. Setting it up ensures your data is safely stored and easily recoverable.
- Connect the external hard drive to your Mac
- Open System Settings and select Time Machine.
- Choose your external hard drive as the backup disk and click Use Disk.
- Time Machine will start making regular backups of your files automatically.
How to Partition a Hard Drive on a Mac
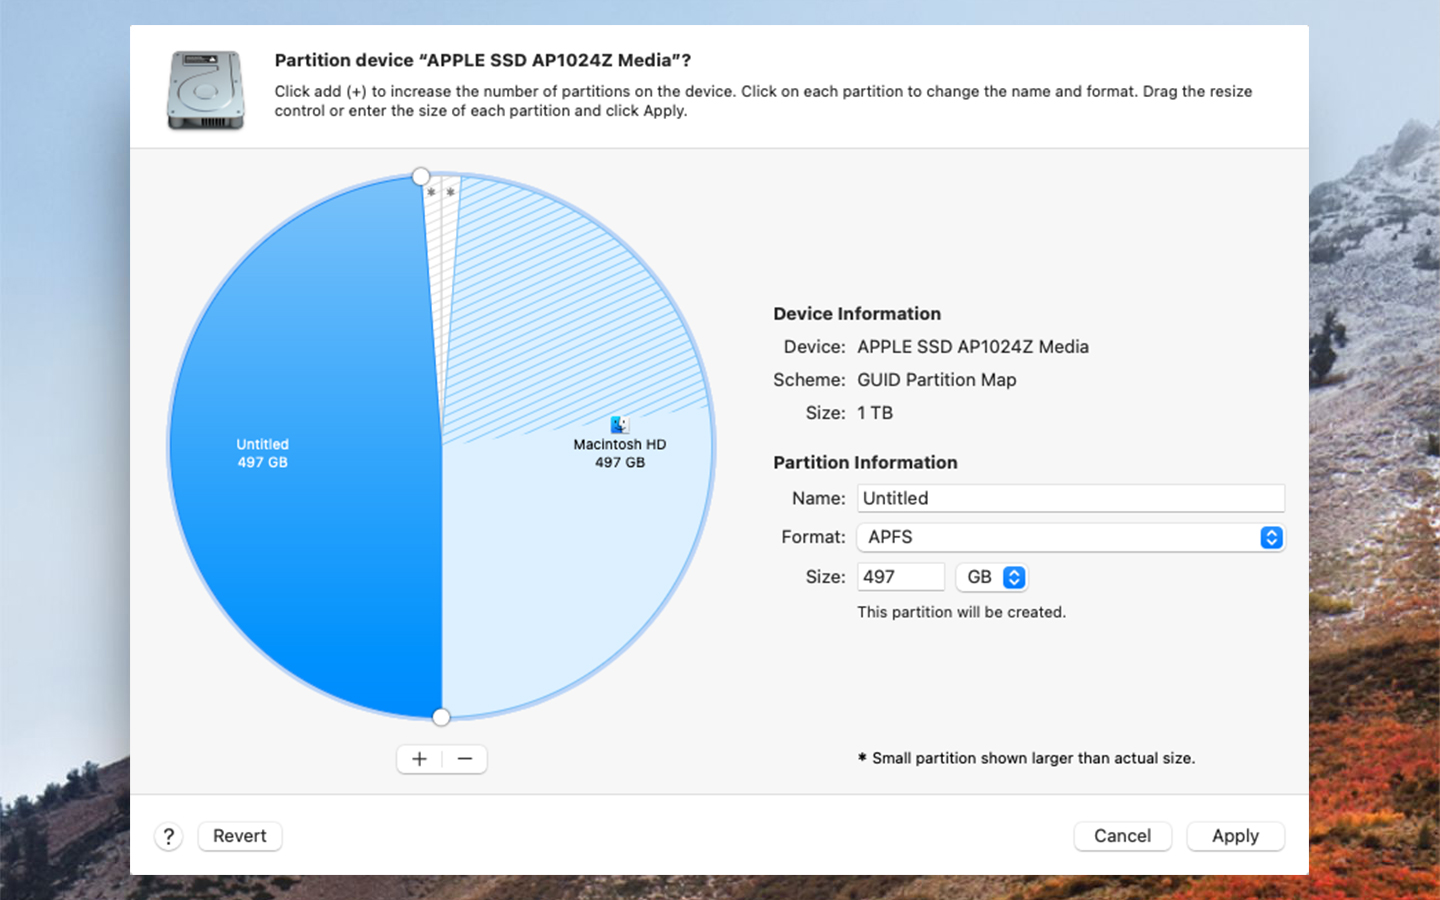
Partitioning a hard drive allows you to divide it into multiple sections—each functioning as a separate volume. This can be useful if you want to run multiple operating systems, organize your files more efficiently, or manage different data types separately. Here’s how to partition a hard drive on a Mac:
- Open Disk Utility:
- Go to Applications > Utilities and open Disk Utility.
- Select the hard drive you want to partition from the list on the left-hand side.
- Select the Partition Option:
- Click on the Partition button located in the top menu.
- In the Partition window, you’ll see a pie chart representing your drive’s current partitions.
- Add a New Partition:
- Click the + button below the pie chart to add a new partition.
- A new section will appear in the pie chart. You can drag the divider to adjust the new partition size or enter a specific size in the fields provided.
- Name and Format the Partition:
- Enter a name for the new partition in the Name field.
- Choose a partition format. For macOS, select APFS or Mac OS Extended (Journaled). If you need cross-platform compatibility, select exFAT.
- Apply the Changes:
- Once you’re satisfied with the partition size, name, and format, click Apply
- Disk Utility will create a new partition, which may take a few moments. Once complete, the new partition will appear as a separate volume in Finder.
- Verifying the Partition:
- Check that the new partition appears as a separate drive in Finder or on the desktop.
- You can now use this partition independently of the rest of the hard drive.
How to Troubleshoot Common Issues When Using an External Hard Drive
While external hard drives are generally reliable, you may occasionally encounter issues. Here’s how to troubleshoot some of the most common problems:
External Hard Drive Not Recognized

If your Mac doesn’t recognize the external hard drive:
- Check the Connection: Be sure the cable is securely connected and try a different USB port or cable.
- Use Disk Utility: Open Disk Utility from Applications > Utilities and see if the drive appears. If it does, try mounting it manually.
- Restart Your Mac: A restart can often resolve recognition issues.
- Update Drivers: Check that your Mac has the latest drivers installed, if needed.
Slow Transfer Speeds
If file transfers are slower than expected:
- Check the Connection Type: Use USB-C or Thunderbolt for faster speeds.
- Reduce Disk Activity: Close unnecessary applications and processes.
- Check Drive Health: Use Disk Utility to check for errors.
- Pause Background Processes: Temporarily stop antivirus scans or backups to improve speed.
Disk Errors and Repair
If you encounter disk errors:
- Run First Aid: Open Disk Utility, select your drive and run First Aid to repair errors.
- Check for Damage: Inspect the drive and cables for any physical damage.
- Backup Immediately: Repeated errors could indicate impending drive failure—backup your data as soon as possible.
External Hard Drive Ejecting Unexpectedly
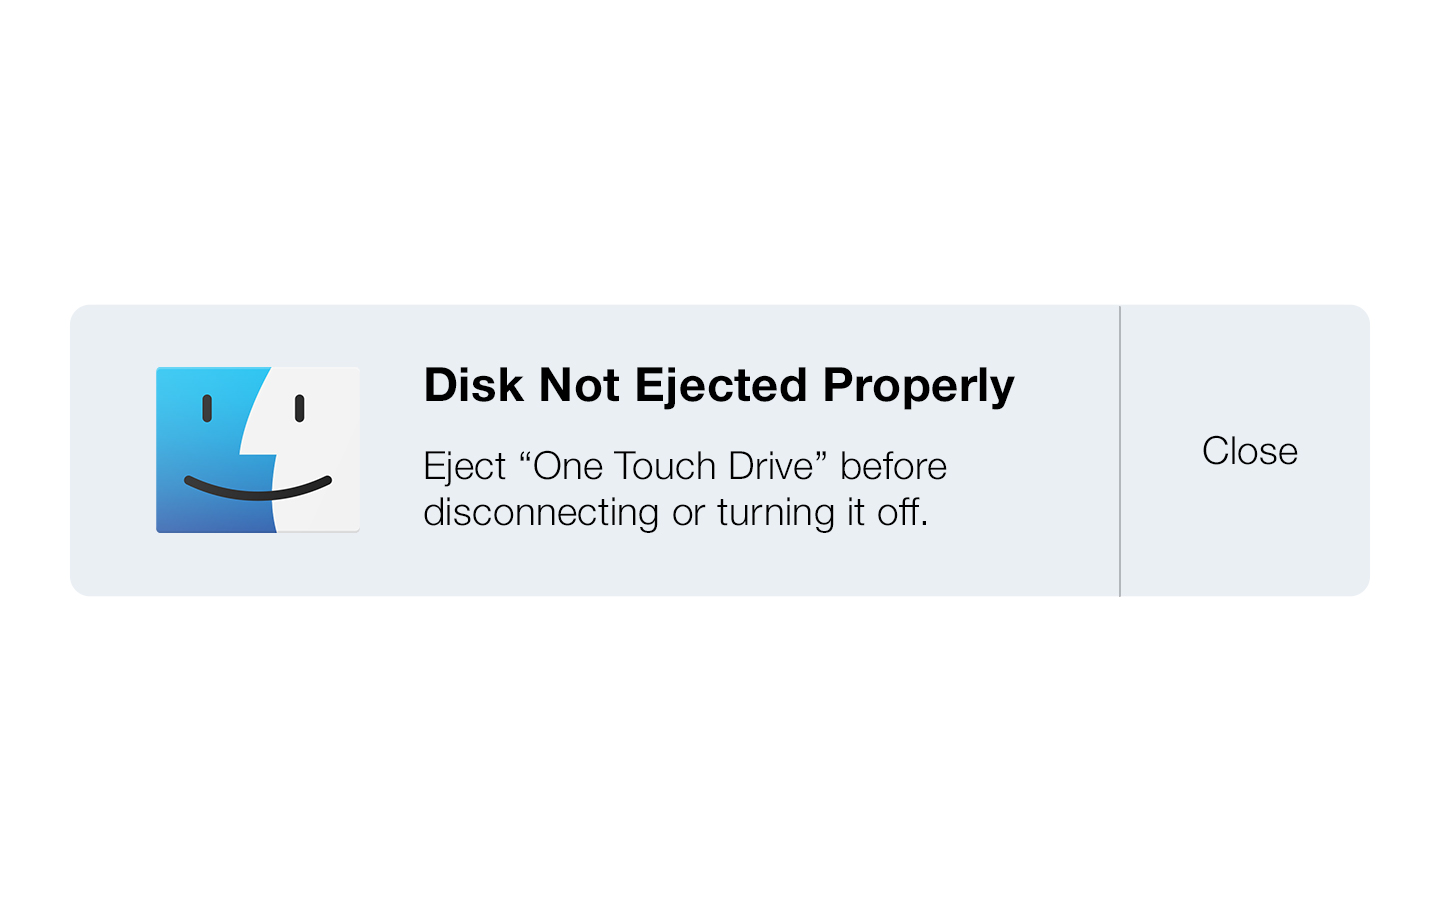
If the drive ejects unexpectedly:
- Ensure a Stable Connection: Secure the cable and avoid moving the Mac during use.
- Disable Sleep Mode: Adjust sleep settings to prevent the Mac from going to sleep while the drive is connected.
- Update macOS: Sometimes an operating system update resolves disconnection issues.
- Run First Aid: Check the drive for underlying issues that might cause ejection.
Corrupted Files After Transfer
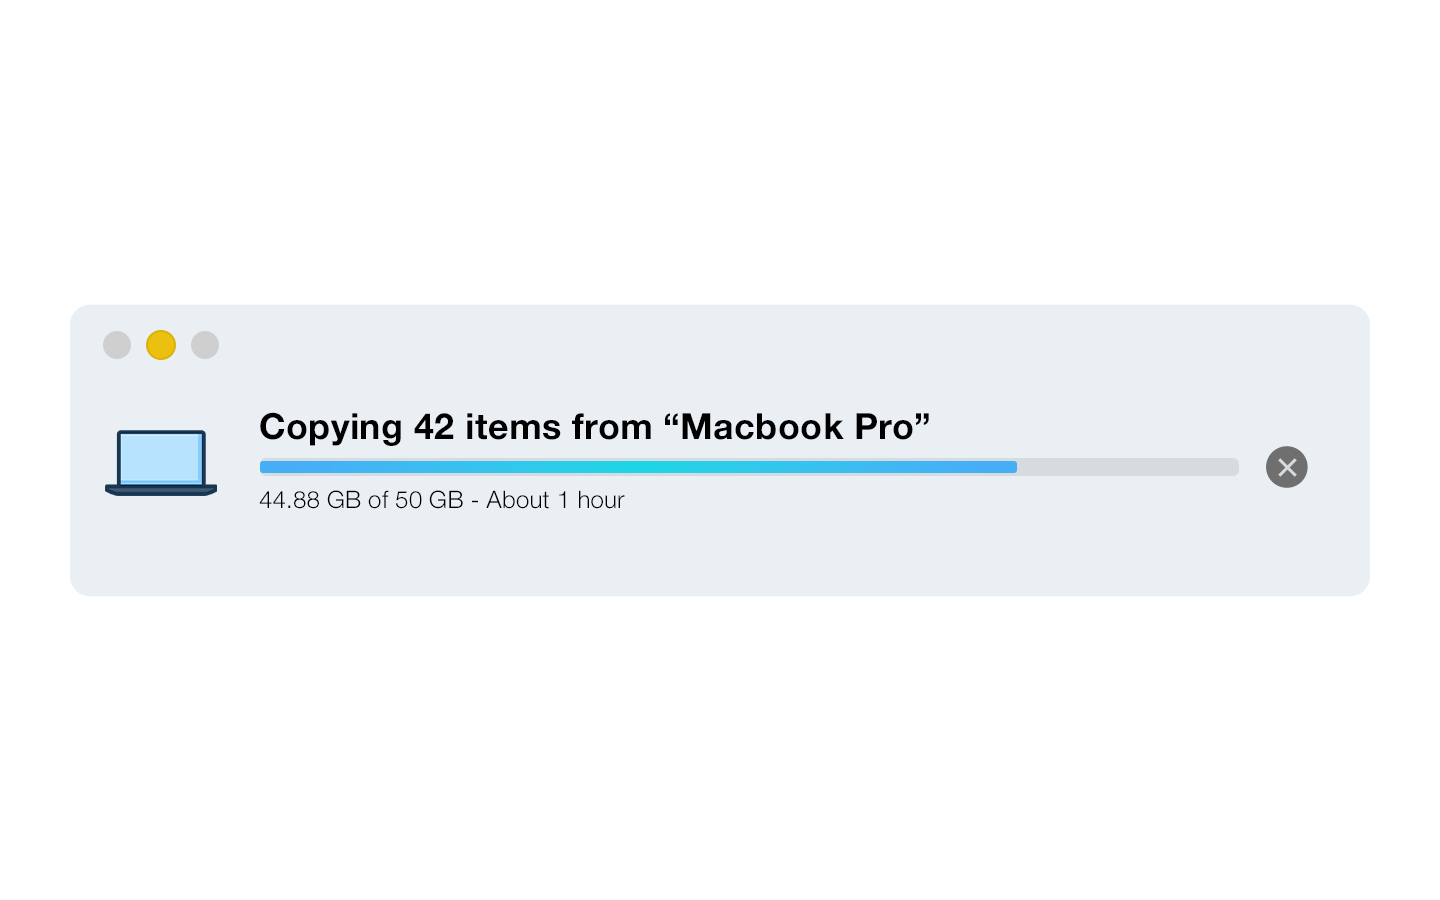
To prevent and troubleshoot file corruption:
- Ensure a Stable Connection: Double-check that the cable and port are secure.
- Avoid Interruptions: Let transfers complete fully before disconnecting the drive or shutting down your Mac.
- Check File Integrity: Verify files on the external drive after transfer to ensure they’re intact.
- Use Reliable Software: Ensure any software used for file transfer is up-to-date and compatible with macOS.
Transforming Your Mac Experience
An external hard drive can save the day when your Mac runs out of storage. Knowing how to connect, manage, and troubleshoot this type of drive guarantees you’re always prepared. By following the steps outlined in this guide, you’ll have the confidence to keep your files secure and your Mac running smoothly, no matter what challenges arise.


