Was this content helpful?
How could we make this article more helpful?
Windows Server Essentials Connector
Get more from Windows Storage Server 2012 R2 Essentials by connecting the PCs on your network to the WSS NAS’s domain. In addition to facilitating data sharing among users in your office, the WSS NAS can manage and automate backups for PCs.
The Windows Server Essentials Connector is compatible with PCs that run Windows 7 or higher.
Before installing the Windows Server Essentials Connector, make certain to follow the Seagate WSS NAS Setup Assistant to completion (see Getting Started).
Add users before installing the connector
The Windows Server Essentials Connector wizard prompts you for a user on the network. Therefore, you must add users in the Windows Storage Server 2012 R2 Essentials dashboard before running the Windows Server Essentials Connector wizard on PCs.
Add users
- From a PC on the network, connect to your WSS NAS via Remote Desktop.
- Launch the dashboard.
- Choose Users.
- In Users Tasks on the right, click Add a user account.
- Enter the user’s credentials and choose Next. See the example in the image below.
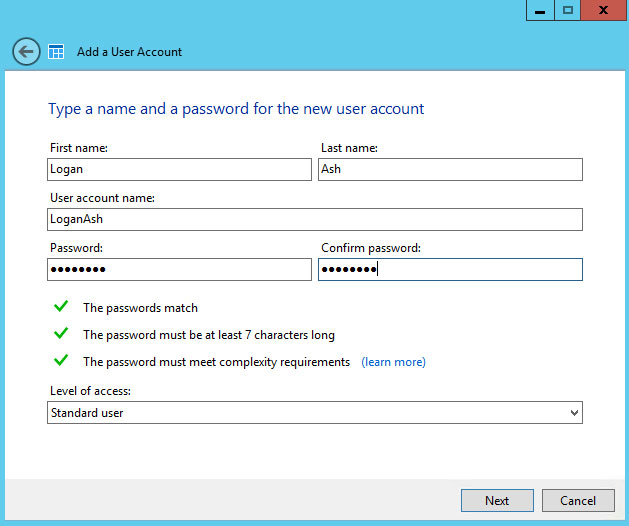
- Click the pull-down menu to select the user’s access rights to shared server folders.
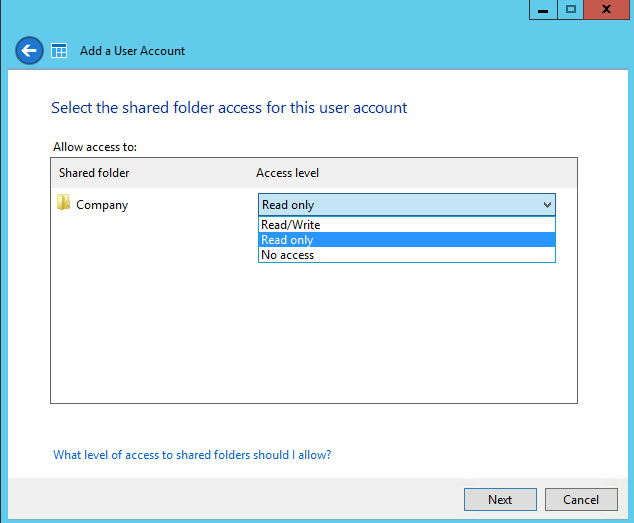
- Choose Next.
- Confirm the default user settings and make changes if necessary. Choose Create account to add the user.

- Review the summary page. Note the URL to download the Windows Server Essentials Connector, http://[[server name]]/connector, and the user account logon name.
- Choose Close. The user is added to the WSS NAS.
Repeat the steps above to create additional users.
Run the Windows Server Essentials Connector installer
- Launch Internet Explorer or your preferred browser.
- Enter the URL //[[WSS NAS network name]]/connect. Server name is the network name of your WSS NAS. For example, the default network name is seagate-wss-nas. If the URL does not take you to the download page, try //[[WSS NAS network name]].local/connect or //[[WSS NAS IP address]]/connect.
- Choose Download Software for Windows.

- Choose Run.
- Choose Yes.
- Check the box next to I have read and accept the license terms and then choose Next.
- Enter the applicable User name and Password that you created in the WSS NAS’s dashboard.
- Choose Next. It can take several minutes for the connector to complete the installation.
- Choose Restart.
- Upon restart, you are prompted to choose how many users can log on to the computer. Note that the default setting is to migrate data and settings from the PC’s local user accounts. You can choose to skip the migration by checking the box on the bottom of the window.
Important info:Checking the box will delete data on the PC.

- One user–Choose Set up this computer for myself.
- Multiple users–Set up this computer for myself and other users. When choosing this option, you are prompted to add users listed in the WSS NAS’s dashboard.
- Choose Next.
- Enter a description for the PC and choose Next.
- Choose if you want the WSS NAS to wake the PC to create its backup.
- Choose Next.
- Choose Finish to complete the installation.
Users can now enter their new credentials when logging on to the PC. The credentials must have been created on the WSS NAS dashboard.
PCs successfully added to the WSS NAS’s domain are listed in Dashboard > Devices. The WSS NAS provides notifications regarding the devices.