Getting Started
Installing the SDK
The NAS OS SDK development environment is based on a VirtualBox virtual machine, which contains a full Ubuntu system, with everything required to run the SDK tools. You will first need to install VirtualBox on your system. Please refer to the VirtualBox Manual for detailed installation instructions.
Warning
In order to use the SDK Virtual Machine, the host OS must be 64 bits, or at least Intel VT-x capable.
You will first need to download the .ova file of the SDK:
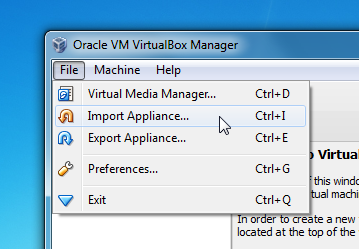
To import the .ova file (NASOS_SDK-X.Y.ova) into VirtualBox, select File >
Import Appliance...
Click on Open Appliance... and browse for the .ova file
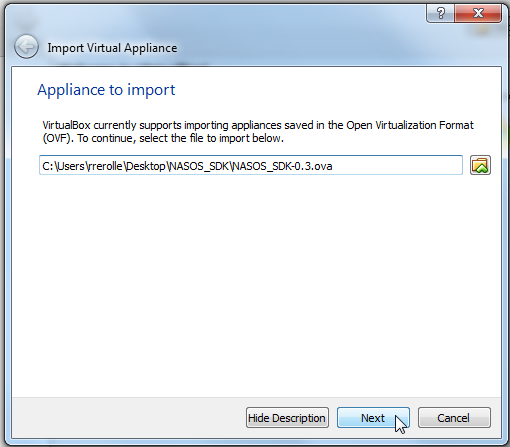
Note
You can refer to the VirtualBox Manual for more information about appliance import.
Click Next then review the VM settings, and check the Reinitialize the MAC
address of all network cards box
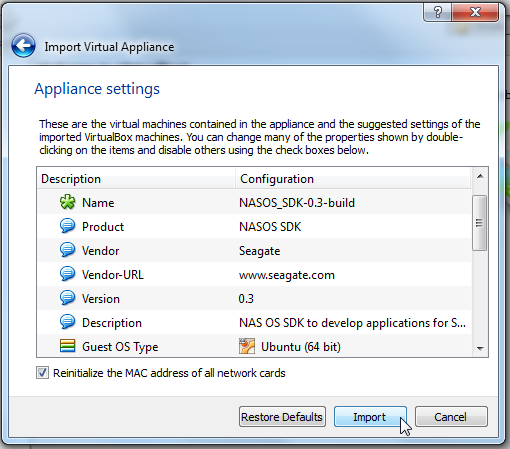
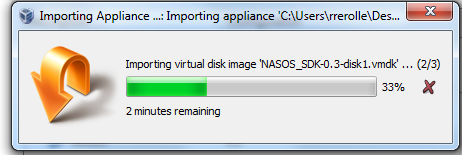
Click Import to start the import process
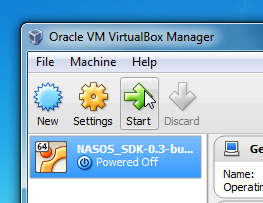
Start the VM by selecting it in the list and clicking Start
Once the VM is started, your environment is ready.
Note
Use the following credentials to log into the Virtual Machine:
- login: rainbow
- password: rainbow
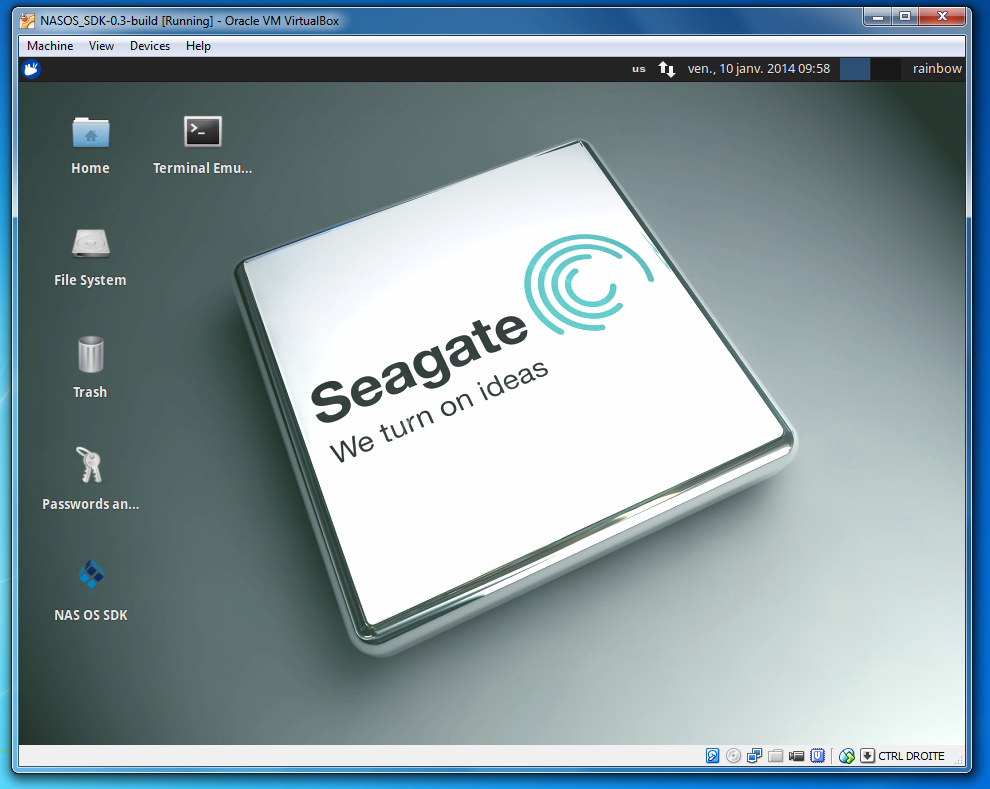
You should then get a desktop environment similar to this
Initialize your project
The first step is to create a directory for your project.
- From the file browser, add a directory called
Projectsin the home folder - In the new
Projectsdirectory, add a directory calledMyApp
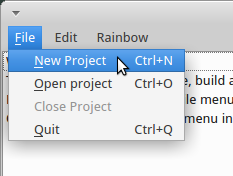
Now open the NAS OS SDK graphical tool by double-clicking its icon on the
desktop. and choose File > New Project
Click on the Browse button and navigate to the folder you just created: Home >
Rainbow > Projects > MyApp.
Set your app ID to com.mycompany.myapp and keep the default values for the
other entries.

Click Next. You are presented with the publishing information for the app.
Keep the default for now and choose Finish. You can edit your project anytime
by selecting Edit > Update configuration.
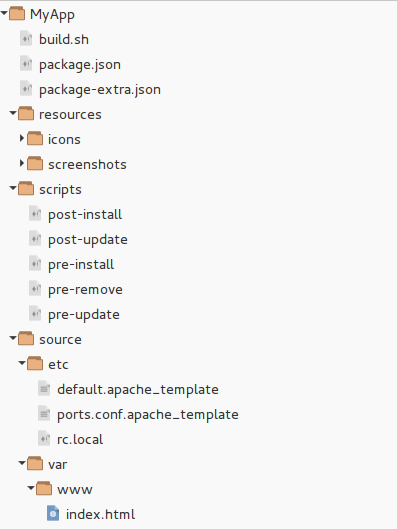
Your project folder should now look as follows:
Write the app files
Build script
The NAS OS SDK graphical tool created a build script template when initializing the project. This script copies the following files from to the source directory to the according destination inside the app:
- The
rc.localfile goes in/etc/ - The
index.htmlfile goes in/var/www - The default
apache2configuration files templates go in/etc/apache2
See the Understanding Apps section for details on the
build.sh script.
For the purpose of this guide, we’ll keep the default build script.
App scripts
The scripts directory contains scripts that are used to specify tasks to be performed before or after the installation, the update or the removal of an app.
See the Understanding Apps section for details on the purpose of each script.
The NAS OS SDK has created some default scripts, which take care of the necessary network port handling, so we will keep those for the purpose of this guide.
App files
The app files can be binaries, configuration files, scripts or any resource
files required by the app. They must be placed in the source directory
and installed by the build.sh script.
As we saw above, our build.sh script installs a default index.html file. For
the purpose of this guide, we will modify this file so it contains the
following:
<html>
<body>
<h1>NAS OS SDK Getting Started App</h1>
</body>
</html>
Build the app
You can now build your app by selecting Rainbow/Build
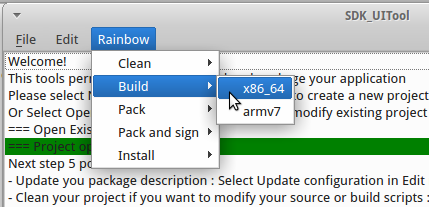
This will create a build directory in the project’s folder, which contains
all files generated after running the build.sh script within the app’s
container context.
Note
Depending on the steps and their complexity, building an app can take some time, especially if files must be downloaded from the Internet or certain files are uncompressed.
Test the app
Once the app has been built, it is ready for packaging. Select Rainbow/Pack to
create the package.
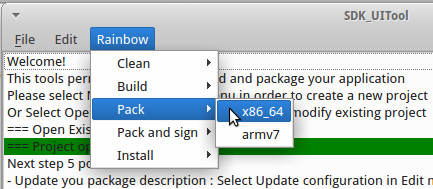
The package is named *.rbw and placed inside your project’s build
directory.
In our case, we just created an x86_64 package, which is located in the
build/x86_64 subdirectory of the project directory.
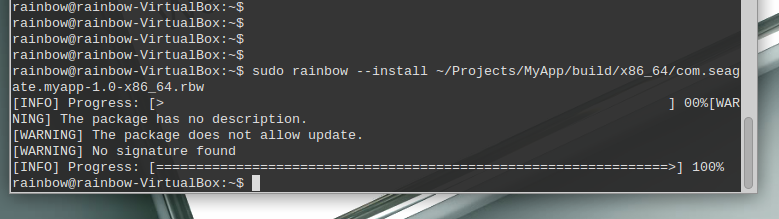
It can be installed using the rainbow command line. Open a terminal by
clicking the Terminal Emulator on the desktop. Then enter the following
command:
sudo rainbow --install ~/Projects/MyApp/build/x86_64/com.seagate.myapp-1.0-x86_64.rbw
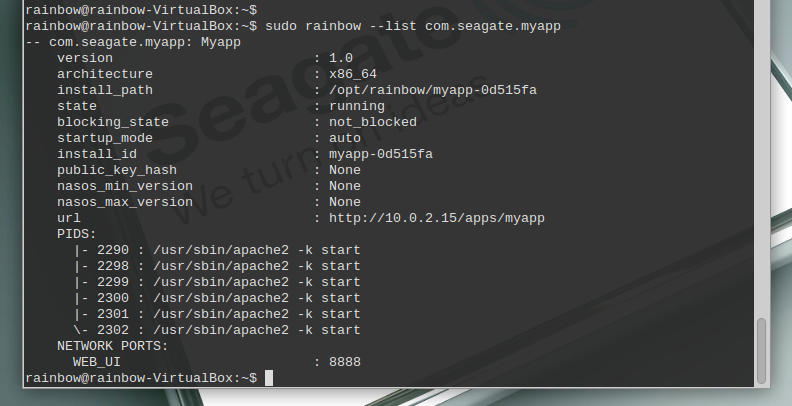
You can now inspect the running app by using the following command:
sudo rainbow --list com.seagate.myapp
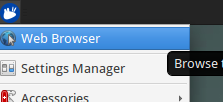
Now to test the app, open the web browser by clicking the top left icon of the desktop:
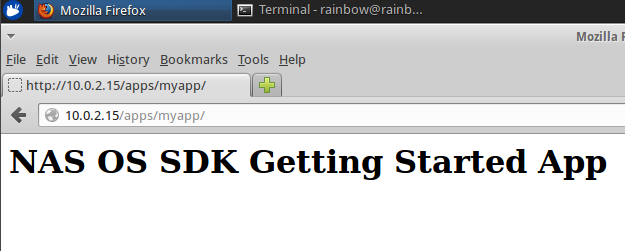
And type in the URL that was displayed in the url field of the app details, in
our case this is http://10.0.2.15/apps/myapp/
You should get something similar to the following:
If that’s not the case, then carefully restart the previous steps and make sure you haven’t missed everything.
Going further
So far we have only created a dummy app that just displays a very simple web page. Of course this is far from what the NAS OS SDK is capable. The purpose of this section was to get you started and present the main tools offered by the SDK.
The next section will be about Understanding Apps, and will present the different steps that we have performed with much more details.