Was this content helpful?
How could we make this article more helpful?
Create a Cloud Import Project
- Go to lyve.seagate.com and sign in. Enter a verification code to continue to Lyve Management Portal.
- On the Lyve Services page, click Get Started on the Lyve Mobile with Cloud Import card.

- On the Service Plan page, review the Lyve service selected.
- Review the associated rate plan selection for this service.
- Check the box to acknowledge that you have read and understand our Cloud Import Service User Manual & Reference Guide. Click Continue.
- Add products to your subscription by clicking the Plus (+) icon or entering a quantity to the field below a product.
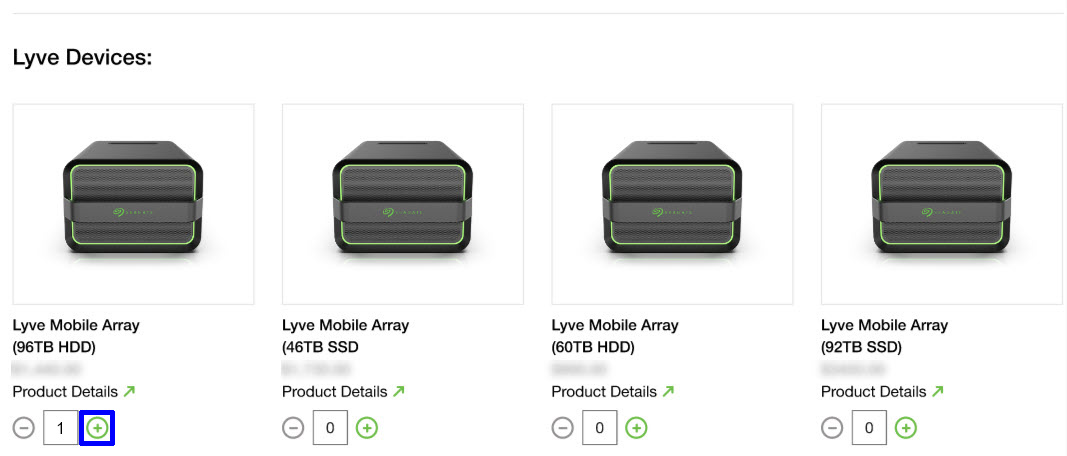
Click Continue.
- Select the RAID level for each Mobile Array in your project. RAID options are RAID 0 and RAID 5 (default).

Click Continue.
- Fill in project details:
- Project name
- Project start and end date
- Contact information
- Shipping information
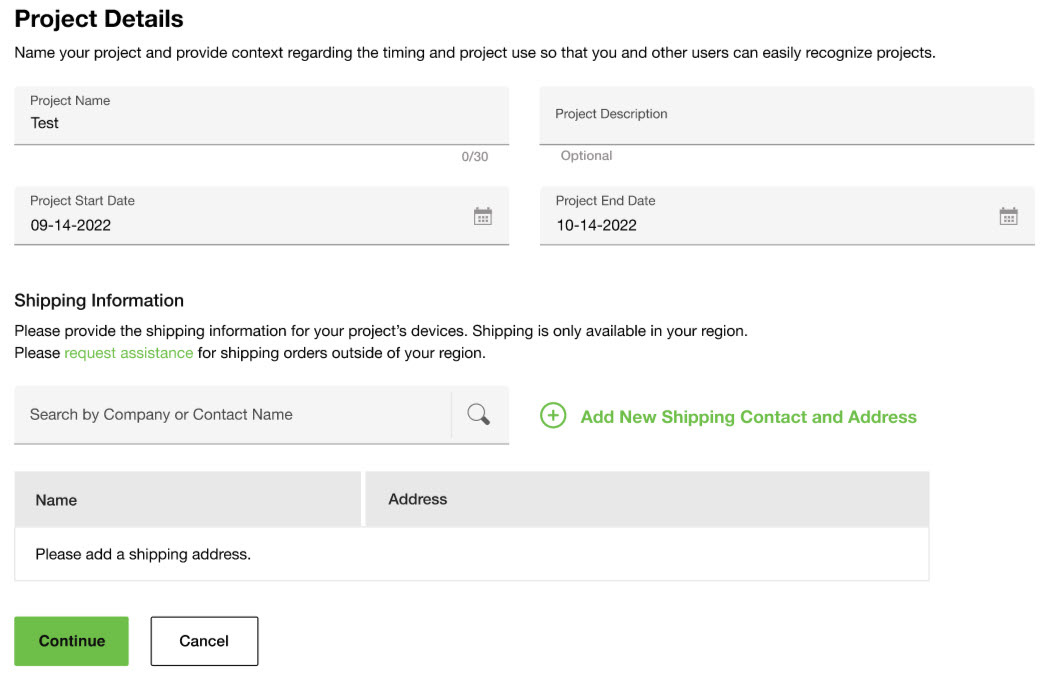
Click Continue.
- Select an import destination from the table. If there are no previous import destinations listed, or you need to add a new one, see Adding a new import destination below.
Ensure that the correct import destination in the table is selected and that the information is accurate. Click Continue.
Adding a new import destination
Click Add Import Destination and enter the following destination details:
- Import destination name and (optionally) description.
- Cloud destination and region.
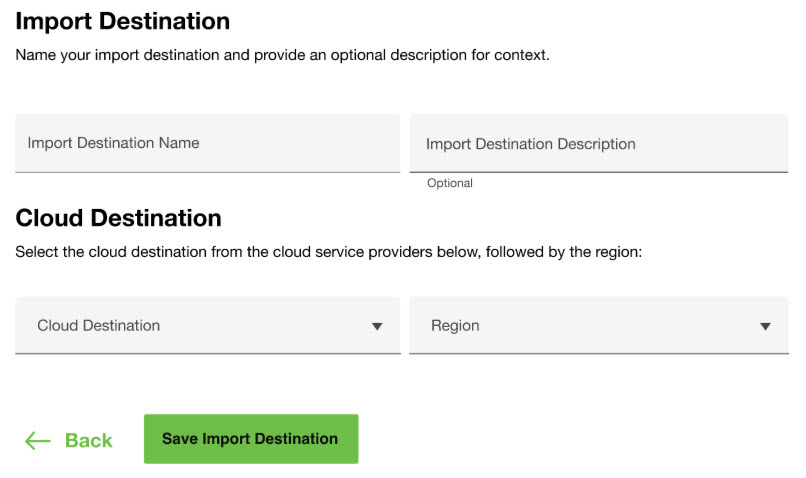
Each import destination must have a unique name, along with a unique cloud and region combination. You will configure the bucket/container and credentials later.
Click Save Import Destination.
- Review your service plan, project details, shipping details, import destination, and devices. If you have a valid promo code, enter it in the order summary section.
- Submit your order or request a quote from Seagate.
To receive a quote, click on the link at the bottom of the page.

- Once you submit your cloud import project, you'll see a confirmation page. Click the Go to Plans button to start your plan configuration. (Note—It may take a minute for your project to appear on the Import Plans page.) If you click Back to Projects, you can complete your import plan configuration at a later time. An import plan will remain in draft status until the details are configured and submitted.
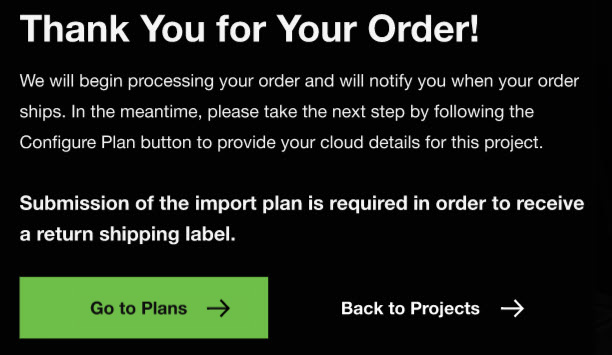
You’ll only see the confirmation screen above if you submit a project. If you request a quote or register a deal, you can configure your import plan after the quote/deal has been approved. There are two other ways to start configuring your import plan:
From the Import Plans page
- Go to lyve.seagate.com and sign in. Enter a verification code to continue to Lyve Management Portal.
- On the Lyve Services page, go to the Lyve Mobile with Cloud Import card. Click on the Manage Projects dropdown and select View Plans.
- In the Import Plans table, locate the project that you would like to configure the plan for and click the Configure Plan button in the Actions column.

Note—If you requested a quote or submitted a deal, you will be able to configure the plan once your project is approved and active.
From the Project Details page
- Go to lyve.seagate.com and sign in. Enter a verification code to continue to Lyve Management Portal.
- On the Lyve Services page, go to the Lyve Mobile with Cloud Import card. Click on the Manage Projects dropdown and select View Projects.
- Click on the cloud import project that you would like to configure a plan for.
- Click Configure Plan.
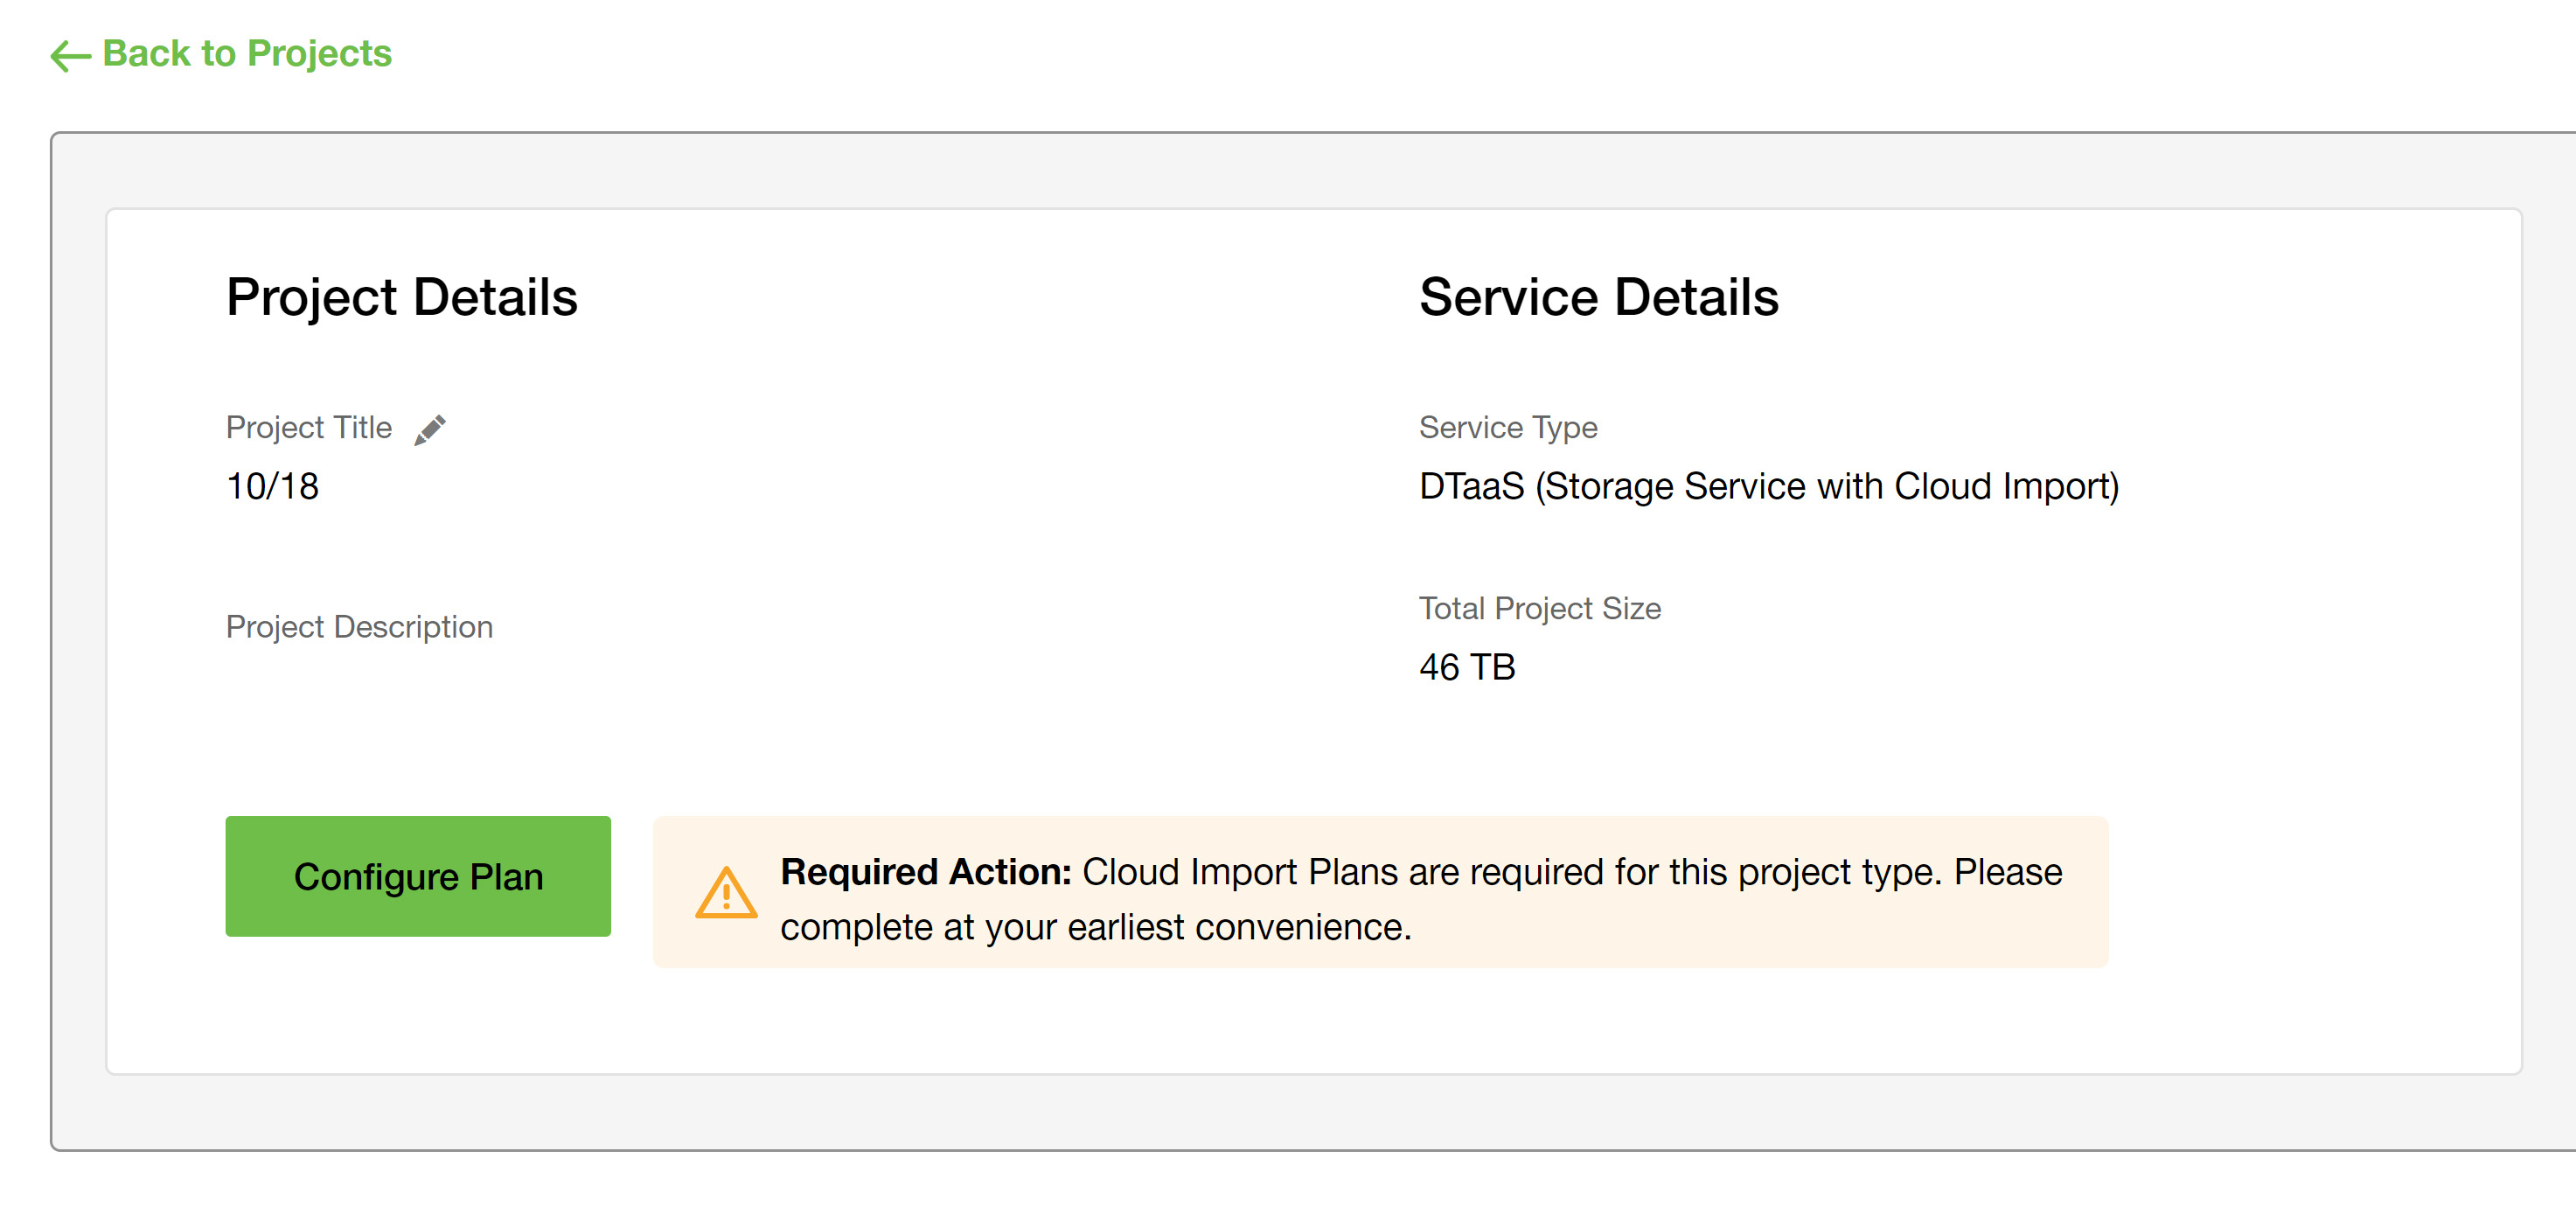
For details on configuring your import plan for your specific cloud destination, see the following: