Was this content helpful?
How could we make this article more helpful?
Send Device(s) to Seagate for Cloud Import
Send your device(s) to Seagate for cloud import after you have completed the following:
- Created a cloud import plan in Lyve Management Portal
- Configured the import plan with your cloud service credentials
- Moved data to your Lyve Mobile Array
Select device(s) for cloud import
To select device(s):
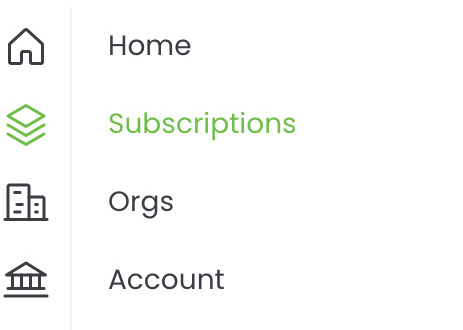
- Sign in to Lyve Management Portal.
- On your Home page, select Subscriptions from the sidebar.
- Select a Lyve Mobile service subscription from the list that includes the device(s) you want to send to a Seagate import site for cloud import.
- Select Devices in the sidebar, or select the link in the banner at the top of the page:

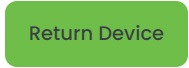
- On the Devices page, select the Return Devices button above the list of devices.

Alternatively, if you're returning a single device, select the device you want to return from the list of devices, and then select Return Device from the dialog.
- Select Send for Import as your reason for the return.
- Choose how you would like to handle the device after cloud import. Select Yes if you would like the device returned to you once the import is complete. Select No if you do not want the device returned after cloud import.

- In the “Current Devices” list, select the device(s) you want to send for cloud import. If necessary, use the controls below the list to view more devices. To find a specific device, enter a serial number in the search field.
Select Next.
Select an import folder
Each storage device in your import plan will have a designated folder in your bucket. You can have Seagate create an import folder for a device, or you can specify an existing folder.
By default, the import folder is added at the bucket root level, however, you can specify a custom path using either the standard path builder or the dynamic path builder.
Use the standard path builder
You can quickly specify a path and import folder using the standard custom path builder.
- (Optional) To add subfolders to the path, select the Add icon:
![]()
- Use the Folder dropdown to select how a folder will be named.
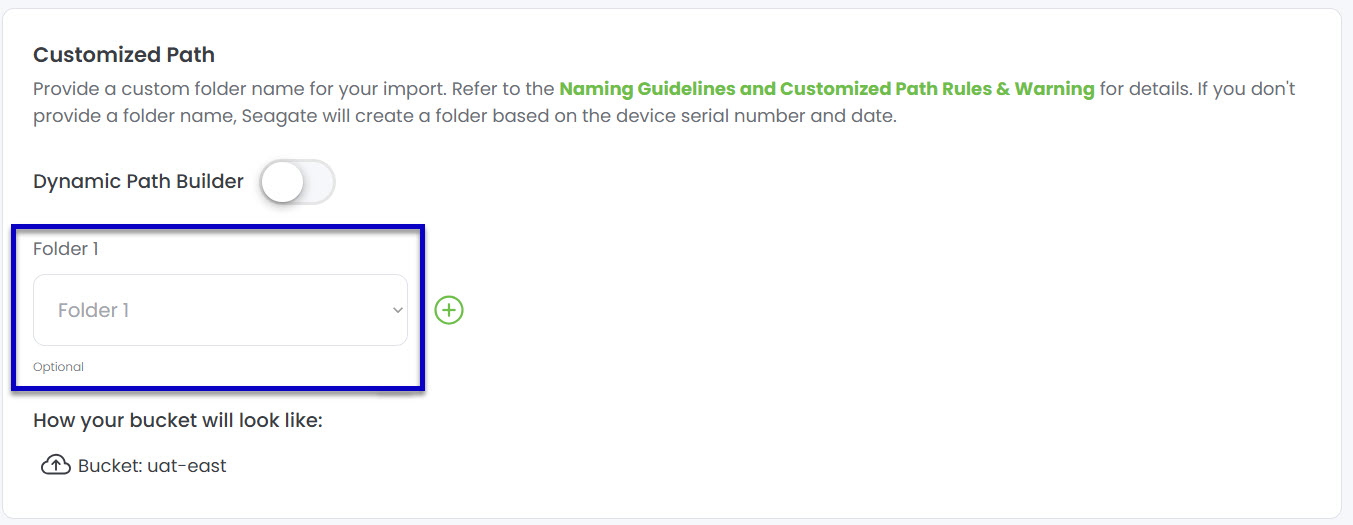
Select from the following options:
| Serial Number | The name of the folder will be the source device's serial number. |
| Import Date | The name of the folder will be the date that the file import started. |
| Numerical Increment | Folders created will be named incrementally, starting with numeral 1. This option is only available to users who will have devices returned after importing. |
| Custom | Enter a custom name for the folder. If the name you enter matches an existing folder in the current path, Seagate will import files to the existing folder. If the folder does not exist in the current path, Seagate will create a new folder with the custom name. |
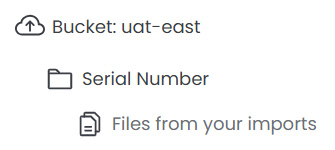
- As you specify your custom path, you can preview it at the bottom of the pane:
- Select Next.
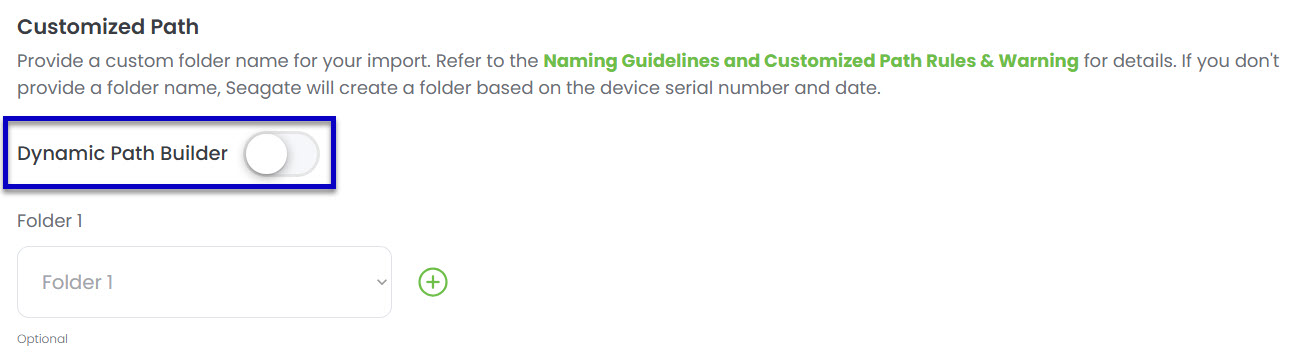
Use the dynamic path builder
The dynamic custom path builder provides a more flexible interface for creating paths.
- Use the toggle switch to enable the Dynamic Path Builder:
- Specify the path using the following:
| Custom | Enter values directly in the Folder Path field to define a custom name for the folder. |
 |
Drag into the Folder Path field to insert a Serial Number folder into the path. The name of the folder will be the source device's serial number |
 |
Drag into the Folder Path field to insert an Import Date folder into the path. The name of the folder will be the date that the file import started. |
 |
Drag into the Folder Path field to insert a Numerical Increment folder into the path. Folders created will be named incrementally, starting with numeral 1. This option is only available to users who will have devices returned after importing. |
 |
Drag into the Folder Path field to insert a forward slash character that separates folders in the path. |
- As you specify your custom path, you can preview it at the bottom of the pane:
- Select Next.
For a quick tutorial on using the Dynamic Path Builder, select the Info icon.

Ship device(s)
The process differs slightly depending on whether your devices will be returned to you after cloud import.
Devices are not being returned
If devices are not being returned to you after cloud import:
- If devices are not being returned to you after cloud import, select Get Labels.
- On the Shipping Labels page, select Print Label for each device you are returning.
- Select Finish.
- Follow the shipping and packing instructions provided in the email.
Devices are being returned
If devices are being returned to you after cloud import:
- On the Order Renewal page, review your shipping information and the selected devices being returned. Review the cost of your order renewal on the right side of the page. If you have a promo code, you can apply it here.
- Select Submit to process the order renewal.
- Check your email inbox for a message confirming your return request. The message contains the following items you’ll need to return your device(s):
- A link for printing a prepaid return shipping label
- Shipping and packing instructions
- On the Shipping Labels page, select Print Label for each device you are returning.
- Select Finish.
- Follow the shipping and packing instructions provided in the email.