Backing up your iCloud photos to an external hard drive is one of the smartest things you can do, especially if your library is large, your storage plan changes or you simply want an offline copy you control.
Key takeaway
- Choose the right drive format and storage size before moving photos to avoid failed backups or compatibility issues.
- Mac users get the most reliable backups by downloading originals and exporting them directly to an external drive.
- Windows users can download iCloud photos through File Explorer, then copy fully downloaded files to external storage.
- Some iPhone users can transfer photos directly to a USB-C SSD for fast, computer-free backups.
- iCloud.com provides a universal fallback method for downloading photos on any computer when other options aren’t available.
This guide will show you how to:
- Get the full-resolution originals out of iCloud (or onto a computer/device that can access them)
- Copy/export those originals onto an external hard drive
Below are the top four practical methods that cover almost everyone: Mac®, Windows®, and iPhone®/iPad® direct-to-drive. We’ll explain each method for transferring iCloud photos to an external hard drive with step-by-step instructions, plus common pitfalls and fixes.
Before you start: Set yourself up for success
1. Choose the right hard drive format
Your external drive must be formatted using a file system your device can write to. Consider formatting your drive to one of the following compatible formats.
- exFAT format is great because it’s compatible with Windows and Mac systems.
- APFS format is great for macOS workflows, but it’s only compatible with Mac. It doesn’t work with Windows.
- Avoid FAT32 for modern backups: FAT32 is often incapable of storing files larger than 4GB.
- If you plan to move the drive between a Mac and a Windows PC, exFAT is usually the safest choice.
2. Make sure you have enough space
iCloud photos can be deceptively large. Videos and Live Photos add up fast. As a rough rule: An iCloud library can easily be 100GB–1TB+.
So, before you begin, check:
- Your external drive to ensure you have sufficient space
- Your computer/device free space (some methods need temporary space on your PC or Mac to work)
3. Decide what ‘backup’ means for you
You can back up iCloud photos in two main ways:
- Download a photos library backup (Mac): One big library package you can open in Photos.
- Download image and video files (JPG/HEIC/MOV/MP4) that you can browse on any device.
If you want maximum compatibility and easy browsing, exported files are ideal. If you want the most ‘Apple-like’ experience, a Photos library copy can be best.
Best method for transferring iCloud photos to an external hard drive
This method is only compatible if you have a Mac. It involves downloading the original photos and videos to your Mac, and then manually moving them to an external hard drive.
If you have a Mac, this is usually the cleanest and most reliable approach. You let the Photos app pull down the full-resolution originals from iCloud, then you transfer them directly to your external drive.
Step #1: Tell the photos app on your Mac to download originals to the Mac
- Open the Photos app on your Mac.
- Go to Photos > Settings (or Preferences on older macOS).
- Click on the iCloud tab.
- Select Download Originals to this Mac.
Now Photos starts downloading the full library (or full-res versions) to the Mac. This can take hours or days for very large libraries, depending on your internet speed and how long the Mac stays awake.
Tip: Keep your Mac plugged in and avoid letting it sleep. If downloads seem stuck, try leaving Photos open overnight.
Step #2: Export photos/videos to the external drive
Once you’ve downloaded originals (or at least the items you want), it’s time to export your photos to the external drive:
- In Photos, select what you want to export (you can select albums, date ranges or your whole library in chunks).
- Choose File > Export.
- Pick one of these:
- Export Photos (lets you choose size/format options)
- Export Unmodified Original (exports the original file format)
- When asked for a destination, choose your external hard drive and a folder name like iCloud Photos Export - 2026-01-28
- Click Export
Which export option should you choose?
- Export Unmodified Original is best for “true backup” of originals (HEIC, RAW, original MOV files, etc.).
- Export Photos is best if you want to standardize formats (like JPG) or resize.
Pros of using this method
- Very reliable for large libraries
- Exports clean folders/files you can browse
- Let’s you keep originals and metadata (depending on choices)
Cons of using this method
- You will need enough storage space on your Mac (at least temporarily, depending on your setup). You need sufficient storage because the photos will be transferred to your Mac first, then your external hard drive.
- Can take time to download everything to your Mac and then to your external drive.
Common issues and fixes
Here are some issues you may encounter while using this and how you can fix them.
“My Mac doesn’t have enough space to download originals.”
If you encounter this error, you have two practical options:
- Download/export in smaller batches (albums or date ranges).
- Use a different method below (Windows sync or iPhone direct export).
“Exports create weird folders or split Live Photos.”
This is normal. Live Photos often export as two files (a still image plus a short video).
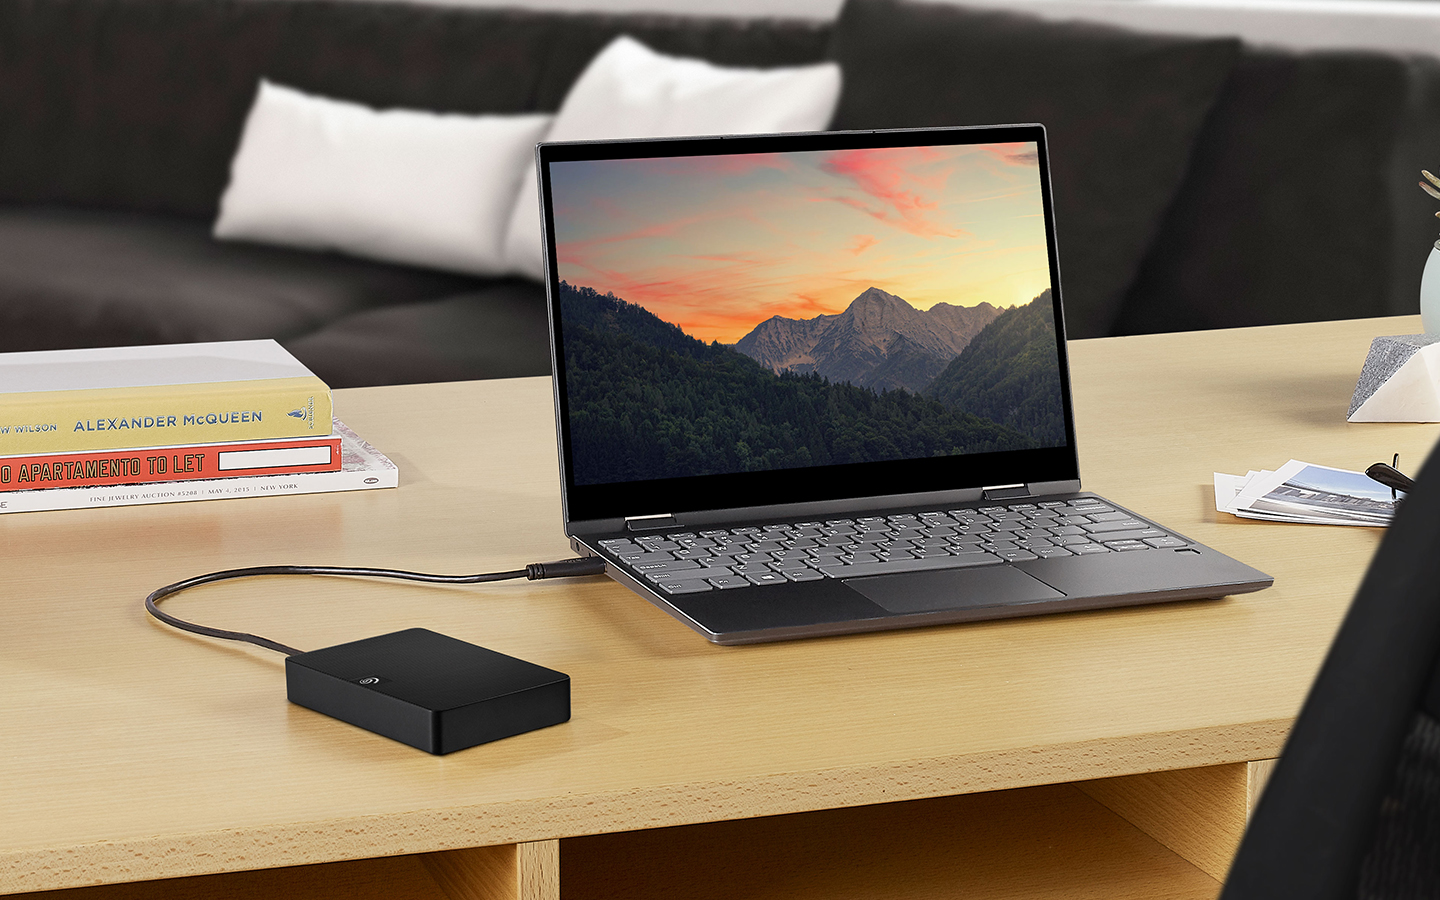
Method 2: Use iCloud for Windows to transfer photos to your external drive
If you mainly use a Windows PC, Apple suggests using iCloud for Windows to view/download iCloud photos to your PC through File Explorer and then copy them over to your external hard drive.
Step #1: Turn on iCloud Photos in Windows
- Install and open iCloud for Windows.
- Sign in to iCloud for Windows.
- Enable Photos/iCloud Photos (wording varies slightly by version).
Step #2: Download Photos to the PC
- Open File Explorer.
- Click iCloud Photos in the left sidebar (or under Pictures).
- Double-click thumbnails to download, or select multiple items and download them.
- Depending on your setup, you may see cloud icons that indicate whether a file is fully downloaded or only available online.
Step #3: Copy from PC to the external hard drive
- Plug in your external hard drive to your PC.
- Create a destination folder like iCloud Photos Backup on your external drive.
- Copy your downloaded iCloud Photos folders/files onto the drive.
Pros of using this method
- Works well if you don’t have a Mac
- Let’s you manage everything in File Explorer
- Easy to copy to an external drive once downloaded
Cons of using this method
- Large libraries can take time to download fully to your PC.
- Some users find the ‘download status’ behavior confusing (online-only vs. downloaded)
Tip:
If you want a clean, stable backup, make sure you only copy files that are fully downloaded to the PC (not placeholders). If you see cloud icons, let them download before you copy them to your external drive.
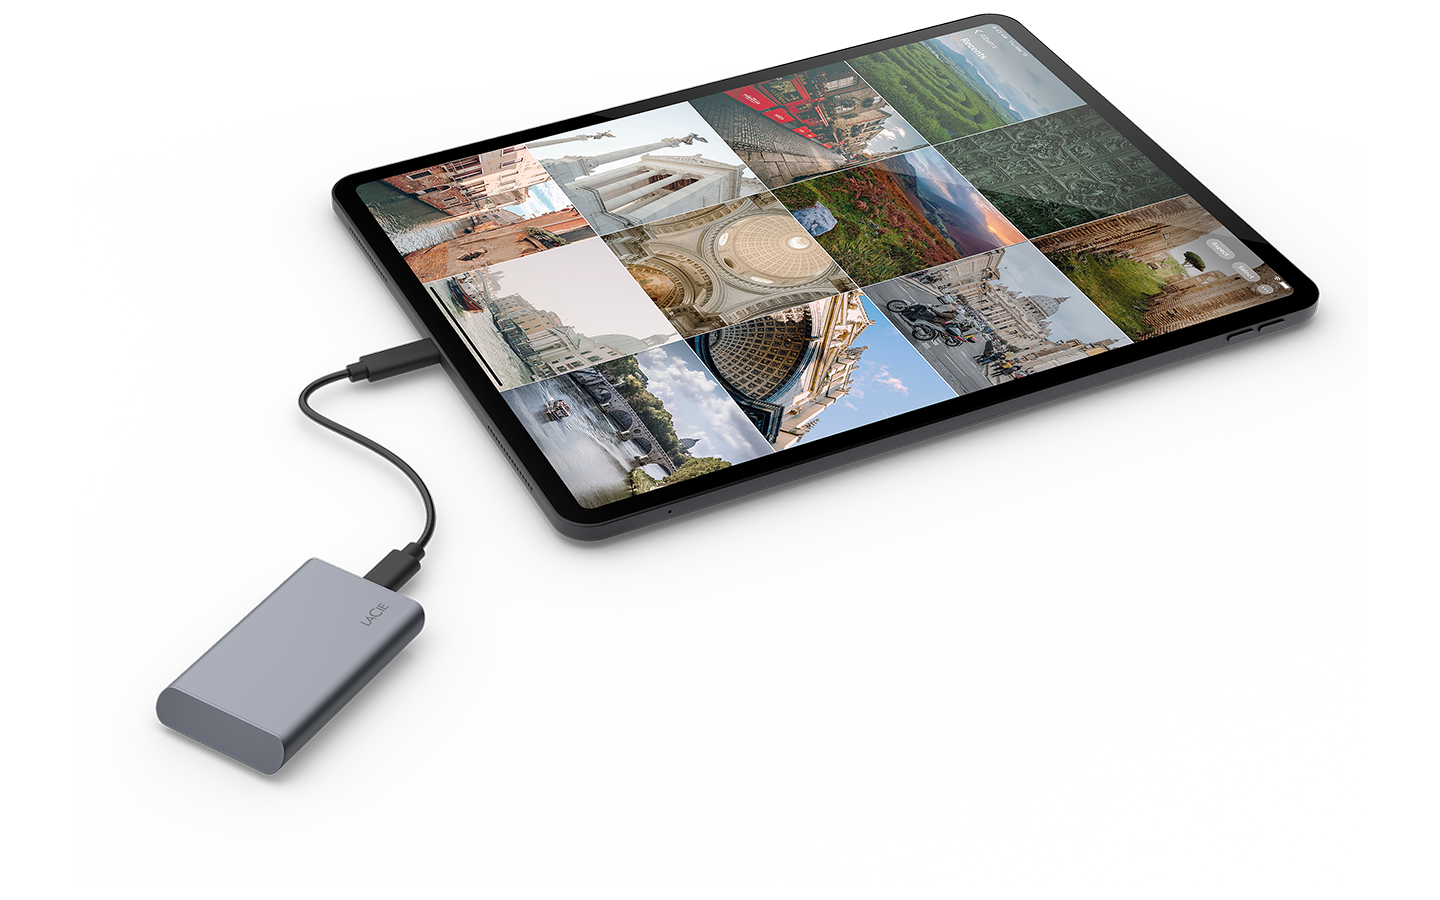
Method #3: Transfer iCloud Photos directly from iPhone/iPad to an external drive
If you want to avoid a Mac/PC entirely, you can export photos and videos from an iPhone or iPad directly to external storage. This can be the fastest method for quick backups or moving specific albums.
Apple documents exporting to an external storage device from iPhone/iPad using the Photos app and Export Unmodified Original.
What do you need to use this method?
You need an external drive that works with iPhone/iPad or the right adapter/cable (Lightning-to-USB or USB-C, depending on your device).
If you have an iPhone 15 or later (USB-C) and you want a fast, simple way to offload your photo library, the Seagate One Touch SSD is an excellent pick. Seagate lists the One Touch SSD as compatible with iPhone 15 and USB-C iPads, and it delivers up to 1,030MB/s transfer speeds, so moving large batches of high-resolution photos and 4K videos feels very quick. It’s also compact and travel friendly, and because it connects over USB-C, you can plug it in and export directly from your iPhone to the drive (typically through the Photos/Files export flow) without the power issues associated with other external drives.
Step #1: Make sure the device has originals available
- Unlock Your iPhone/iPad.
- Open Settings.
- Tap your name > iCloud > Photos.
- Select Download and Keep Originals. This helps ensure you export original files rather than smaller device-optimized versions.
Step #2: Export to the external drive
- Connect the external drive to your iPhone/iPad via USB-C cable.
- Open the Photos app.
- Select the photos/videos you want.
- Tap Share.
- Choose Export Unmodified Original.
- Choose a destination folder on the external drive (often via the Files interface).
Pros of using this method
- No computer needed
- Great for targeted exports (recent photos, specific albums)
- Very convenient for travel or quick backups
Cons of using this method
- Exporting your entire library can be tedious, if it’s huge.
- Some drives/adapters can be finicky (power and compatibility issues).
Common issues and fixes
Here are some common issues with using this method as well as fixes.
“My drive doesn’t show up on iPhone/iPad.”
- Try a different adapter/cable.
- Use a powered hub if the drive needs more power.
- Confirm the drive format is compatible (exFAT is a good bet for cross-platform use).
“Exports are slow.”
- Videos take time. Keep the phone plugged in and avoid switching apps too much.
- Export smaller batches to reduce failures.
Method #4: Download photos directly from iCloud.com (works on any computer)
If you don’t want to use the Photos app, iCloud for Windows or a direct phone-to-drive connection, you can download your photos straight from iCloud.com using a web browser and then copy them to an external hard drive.
However, for this method to work, you need to have enabled iCloud photo backup on your device.
This method works on Mac, Windows, Chromebook and even Linux, as long as you can sign in to iCloud and connect an external drive to your computer.
This is the most universal method and is especially useful if you’re using a shared computer, a work machine or a device where you can’t install software.
Step #1: Sign in to iCloud
- Open a browser and go to icloud.com.
- Sign in with your Apple ID.
- Complete two-factor authentication, if prompted.
- · Once you’re signed in, you’ll see your iCloud apps.
Step #2: Open Photos
- Click Photos.
- Wait for your library to load (this may take time if you have many photos).
- Switch to Library view to see everything or choose specific albums.
Step #3: Select the photos you want to download in several ways:
- For a single photo, click once.
- Multiple photos, hold Shift (for a range) or Ctrl/Command (for individual items).
- For large batches, scroll down, click the first photo, hold Shift and click the last one.
- If you want everything, select chunks (for example, one year or one month at a time). iCloud.com works more reliably with batches than with huge all-at-once selections.
Step #4: Download the photos
- Click the Download button (cloud with arrow).
- Choose Unmodified Originals, if prompted.
- iCloud will prepare a .ZIP file and download it to your computer.
- For large selections, this step can take several minutes. Be patient and let the download finish fully.
Step #5: Extract the .ZIP file
Once the download completes:
- On Mac: Double-click the ZIP file
- On Windows: Right-click > Extract All
You’ll now have normal photo and video files (HEIC, JPG, MOV, MP4) in folders.
Step #6: Copy to your external hard drive
- Plug in your external hard drive.
- Create a folder like iCloud Photos Backup – Web Download.
- Drag or copy the extracted photo folders to the drive.
- Wait for the transfer to complete.
Once copied, your photos are safely stored on the external drive.
Extra tips to keep your backup clean and usable
To keep your backup clean and easy to use long-term, start with a simple, consistent folder structure on your external hard drive. Organize your photos by year, album or media type so you can find files quickly without relying on software.
For example, separate folders for Photos, Videos and Live Photos to prevent confusion later, especially when Live Photos exports as two files. It also helps to add a small text file (like Backup Notes.txt) that records the backup date, method used and any known issues. This sounds minor, but months or years later, it can save you a lot of guesswork when you need to restore or verify files.
Next, remember that one copy is not a backup. External hard drives can fail, get lost or be damaged just like any other device. If your photos truly matter, keep at least two separate copies on different drives and store one in a different physical location, if possible.
Also, avoid confusing sync with backup. Syncing photos mirrors changes everywhere, including deletions, while a backup preserves a moment in time. A clean, well-organized and duplicated backup ensures your iCloud photos remain safe and accessible no matter what happens to your devices or your iCloud account.