


- From the DiscWizard home screen, click Tools then Add New Disk.
- Select the disk you would like to Add/Format, then click Next.

- This message will appear if the selected disk has been partitioned. Click OK to allow DiscWizard to erase the drive of all its partitions before performing the format.

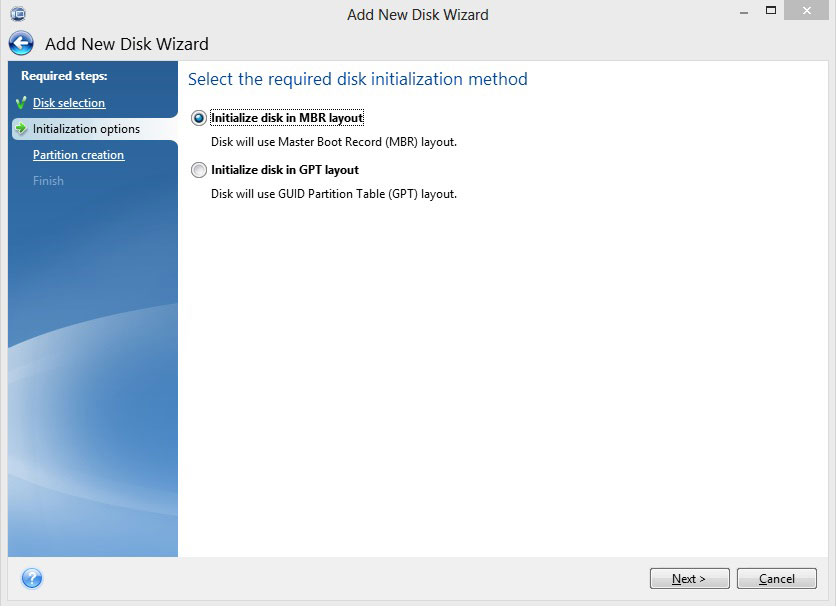
- If the drive is 2TB or below in size, select MBR. If the drive is over 2TB, you will need to select GPT.
Important: Windows XP systems are not compatible with GUID Partition Table (GPT).
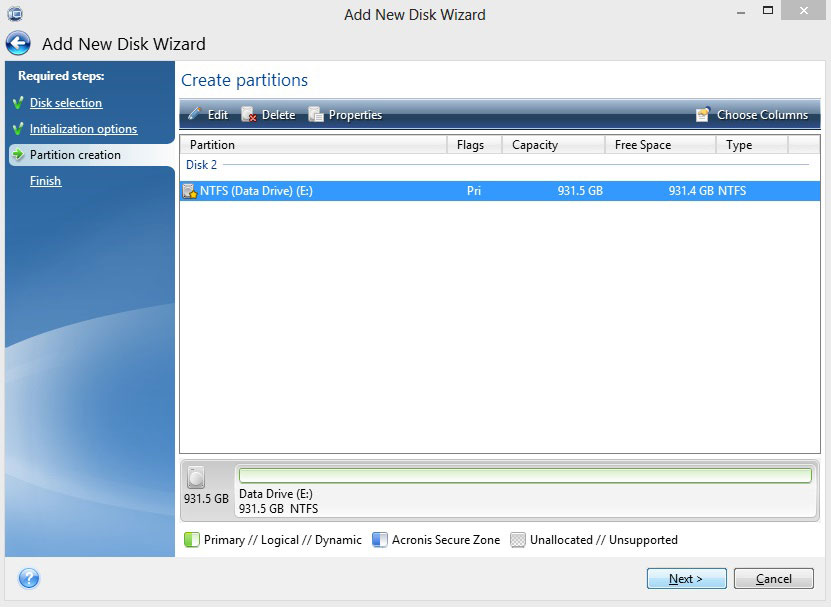
- At the bottom of the screen, right-click and select Create New Partition.

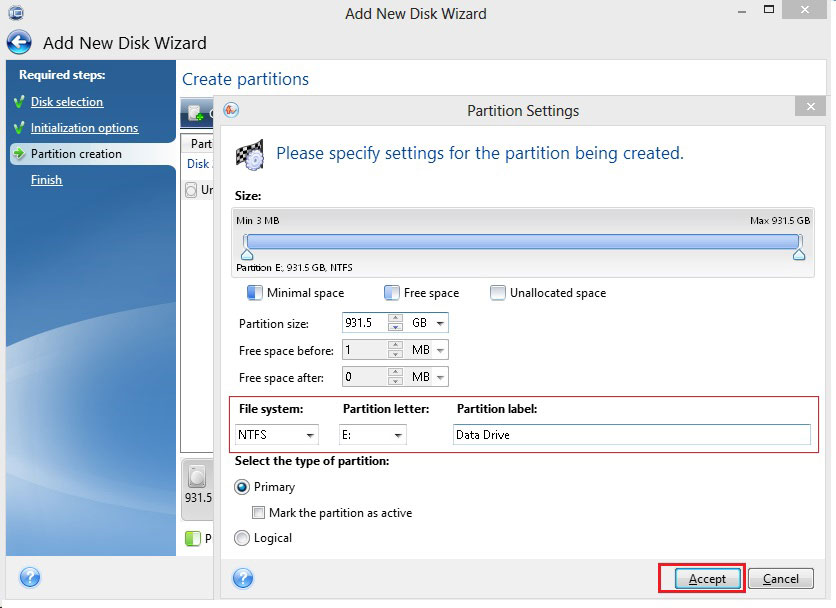
- Specify the file system (for Windows, use NTFS), the drive letter, and the name of the volume, then click Accept.
*The default setting is to partition the drive as one partition.
- Select the disk, then click Next.
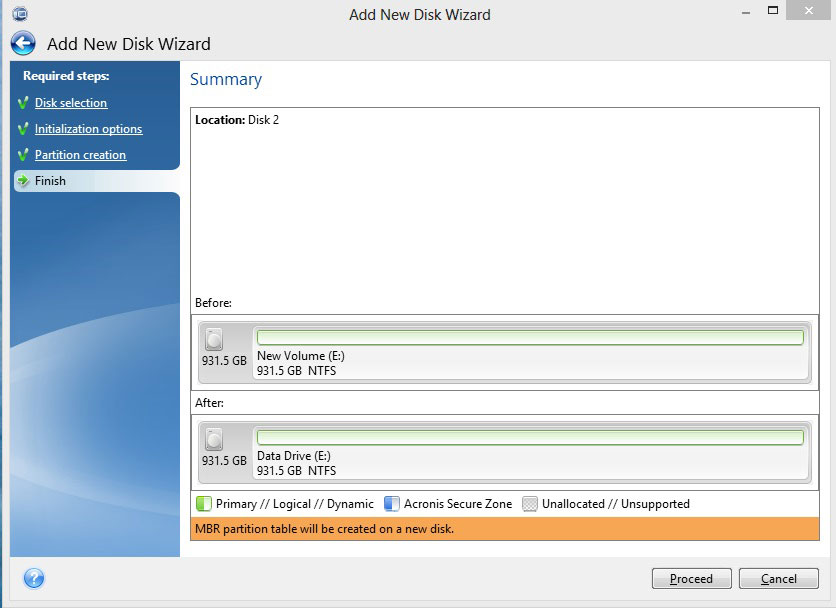
- Review the summary screen and click Proceed.
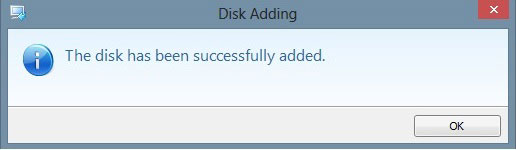
- Once the disk has been formatted, a confirmation screen will appear. The disk should now appear in Disk Management and be accessible in Computer/File Explorer.
*For more information regarding DiscWizard, you can access the built-in help guide through the Help option on the left side of the software.