Creating or adding a project as Business
If you want to create your first project after completing the account registration click on Go to Projects and follow the steps below.
To add a new project, click on Go to Projects then click on Add Project button then and follow the steps:
1 – Select Service
Select Service
-
Data Transfer Service
Select Rate Plan
-
Annual Plan - Commit to an annual subscription and save more on your monthly cost
-
-
12-month Term
-
Flat per-unit per-month fee with option to renew
-
Expanded subscription services like power-up or power-down device quantities, software and hardware upgrades
-
-
-
Device reconditioning included
-
-
Monthly - No annual commitment. Pay month on month until you need the Storage services
-
-
Month-to-month term with a one month minimum
-
Flat per-unit per-month fee in an evergreen subscription format for flexibility on projects with unpredictable timelines
-
-
-
Basic subscription services like multi-user management and virtual assist are included
-
Click Continue
2 – Select Configuration
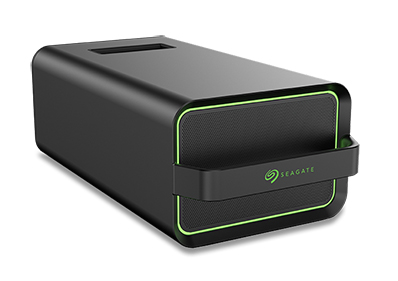
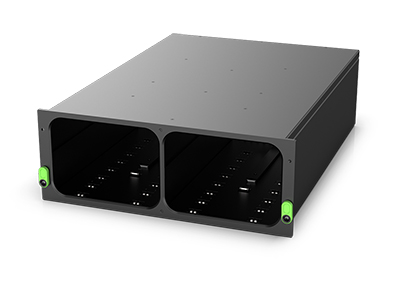
Select the device and accessories as needed
Note: You can up to 3 devices through self-service. Although you can contact our Presales team via chat to add additional products to your order.
Click Continue
3 – Shipping details
Fill out your project details
-
Project name
-
Project description
-
Specify Storage
-
Estimated End Date
-
Destination
Contact information for Product End-User
Provide a contact information for the user responsible for product administration (Usually the IT administrator).
Note: If the person is an existent user, you may search the name in our Lyve Hub database
Shipping Address
Fill out the shipping address information or select an existing address
Click Continue
4 – Terms and Conditions
Please read and agree to Terms and Conditions
5 - Confirm Order
Please review and submit your order
Note: Under Order Summary you can click View Quote for additional details. Se example below:
You’ll be notified via email once your order has been processed.