Your shopping cart is empty
You're just [0] away from FREE shipping!
Your cart
All discounts, shipping & taxes calculated at checkout
We're sorry, your session has expired. Please re-add any items you had in your cart to continue.
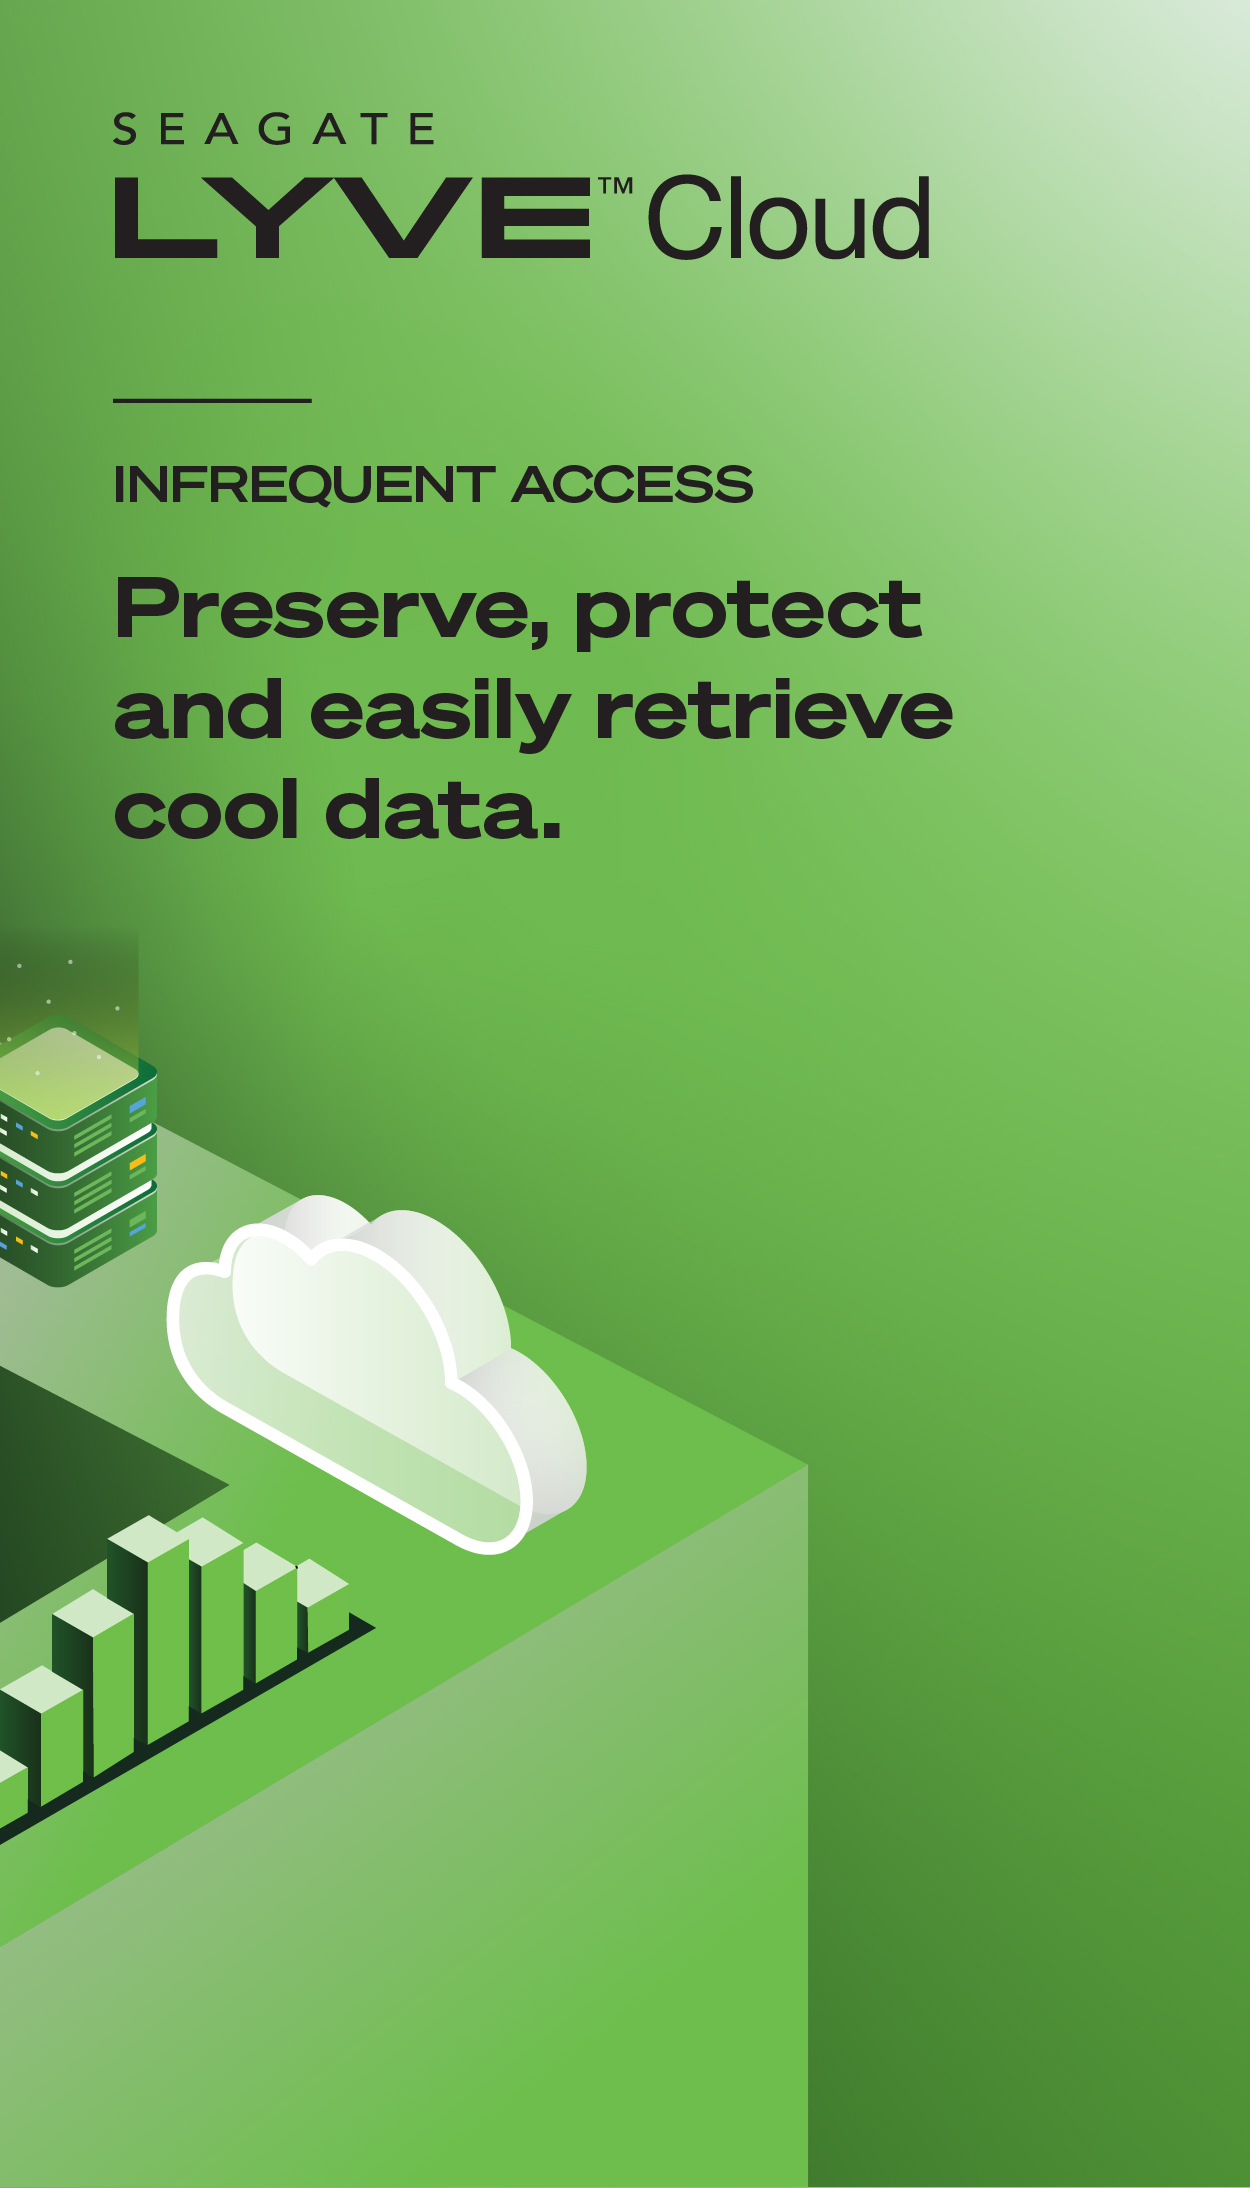
From hot storage deals and brand-new tech to insider news, we’ll keep you in the know!
Asia-Pacific (APAC)
Europe
Middle East/North Africa
Latin America
North America
Provides access to product training, sales and marketing resources, deal registration, and more to our VARs, Integrators, Resellers and other channel partners.
Use the Lyve Cloud portal to configure and manage your object storage and services.
Provides Direct customers with B2B Self Service tools such as Pricing, Programs, Ordering, Returns and Billing.
Register, access, and manage Lyve Mobile services, subscriptions and projects.
Provides Suppliers with self-service tools targeted to the needs of their business.
View/edit your profile information
View your dashboard
Logout of your account
Search by Product Serial Number, Model Number, or Name to get support for your product.
Need help finding serial number?
Browse our most popular support articles.
DECARBONIZING DATA REPORT