Please follow this procedure to enable FTP on the Seagate Business NAS:
- Log into Seagate NAS Manager using Seagate NAS Discovery or by entering the IP address of the NAS device in the address bar of a web browser.
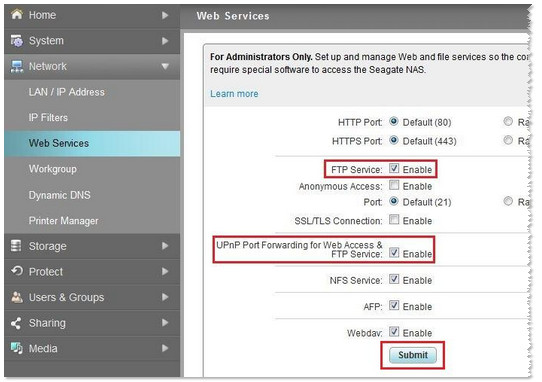
- From the left sidebar, select Network, then Web Services.
- Check the box next to Enable the FTP Service and Enable UPnP Port Forwarding for Web Access & FTP Service.
 If the Seagate Business NAS is the only device on your local network that requires Port Forwarding, then enable this option. Otherwise, leave this option unchecked.
Manual FTP and Port Forwarding may need to be setup in the router’s setup page using the NAS’ IP address. Consult your router's documentation or contact the manufacturer for more information. - Click the Submit button.
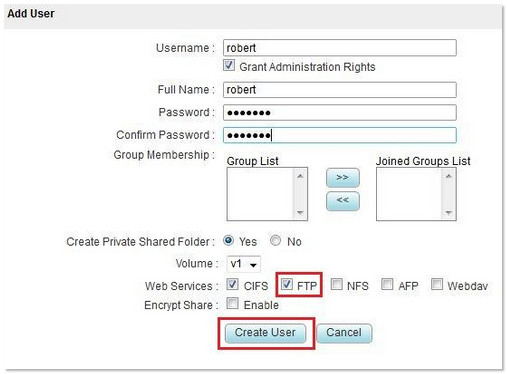
- Create a User Account and Share if needed..
- Once at least one user and share are created, enable the FTP Service for existing Shares.
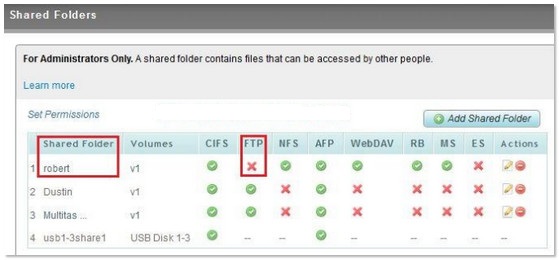
From the left sidebar, select Storage, then Shared Folders. - Confirm that the Shared Folder item row has a green circle icon (
 ) under the FTP column.
If so, FTP is already enabled for that Share.
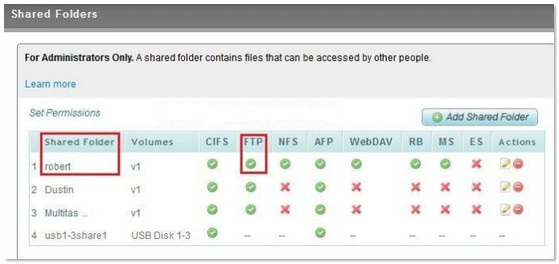
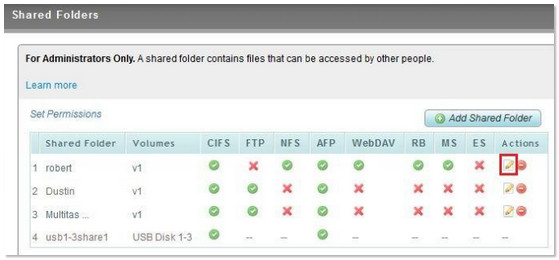
If FTP is not enabled for that share, there will be a red X next to the Share name under the FTP column.
To enable FTP for the share, click the Edit icon ( ) under Actions next to the Share name.
- Check the box next to FTP and click the Save button.
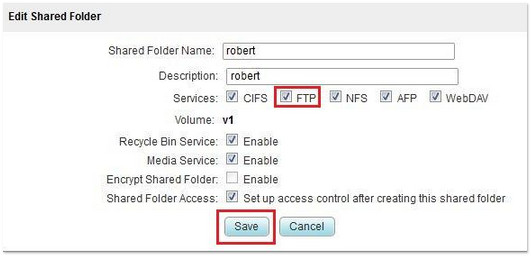
FTP is now enabled overall for the Seagate NAS and is also enabled for a specific Share.
If necessary, you may need to setup FTP Port Forwarding and UPnP in your router.
The following examples were done with a Netgear router's administration page.
When enabling FTP with the Seagate Business NAS, it may be necessary to enter your router’s setup page and enable UPnP there.
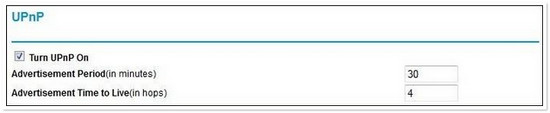
If you have other devices requiring Port Forwarding, disable UPnP in the router setup:
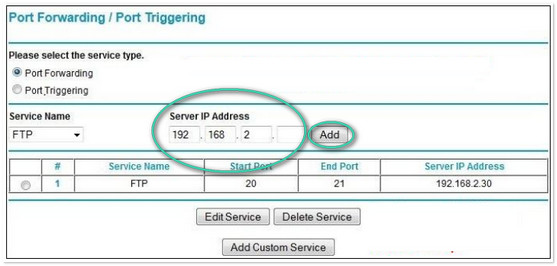
- Locate the option for manual Port Forwarding.
- Set it to FTP and add the NAS’ IP address.
Now you may progress to use Explorer/File Manager with FTP and the Seagate Business NAS on the local network:
- Click the Windows Explorer icon (
 ) on the bottom taskbar to open it.
(Windows 8/8.1/10: Press Windows key + X, then select File Explorer.)
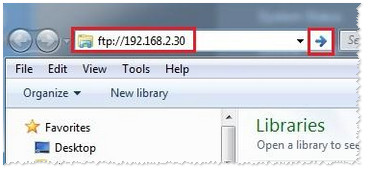
 - In the address field at the top left, type or paste:
ftp://(NAS IP address)
and press Enter.
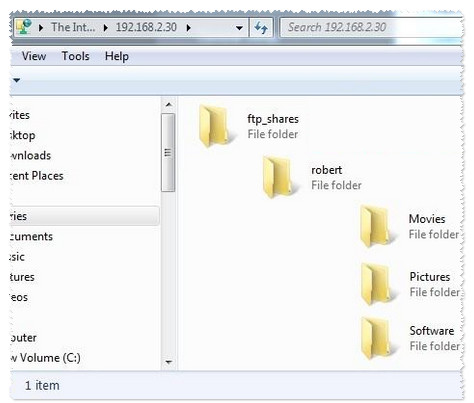
Example: ftp://192.168.2.30
- When prompted, enter the User Account Name and Password that is linked to the private share on the Seagate Business NAS.
- Click the Log On button.

- Open the ftp_shares folder and navigate to locate the desired folders and files.