


You can create shared folders (also called a "share") on the NAS that you can share across the network to different users and groups. Please follow this procedure to create a share:
- Click on the Server Manager icon (
 ) on the bottom left of the Windows screen.
 - Select File and Storage Services, then Shares.
- Right-click in the blank area on the right side and select New Share.
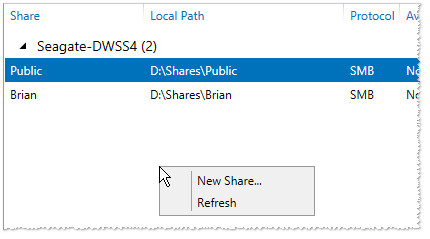
The "New Share Wizard" launches. - For basic setup, select SMB Share - Quick, then Next.
Note: NFS Shares are typically for usage with Linux/Unix-based operating systems and they are always public. - Choose your NAS in the top list and then choose the volume where you would like to create the Share.
- Select Next.
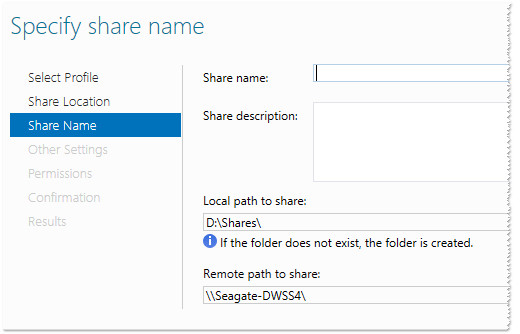
- Enter a share name and a description. In general, leave blank the local path and remote path fields, as they will change based upon the name.
Select Next.
- Choose options for the share, then select Next.
Note: The encrypt option significantly affects the performance of file transfers to and from the share. - Default permissions are shown here at the Share level (SMB) and Folder level (NTFS).
- The most restrictive permission wins.
- It is easiest to configure either NTFS or Share, but not both.
- To adjust permissions, select Customize permissions.
- To Add NTFS permissions, select Add.
You may also remove default or previously set permissions from here. - Choose Select a principal.
- Enter the user or group to set up Permissions, then select Check Names.
You can separate names with a semicolon if you want to add more than one. - Select OK when done.
- Choose the type of permission.
- Choose what the permission applies to (default is folder, subfolders, and files).
- Choose basic permissions.
- To setup Share permissions as well, select the Share tab.
By default, all users have Read access. You can change that from this location. - Select the User you wish to edit under the Share tab.
- Click Edit.
- Choose permissions for the selected user
- Click OK.
- Click OK on the Advanced Security Settings screen once all permissions have been set.
- Select Next on the New Share Wizard once permissions are complete.
- Click Create on the confirmation screen.
- Click Close.
- Your Share is now created and ready to use.