Items to Note:
- After installing a new hard drive in your computer, you can allocate the disk space, create new partitions, and specify required file system, partition type, and letter.
*When booting to the DiscWizard CD, you will be prompted to boot normally into your Windows operating system or into DiscWizard. Select DiscWizard.
- From the Home Screen of the DiscWizard software, click Tools, then click Add New Disc.
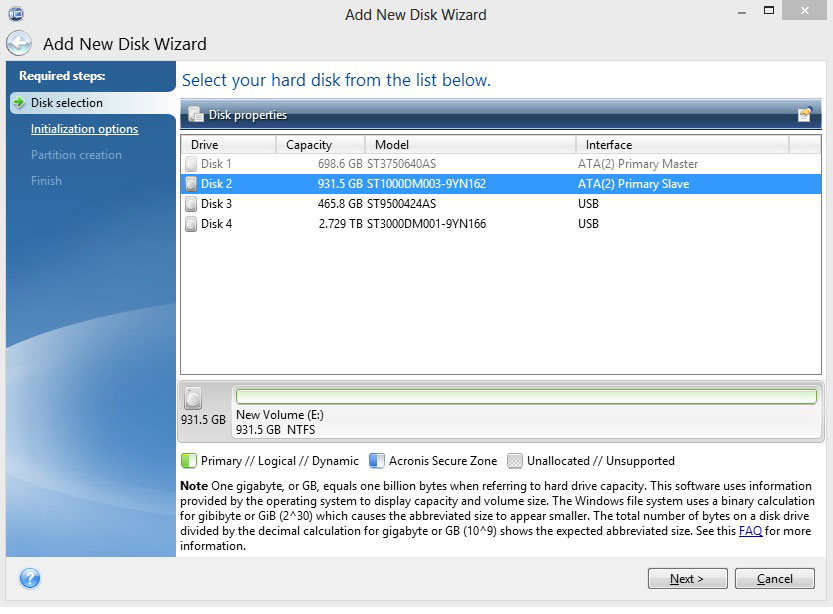
- Select the disk you would like to Add/Format and click Next.
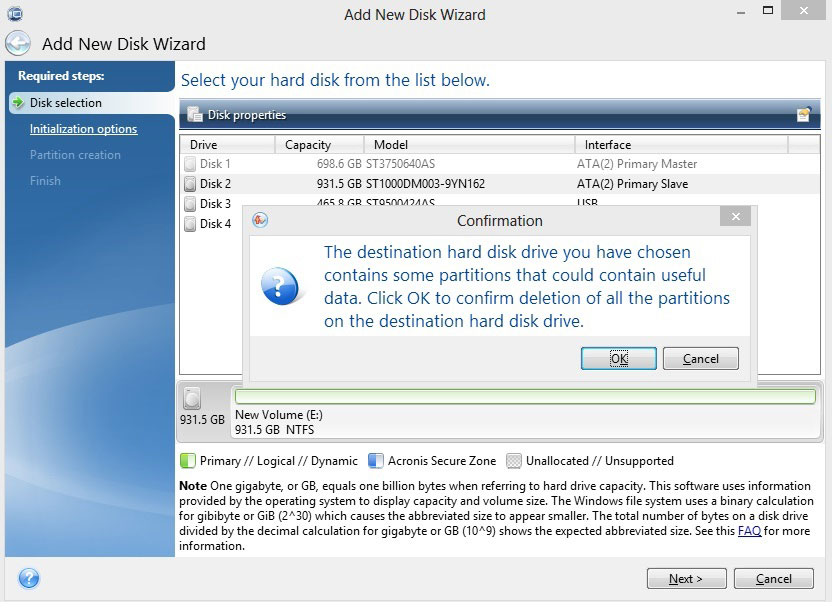
- This message will appear if the selected disk has been partitioned. Click OK to allow DiscWizard to erase the drive of all its partitions before performing the format/add.
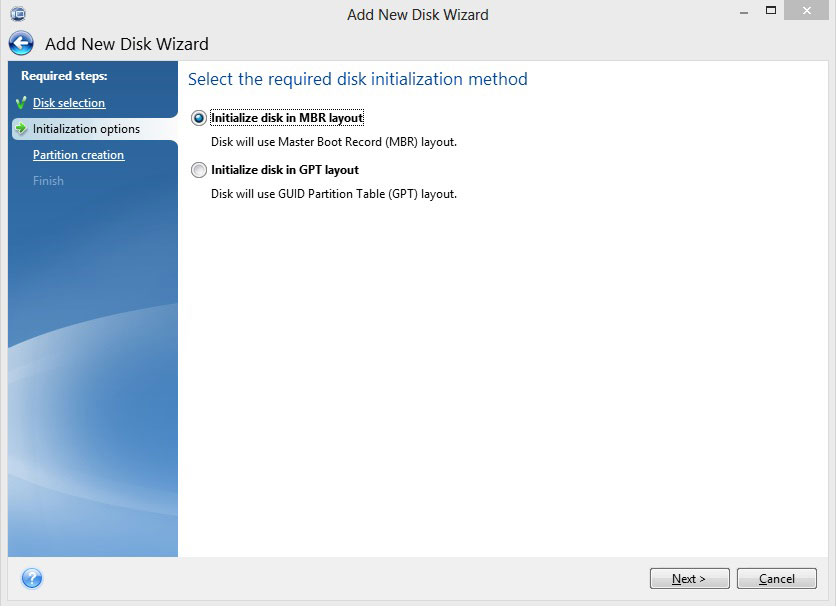
- If the drive is 2TB or below in size, select MBR. If the drive is over 2TB, you will need to select GPT.
Important: Windows XP systems are not compatible with GUID Partition Table (GPT).
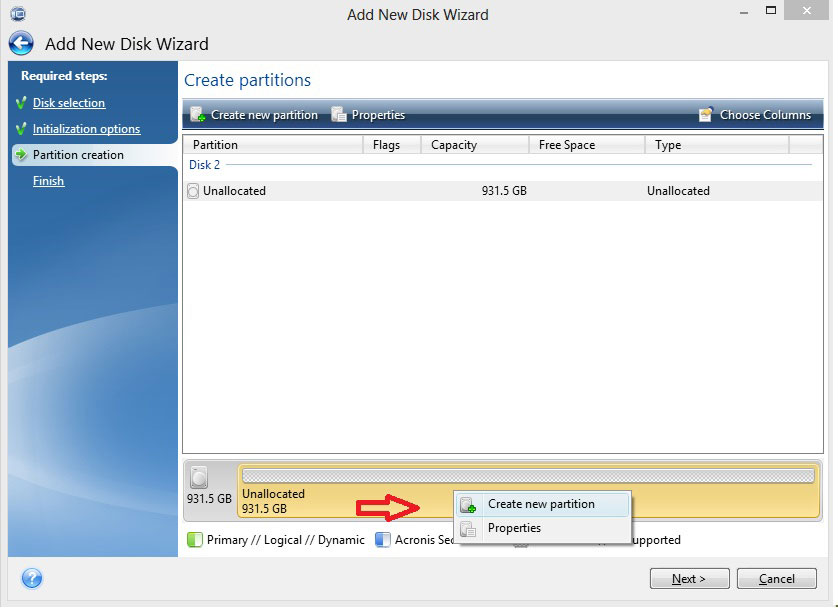
- At the bottom of the screen, right-click and select Create New Partition.
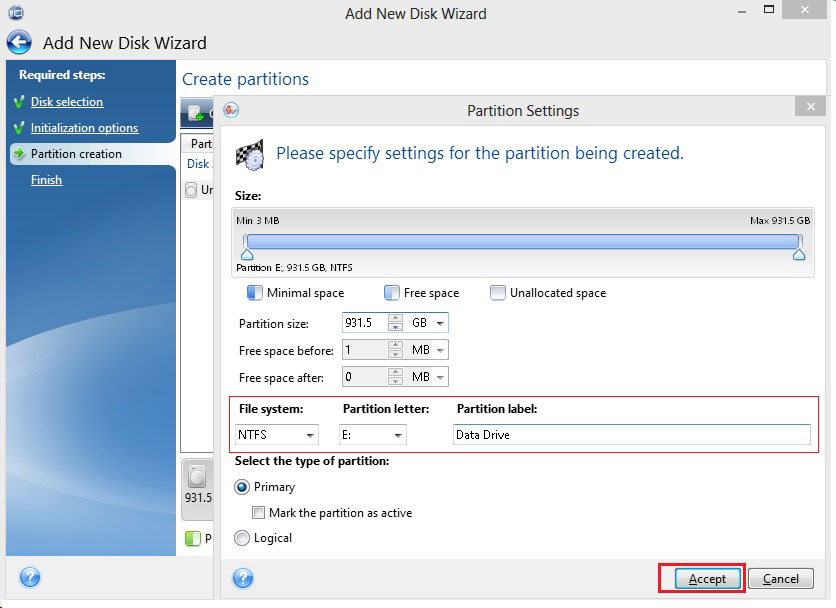
- Specify the file system (for Windows, use NTFS), the drive letter, and the name of the volume, then click Accept.
*The default setting is to partition the drive as one partition.
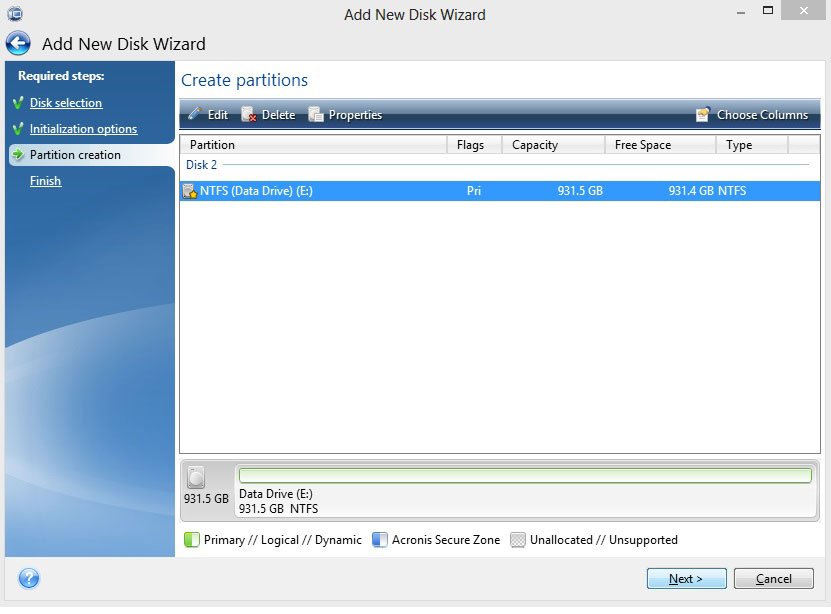
- Select the disk, then click Next.
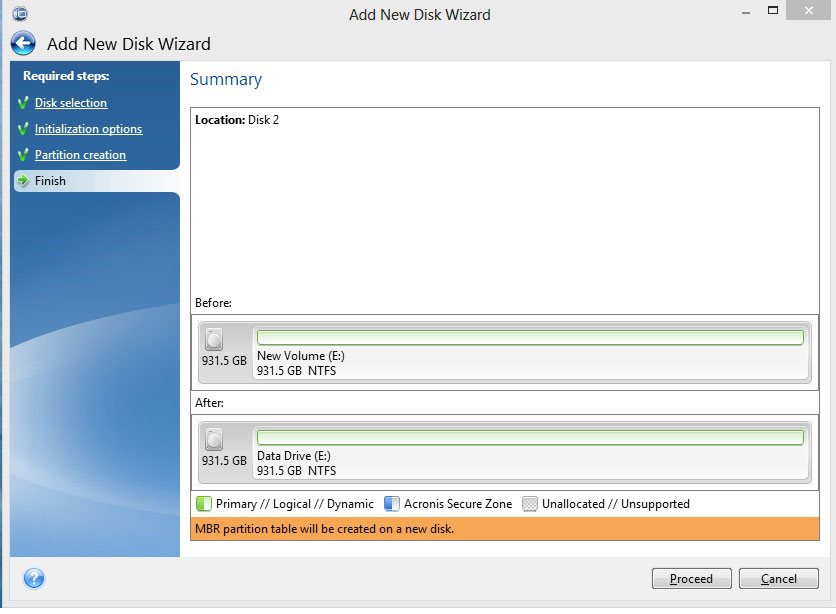
- Review the summary screen and click Proceed.
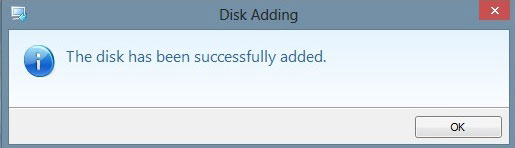
- Once the disk has been formatted, a confirmation screen will appear. Shut down the computer and remove the DiscWizard bootable CD. When the operating system boots, the new disk should appear in Disk Management and be accessible in Computer/File Explorer.