Begin by connecting the disk to a router. Ideally, use a router that supports UPnP (most do), as otherwise, the setup process can be more complicated.
Connect the included Ethernet cable between the drive, and the router. Connect them directly for the best performance.
NOTE: The images below are from the Ethernet Disk Mini Home Edition, but the Internet Space has a virtually identical process.
Insert the LaCie Utilities CD into the computer’s CD or DVD drive to begin the Setup program.

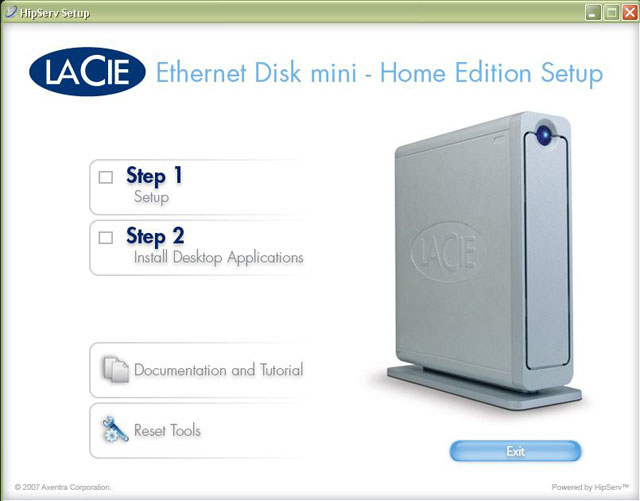
On the Ethernet Disk setup page, click Step 1. There are several automated actions the drive will take. This can take several minutes.
A warning will appear advising the setup process erases all data on the LaCie. Click OK to continue. Eventually, a license agreement screen will appear. Read the contents, then click I Accept to continue.

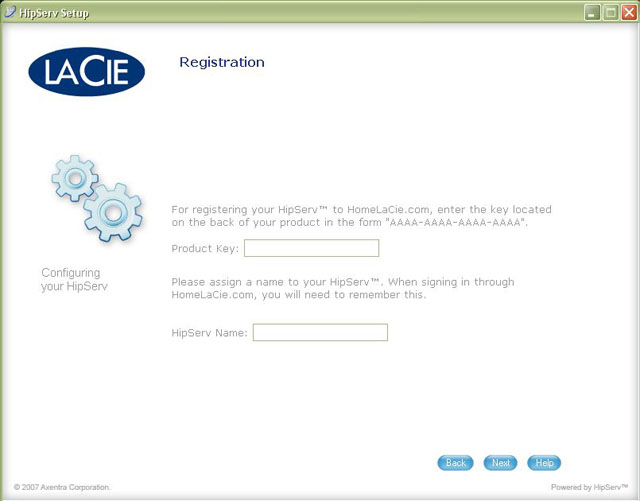
The next page asks for registration information. The product key is the 16 digit number on the back of the drive. The HipServ name will be used to log in to the device. The HipServ name is also called the "Portal Name" in other software.
Note: If the key is typed incorrectly, the next button will not function. If nothing happens when that is clicked, verify the Product Key and ensure it is correct.
Click Next to continue.
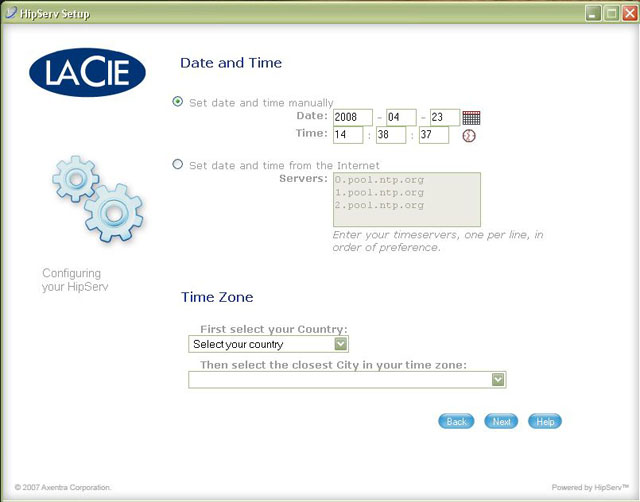
Set the date and time of the drive. For the Time Zone option, choose a city in the same time zone as the Ethernet Disk. Not all cities are listed. Click Next to continue.
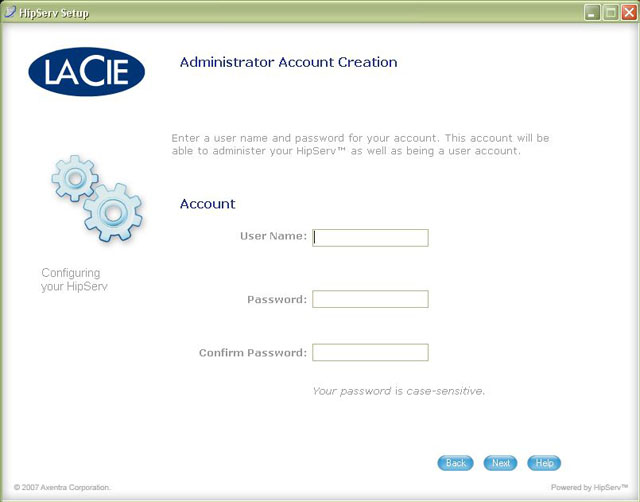
Next, set up the administrator information. The User Name must be a unique name on the machine, and the password is case-sensitive (that means, for example, that "H" is not the same as "h".)
Click Next to continue.
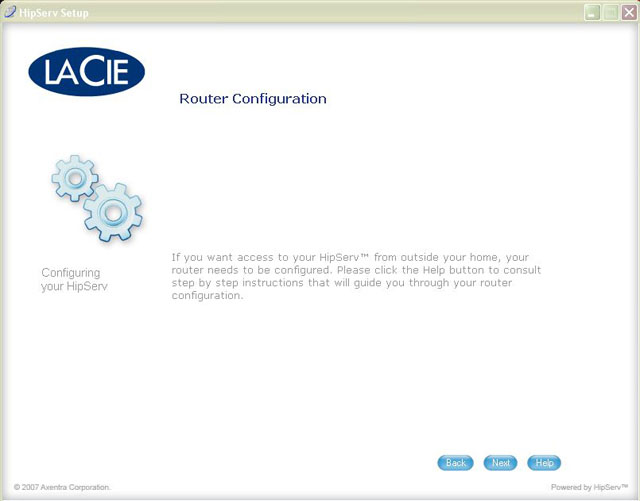
Next is the Router configuration setup. If the Ethernet Disk is connected to a UPnP capable Router, this step will be automated. If not, it will need to be configured, Manually.
If it isn't working automatically, visit router router's web administration page and ensure UPnP is enabled. Also, disable any anti-virus and anti-spyware software.
If UPnP will not work, manually configure the router The three ports that must be forwarded are:
- 21
- 22
- 80
- 443
If you are unsure how to do this, read the router's manual, or go to www.portforward.com for online tutorials.
NOTE: LaCie can not assist with this step. Every router is different, and router setup is not supported by LaCie technical support.
When finished, click next.
Once the setup is complete, download and apply the latest firmware patch from this step. When finished, click next.

In this screen, enter an email address. This email address will receive all error reports and news of updates. Click Next to continue.

After two screens displaying progress, the installation process is complete. Click Finish to go back to the main setup screen.

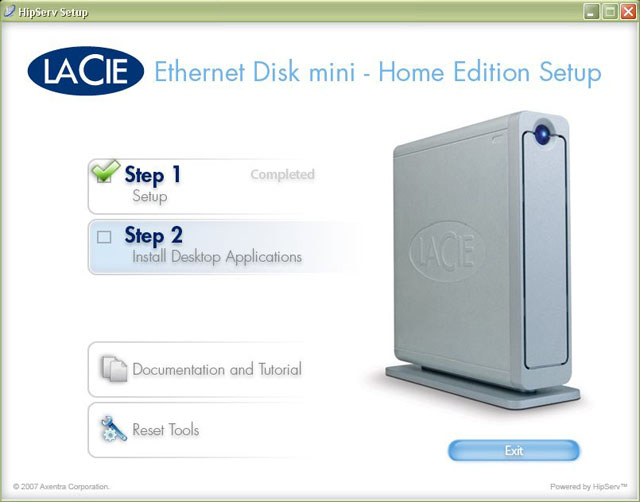
Step 1 should show a green check mark noting its completion. To install the optional desktop applications, click Step 2.
Enter the HipServ (portal) name established during the setup process. Click Next to continue.

Enter the administrator user name created during the setup process. Click Next to continue. The installation is automated, and when completed, a window will appear noting its completion.

The drive is now installed and ready to use from anywhere with an Internet connection.


