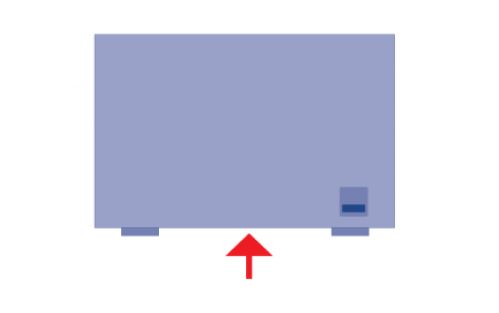
Please follow these directions to open the enclosure.
- If you are replacing a failed disk, please go to Dashboard > RAID Management to identify the hard drive to remove (Bottom slot = 1 and Top slot = 2).
- If you are replacing the enclosure, be sure to make sure the disks are properly labeled after opening the enclosure.
- Turn off the device and unplug the power supply. Let the unit rest and cool for 60 minutes before proceeding.
- Open the Network Space MAX by gently pulling the front lip of the casing, specifically in the center, where the top shell clasps to the bottom plate. LaCie recommends using your index finger to carefully pry the top shell from the bottom plate at the center clasp.
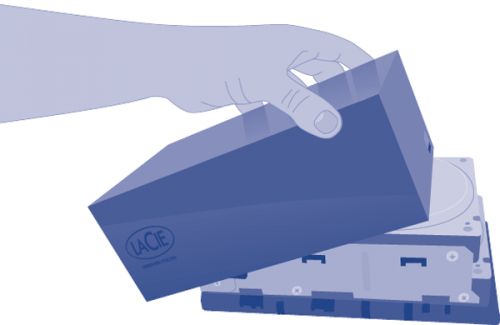
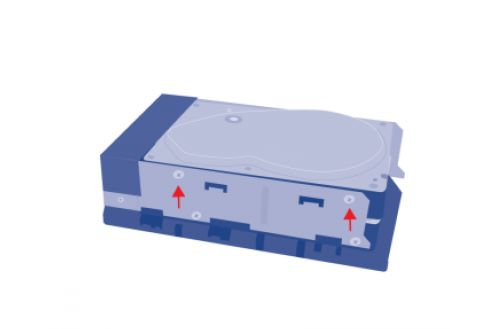
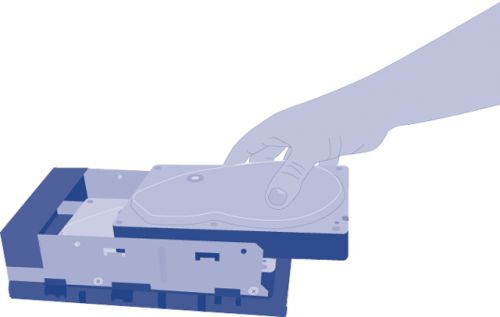
- If Disk 2 has failed, gently detach the top disk from the SATA connector and remove it from the top bay. If Disk 1 has failed, first detach the top disk (Disk 2), then detach the bottom disk (Disk 1.) There are 4 screws (2 on each side) to each mechanism that must be removed.
- If you are replacing the enclosure, remove both disks.
IMPORTANT NOTES:
- The casing is not glued or secured to the device in any way besides the clips. Minimal force is required to open the device.
- If in opening the unit you physically damage it at all, your warranty will be voided. No physical damage can occur to the unit.
- If you do not feel confident in this procedure, please discuss alternate options with LaCie.


