Restore with NAS 2.0
1. Connect to the Dashboard of your LaCie network drive.
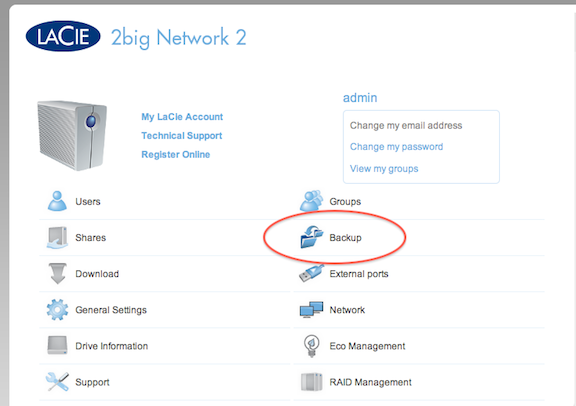
2. Click on Backup on the main menu:
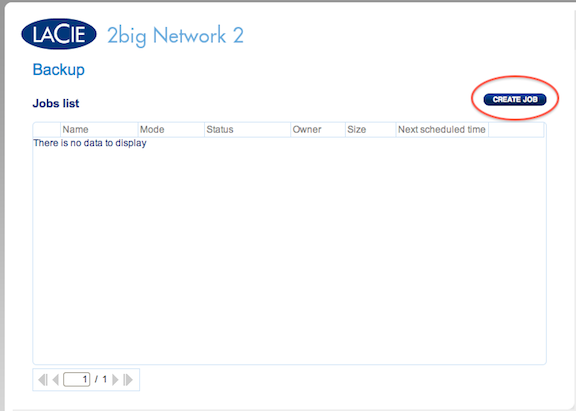
3. Select Create Job:
4. Choose Restore and click Next:

5. Select an existing backup job to restore or restore data from a particular folder. For this guide we will restore from a previous backup:

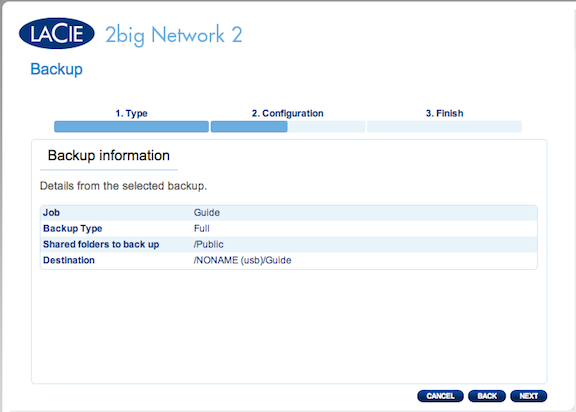
6. Review the restore details for the job selected:
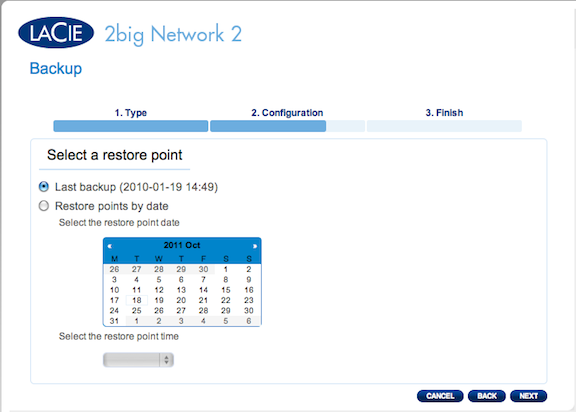
7. Select the restore point from the backup job you selected. The more often you backup the more choices you will have. By default the most recent backup will be restored.
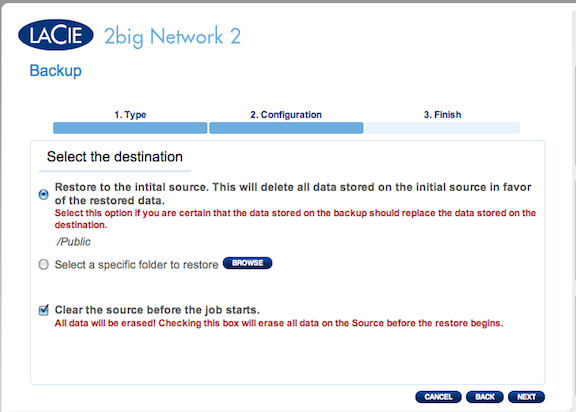
8. Select the destination. By default it will restore to the original location, however, you can choose to have it restore to an alternate share. If you do not want it to erase the destination uncheck Clear the source before the job starts.
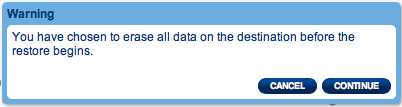
9. If you have chosen to erase the destination you will be given a warning:
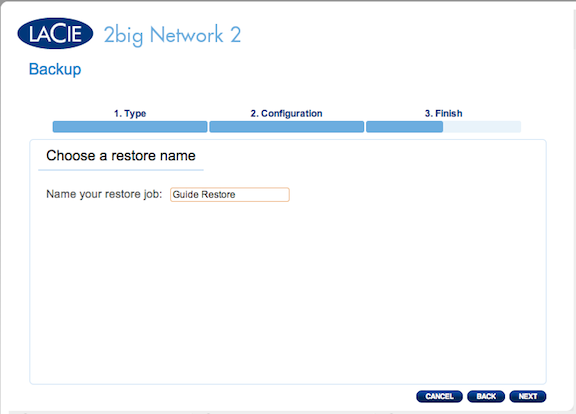
10. Name the Restore job. Like Backup jobs restore jobs can be run repeatedly at any time.
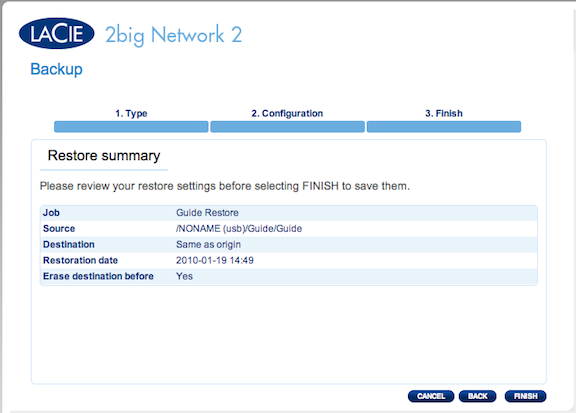
11. Confirm the restore settings before clicking Finish. The restore job will start running immediately after Finish is selected.