


NAS: Diskless enclosure
When first booting a diskless Seagate NAS, the device must enter recovery mode. Seagate NAS are preconfigured to automatically enter recovery mode when hard drives are not inserted into the enclosure. Make certain to follow the instructions below and to boot the NAS before installing the hard drives.
Step 1 - Cables
Connections

- Connect the Ethernet cable to the NAS and the router.
- Connect the power cable to the NAS and the outlet.The Seagate NAS will power on automatically when it is connected to an active power outlet.
You can also connect:
- A second Ethernet cable for redundancy or performance(Seagate NAS 4Bay only).
Cable management: Careful management of cables is recommended for optimal operation. It prevents potential hazards and allows for easier maintenance.
Step 3 - Insert hard drives
Note: You can insert the hard drives while the NAS boots.
Consider the following before inserting hard drives into the enclosure:
- Seagate recommends installing the hard drives into the diskless enclosure from left to right.
- Empty trays must stay in the bays for proper airflow.
- Make certain that you are properly grounded before touching the hard drives.
- Make certain that the hard drive’s SATA connection is at the rear of the tray.
- The hard drive is fastened to the tray with pins.
- The NAS is shipped with screws to mount 2.5-inch hard drives to the hard drive trays.See Hard Drive Maintenance for instructions on how to install a 2.5-inch hard drive.
- Remove empty hard drive trays from the NAS.

- Gently bend the left side of the tray and connect the hard drive to the two pins on the right.

- Release the left side of the tray and connect the remaining two pins to the hard drive.

- Insert the hard drives into the NAS’s bays. Push each hard drive tray into the bay as far as it will go before closing the tray handle.

Step 4 - First login
The NAS can take a few minutes to boot. Wait for the power button LED to turn solid before following the steps below.

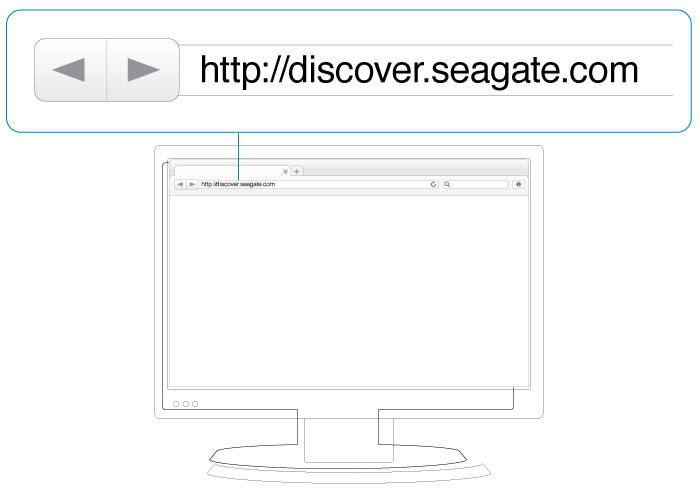
Log in to the NAS from a computer on the network:
- Launch a web browser.
- Enter http://discover.seagate.com.
- Follow the on-screen instructions to complete the installation.