NOTE: These instructions are based the preconfigured Volumes and Raid the Windows NAS is built with.
In this example the drive in slot 2 was no longer detected and has been removed from the NAS.
The green LED lights under slots 1, 3, and 4, will flash amber.
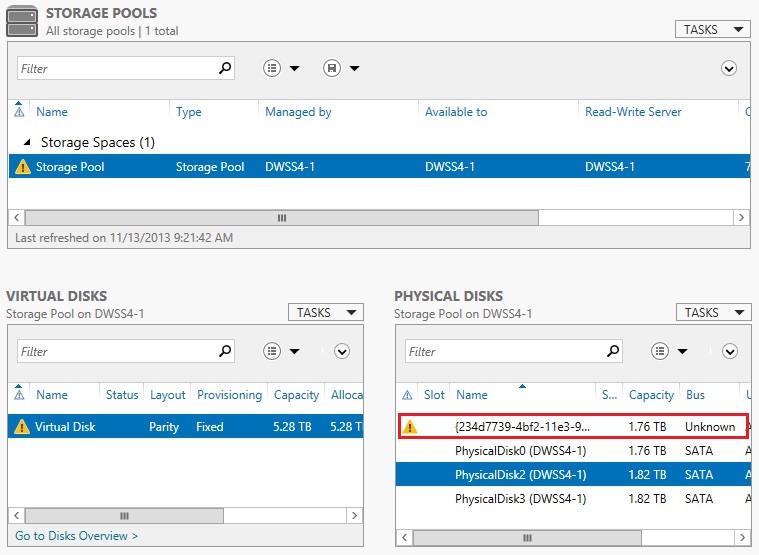
- Open Server Manager and go to File and Storage Services, and Storage Pools.
Under Physical Disk the reference to the failed disk with the yellow exclamation mark cannot be removed until a replacement drive can be inserted into the NAS and then added to the Storage Pool.
- Insert a new un-used blank drive in slot 2 of the NAS.
The replacement drive must be the same size or larger.
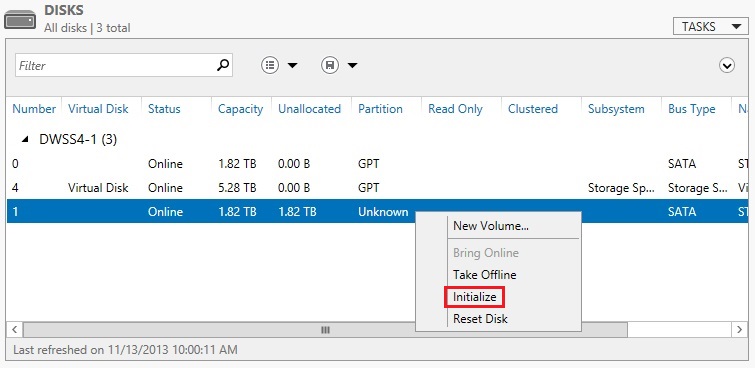
- In Server Manager go to Disk. In the top right corner click Tasks and Refresh.
The new drive will be detected as Unknown.
- Right click the Unknown drive and choose to Initialize Disk.
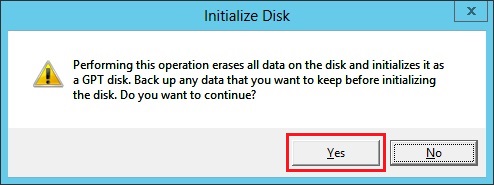
- Read the Initialize Disk warning and click Yes to continue.
The new drive will now show as Online.
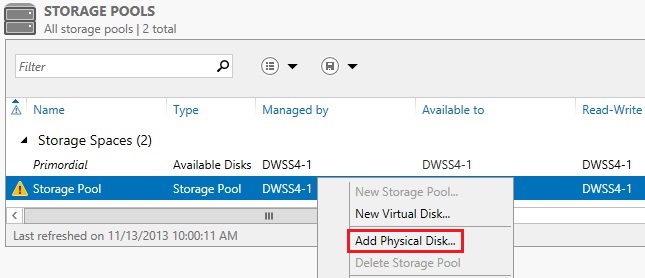
- Go to Storage Pools. Under Storage Pools right click the DataPool and choose:
Add Physical Disk.
- Select the new Physical Disk and click OK.
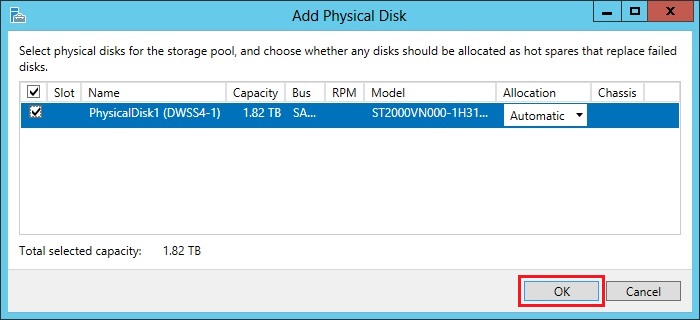
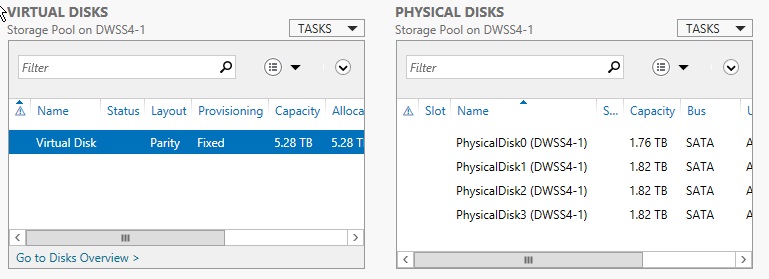
In Storage Pools under Physical Disks the new drive is now listed.
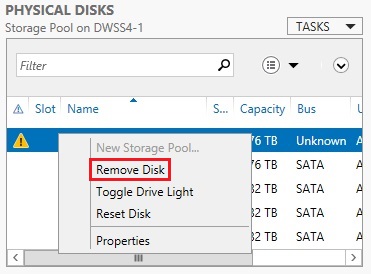
The reference to the failed drive with a yellow warning can now be removed.
- Under Physical Disks right click on the yellow warning and choose Remove Disk.
- Click Yes to remove the reference to the failed disk.
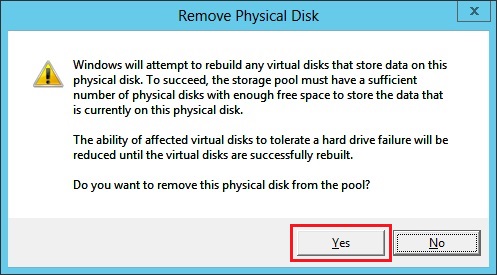
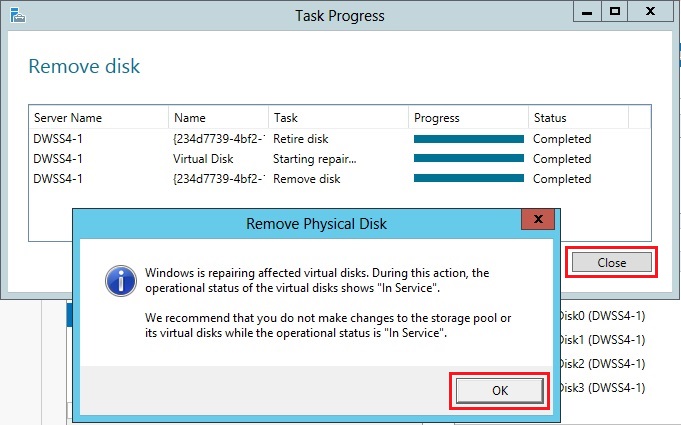
The Remove Disk progress will complete and an Info alert will report Windows is repairing the affected virtual disk.
The operational status of the virtual disks shows "In Service". Do not make changes to the storage pool while the operational status is "In Service".
- Click OK and then Close.
- Click the Refresh Circle at the top to refresh the page or Click Task and Refresh.
The failed disk with the yellow warning has now been removed. The Virtual Disk has now been fixed.
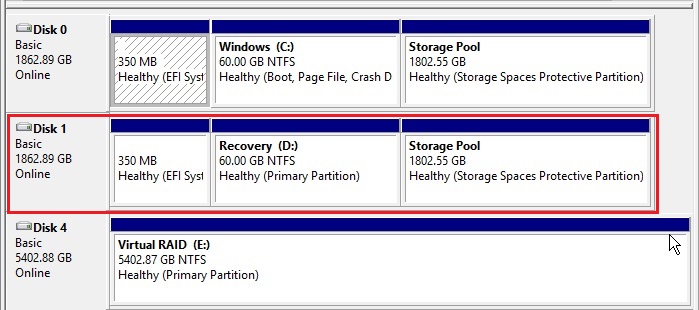
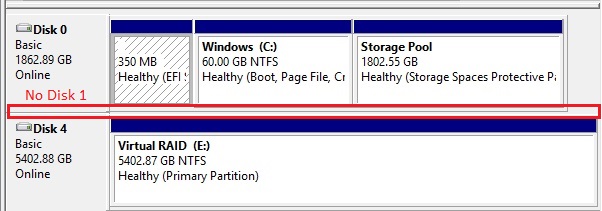
Note that in Disk Management Disk 1 (Slot 2) is no longer showing. This new drive has been used completely in the Virtual Disk. Disk 1 (Slot 2) had the Windows Recovery Partition on it.
Disk Management shows the results of replacing the drive in Slot 2
Disk Management before Disk 1 (Slot 2) failed.