Working in Tandem
SSDs bring high-speed performance, but carry a higher price point and limited capacity. HDD on the other hand has space to spare, but can bring your gameplay latency and a dip in overall performance compared to their SSD counterparts.
The solution? Install the largest SSD you can afford as your primary drive and support it by installing a high capacity HDD as a secondary storage device.
Since games and applications can load much faster from a SSD, we recommend installing detailed open-world games (e.g. Grand Theft Auto 5 and Fallout 4) on an SSD—as well as any video or streaming software that you may be using in tandem with your gaming.
Meanwhile, games with smaller footprints, such as first-person shooters, strategy games and action games can remain on your secondary HDD without fear of performance loss or latency during gameplay.
If you play games that feature a lot of mods, we recommend placing those games on your SSD as well. Game mods are usually packaged with many files, so you’ll definitely notice loads times are faster with these loaded onto a SSD.
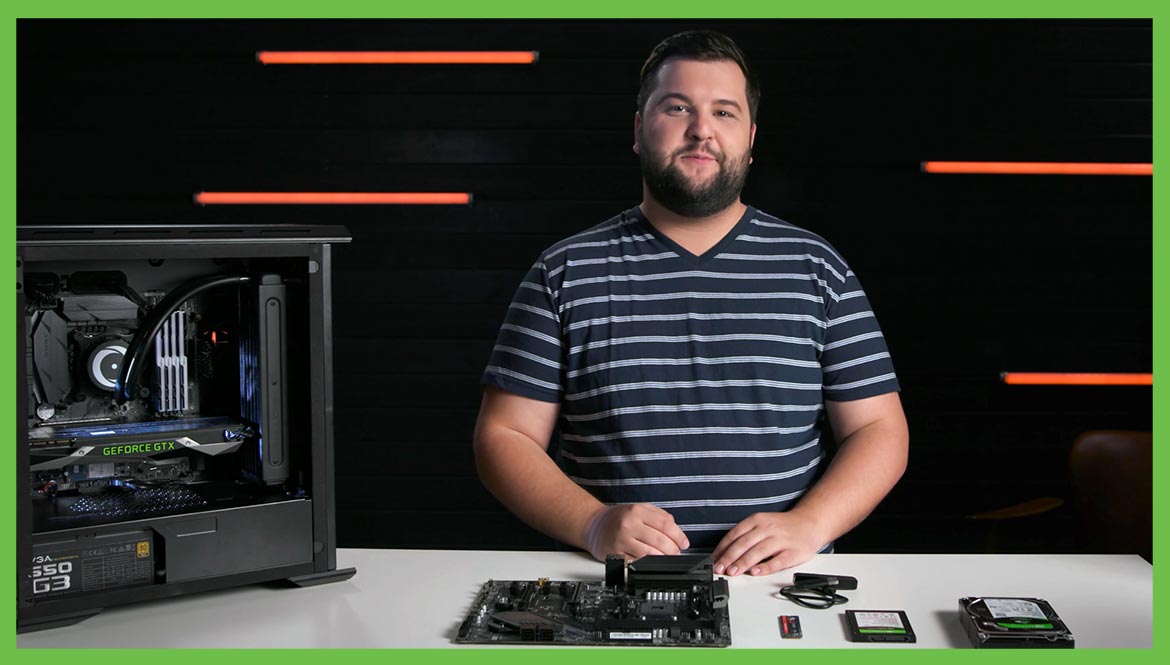
If you are building a new PC, we recommend an M.2 NVMe SSD, like our FireCuda 510, as your primary install drive, and a high capacity HDD, like our BarraCuda, as your secondary drive. Setting these dual drives has a few steps to it, but it isn’t hard. So let's break down the steps.
How to Set Up Dual Drives
- Power up your PC and access your system’s BIOS setup prior to install.
- Set a PCIe device as the boot drive in the sequence list then power back down.
- Install your SSD in the M.2 PCIe slot, securing it with a screw (make sure your M.2 slot is M-keyed if you’re using a FireCuda 510)
- Install your HDD into the 3.5” bay and connect it to your motherboard with the supplied data and power cables.
- With both drives physically installed, boot up with your Windows OS disc inserted.
- Follow the prompts for installation to designate the SSD as your primary install drive.
- After the SSD has been installed, right click the “Windows Start Button” and access the “Disk Management” utility.
- Your HDD will show up as unallocated space, right-click it and select “New Simple Volume”.
- Proceed through the formation prompts, choosing your drive labels and setting.
- Get to gaming.
If you’re not doing a brand new PC build, you can complete these steps for a simple upgrade to your system. Obviously, you won’t be installing your operating system but if you are replacing an old drive, you will need to completely migrate to the new drive.
For this, we recommend Seagate’s DiscWizard, a free application that will let you backup your files, programs and operating system, and then recover it completely intact on the new drive. This process is called disc cloning and here are the simple steps to completing this process.
How to Run DiscWizard’s Clone Disk Application
- Open DiscWizard.
- Click “Tools & Utilities” and then select “Clone Disk”.
- Click “Automatic Mode”.
- Select your old hard drive as the “Source Disk” and select “Next”.
- Select your new hard drive as the “Destination Disk” and select “Next.”
- Confirm that all partitions can be erased and click “OK”.
- Double check that all your drives look correct and click “Proceed”.
- Let the DiscWizard work it’s magic.
If you’re swapping out an old drive for a new one, and there’s not physically room for both of them in your tower at the same time then you’ll need to clone the old drive first using a USB adapter for the new drive You can follow the same steps for the Clone Disc operation and once everything is migrated, power down your machine and swap out the drives. You shouldn’t need to change anything in your BIOS setup, and when you boot up, Windows should load from your new, cloned drive, as if it was always there.
And remember that with every drive, Seagate offers a free software tool called SeaTools, which you can install and monitor the performance of all your drives. Performing routine maintenance is key to maintaining the longevity of these drives, all backed by Seagate’s great warranty.
For more tips and tricks on how to optimize all your gaming needs, check out more videos at Inside Gaming with Seagate.
Thanks for reading and happy gaming ✌