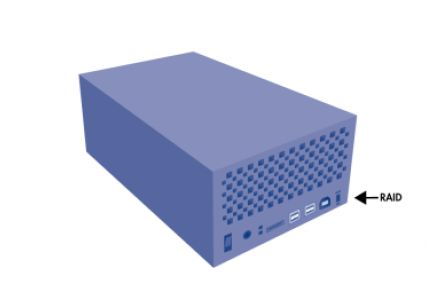
- Note: If you are replacing the enclosure only, skip this step. Identify the failed disks by noting which drive’s LED has turned red. The LED's are located on the back of the drive enclosure. The unit must be turned on.
- Note: If you are replacing the enclosure only, be sure to write down which RAID mode the device is set to.

- Turn off and unplug the LaCie Hard Disk MAX and allow it to cool by sitting for 60 minutes.
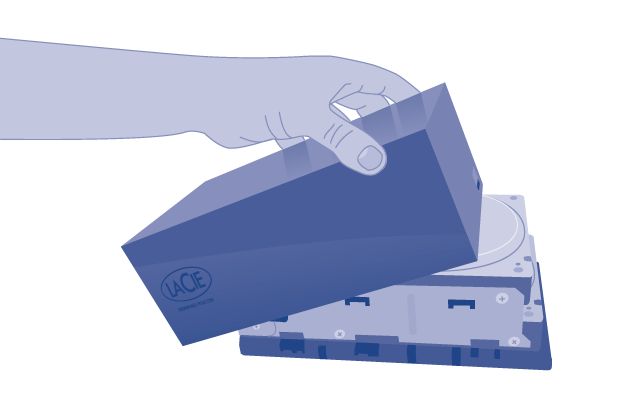
- The top enclosure must be removed to access the drives. Use your index finger to gently pull the front lip of the casing, specifically in the center, where the top shell clasps to the bottom plate.

To remove a Drive:
- Unscrew the 4 screws holding the failed drive in place, there are 2 on each side:
- Carefully slide the drive out of the enclosure and put aside.
To Install a Drive
- Turn off and unplug the LaCie Hard Disk MAX. If necessary, allow it to cool for 60 minutes.
- Carefully insert the drive(s) tray into the empty drive bay(s) and be sure that the RAID mode indicator is in the correct position.
- Re-fasten the 4 screws (2 per side) that hold the disk to the chassis and replace the top cover.
- Turn the unit on to begin resyncing. It does not have to be connected to the computer to resync.
Technical note: Data is still accessible during a RAID 1 rebuild. The Hard Disk MAX can be disconnected from the workstation during the rebuild; only the power must be connected. This process can take up to 9 hours.


